I used to think cooked zucchini meant either rubbery green sad stuff in a browning pan, or soft smear. I’d skip it on restaurant menus every single time — which, I’ll admit, made me a little bit unpopular with the vegetable counter.
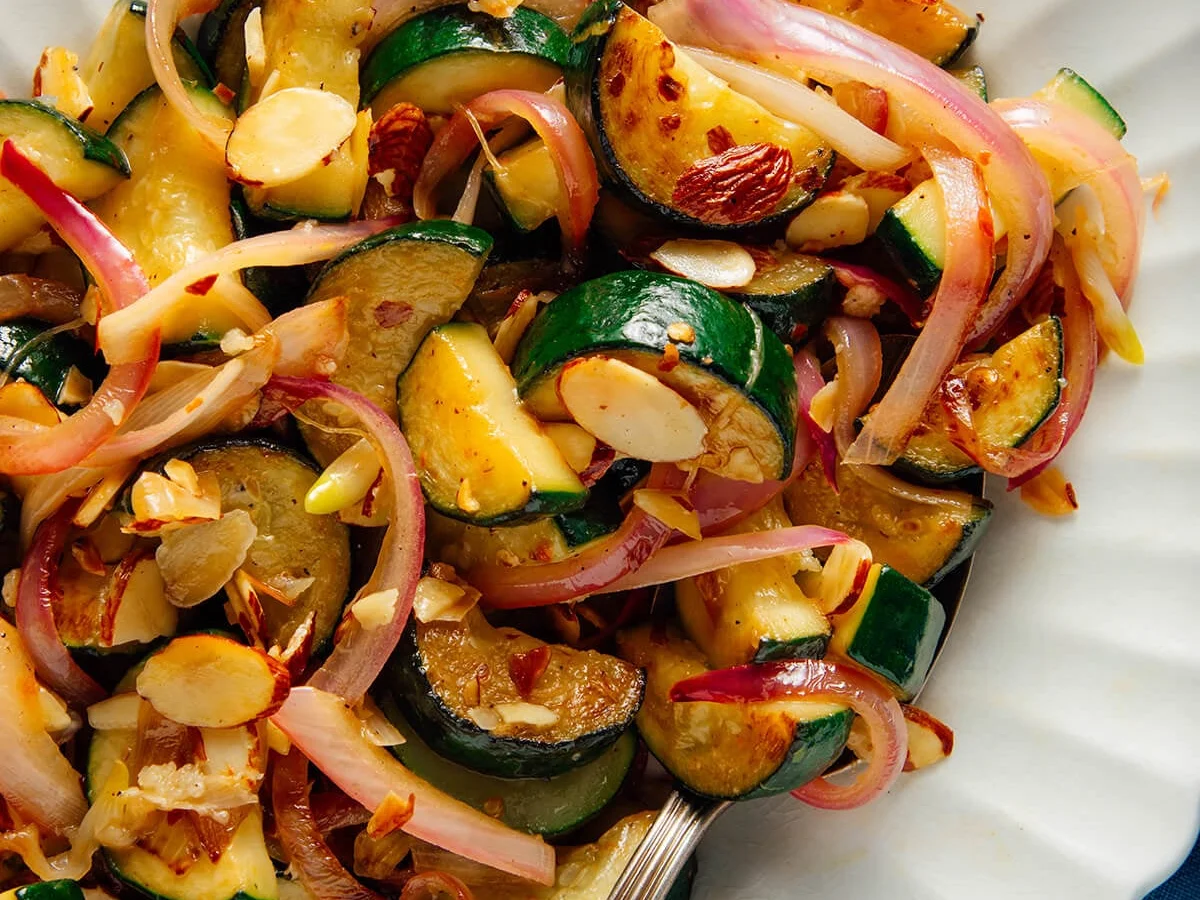
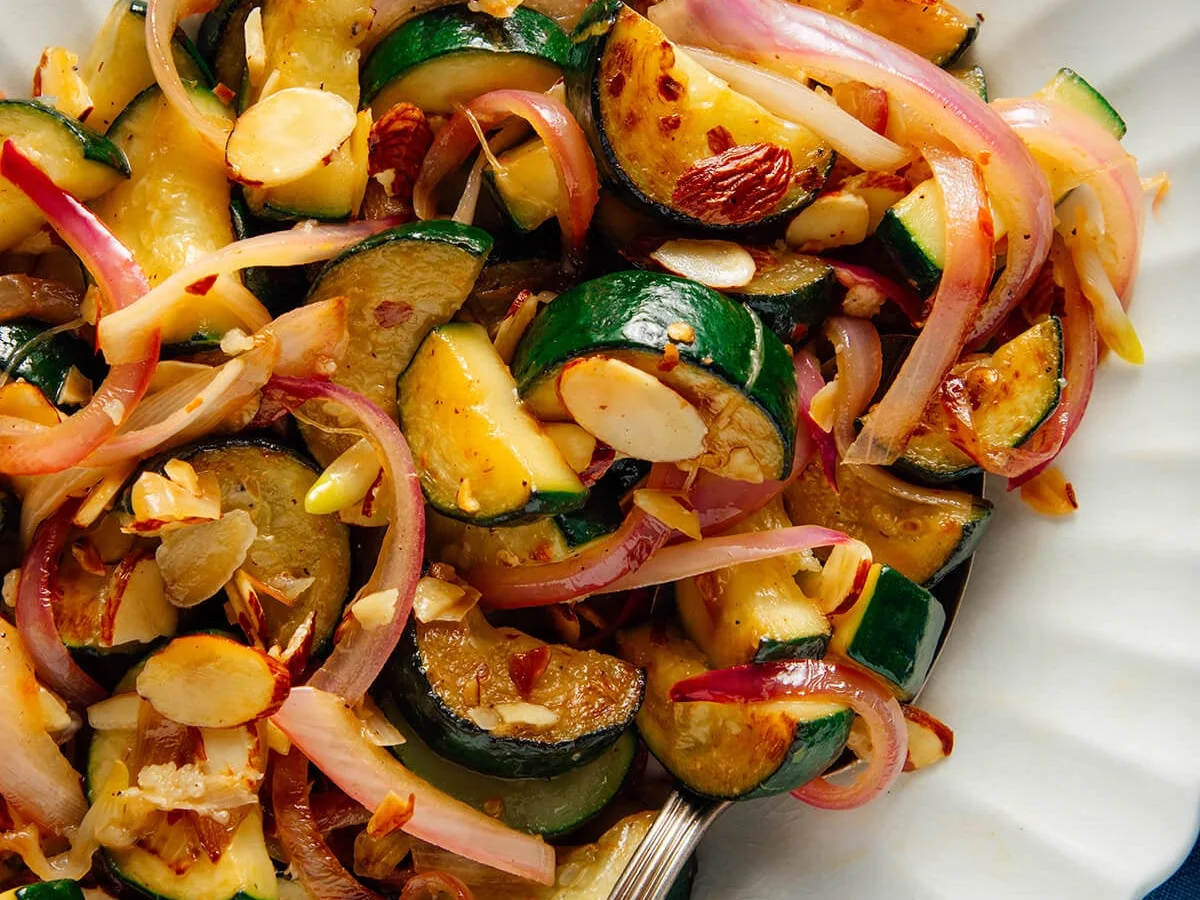
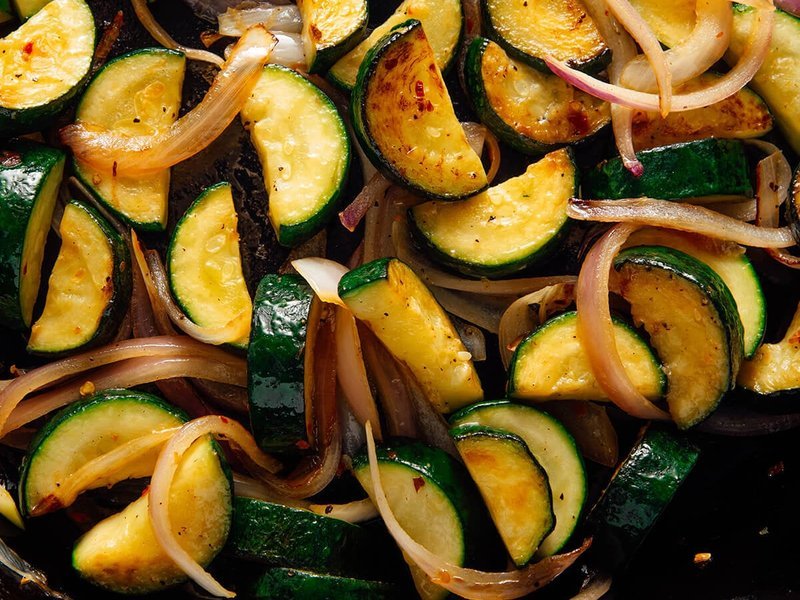
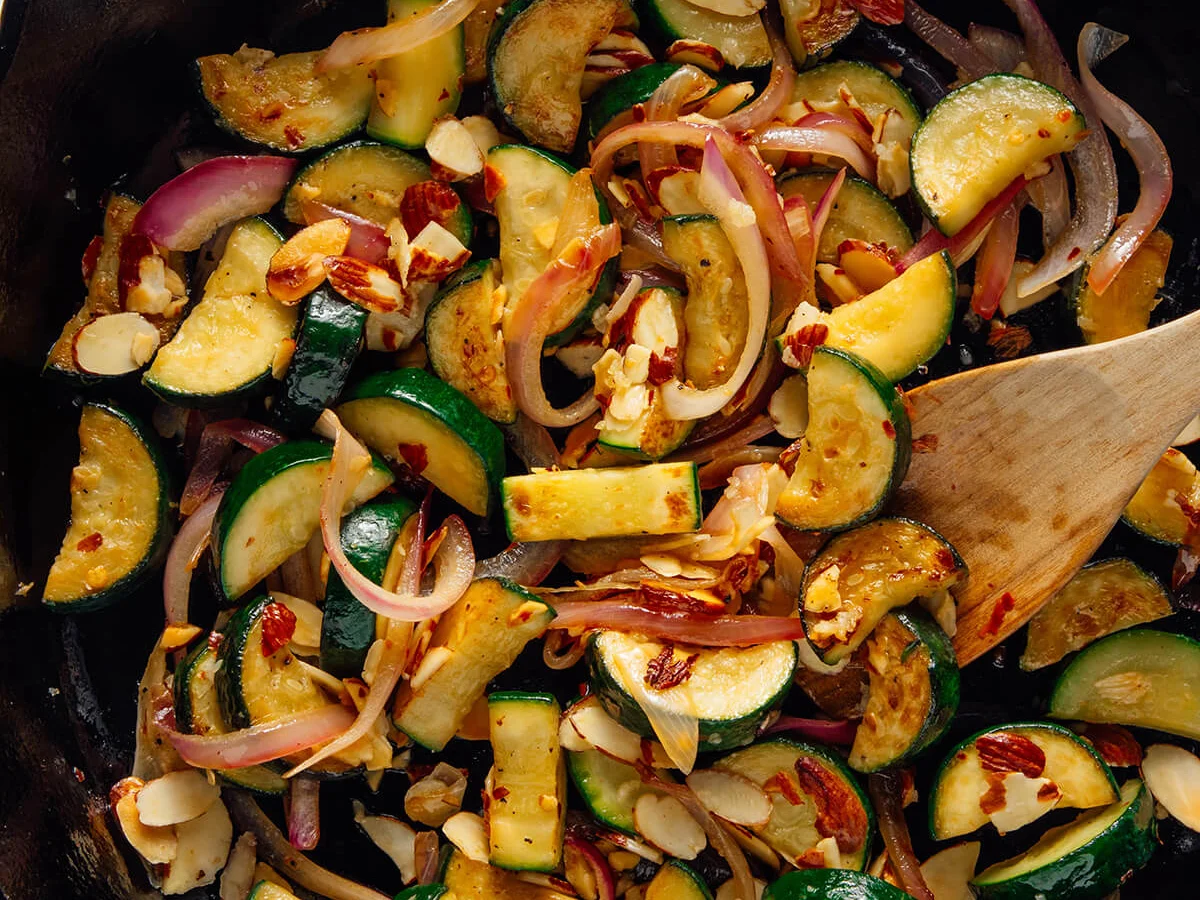
Then I made this. Caramelized zucchini, red onion, toasted almonds, garlic, a squeeze of lemon. One pan, 15 minutes, start to finish. The zucchini comes out tender all the way through and golden at the edges, not the usual sad, soggy mush instead. This is the side dish I am making all summer, and I am not sorry about it one bit.
Why this works
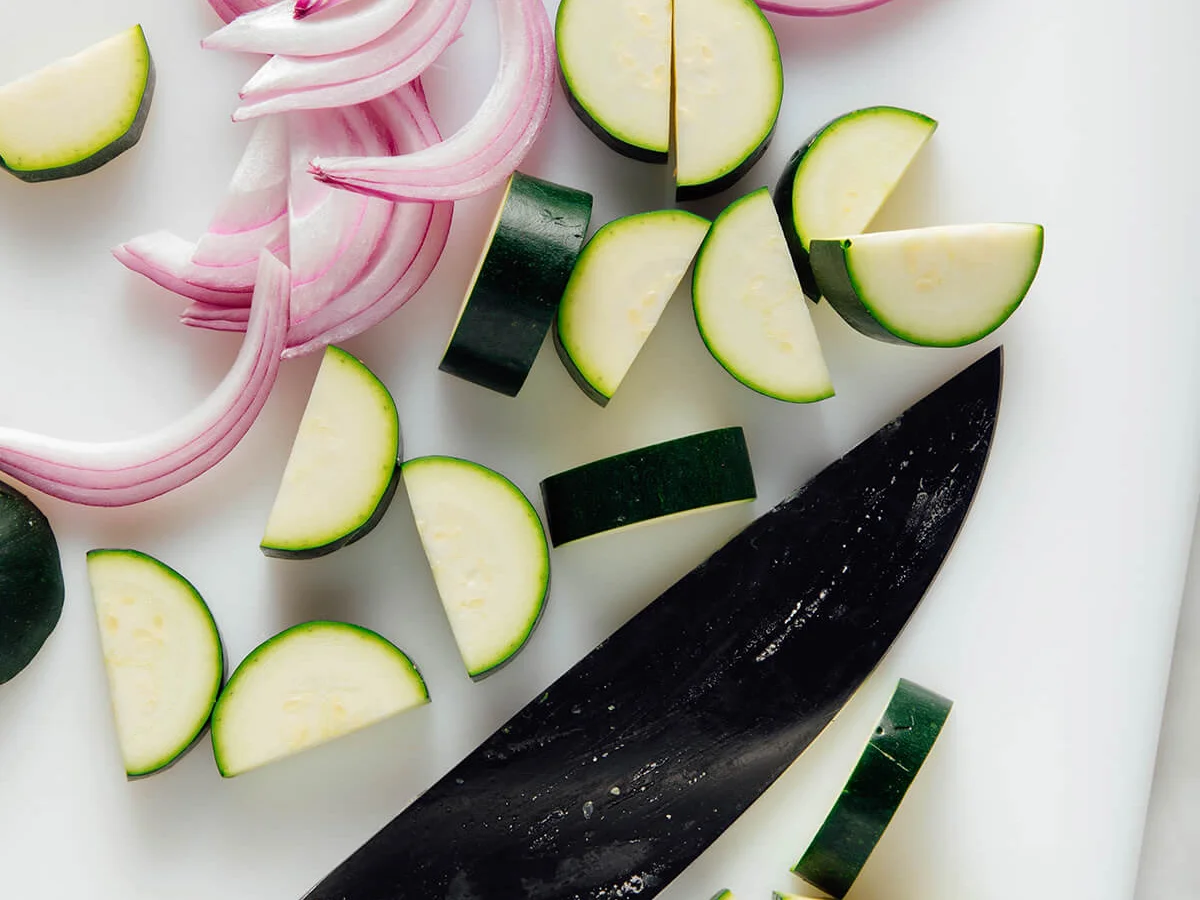
Zucchini is about 95% water, which is exactly why it turns to mush if you treat it like everything else. The trick is thickness — half-inch slices give the outside enough contact with a hot pan to brown before the inside releases all its liquid. Give the zucchini space in the pan, and give it a few minutes before you start fiddling with it, and it behaves completely differently.
(If you’ve ever bought a firm zucchini at the market and it came out soggy and squeaky — that’s the moisture rebelling, not you. This method fixes it.)
Ingredients
15 minutes, start to finish — including the toast. Serves 4 as a medium side. Leftovers keep in an airtight container in the fridge for up to 4 days, and they reheat beautifully.
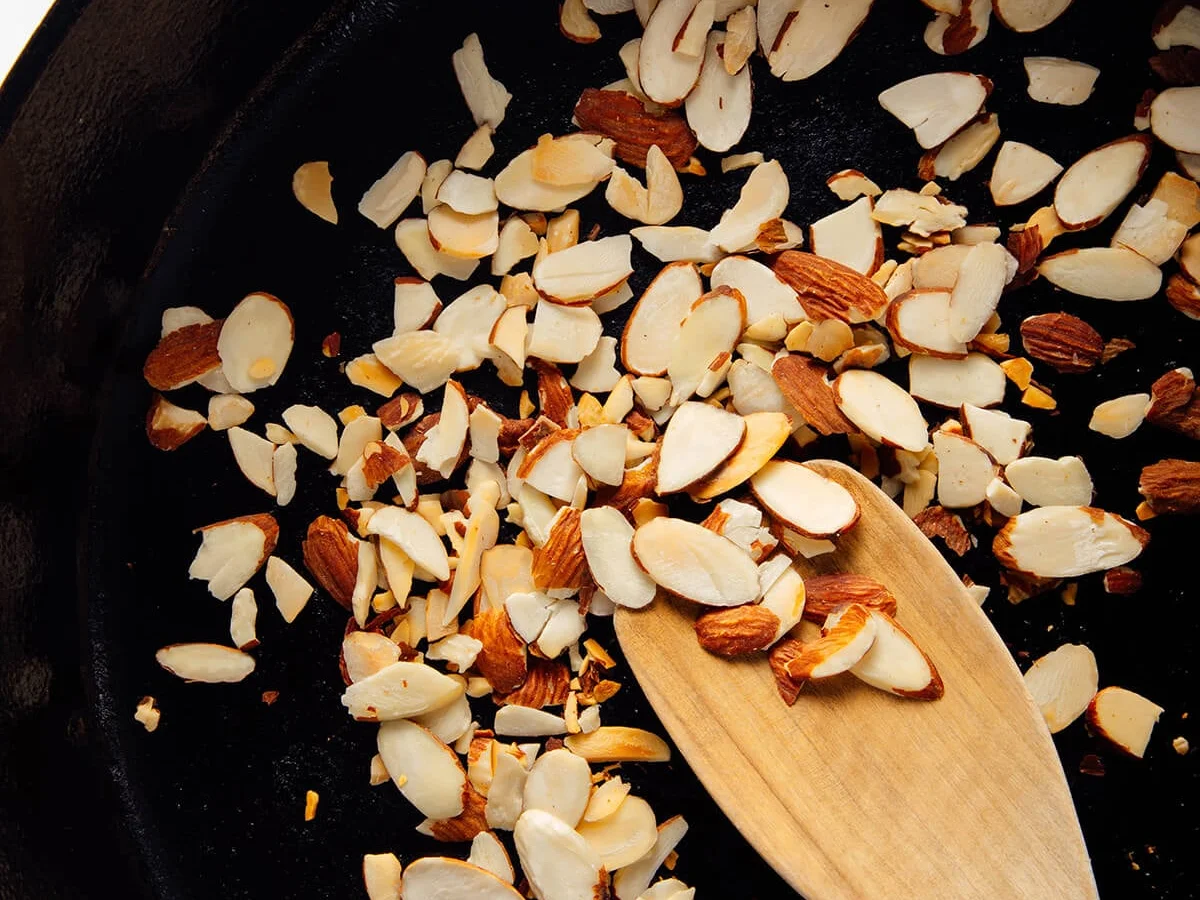
¼ cup sliced almonds
1 tablespoon olive oil
2 small-to-medium zucchinis (about 1 pound total), ends removed, halved lengthwise and cut into ½-inch (~1.3 cm) wide segments
½ medium red onion, thinly sliced
Fine salt, to taste
Pinch of red pepper flakes, if you want a little heat
Freshly ground black pepper, to taste
2 medium garlic cloves (or 1 large one), pressed or minced
1 tablespoon lemon juice, plus more to taste
Steps
Toast the almonds first. In a large 12-inch skillet (cast iron or stainless steel works great), warm the sliced almonds over medium-low heat, stirring often, for about 2 to 4 minutes until golden. Pour them onto a plate to cool. Leaving the skillet on the stovetop pre-heats it for you — one less thing to think about.
Get the oil hot. Return the skillet to medium heat and add the olive oil. When it’s shimmering, use a spatula or a big spoon to carefully add the zucchini — it’s full of water and the oil will pop. Don’t ask. Arrange in a single even layer and sprinkle with the sliced red onion.
Season. Add ¼ teaspoon fine salt, a pinch of red pepper flakes if you’re using them, and a few cracks of black pepper.
Cook 5 to 7 minutes. Resist the urge to stir. After 2 minutes, turn the zucchini over with a spatula, then stir or turn again about every minute after that. You want light browning and soft, not-sticky onion — the zucchini will keep softening as it cools.
Finish off the pan. Take the skillet off the heat. Toss in the garlic and the toasted almonds and stir for about 30 seconds in the residual heat — that way the garlic gets fragrant without scorched. Stir in the tablespoon of lemon juice and let it sit for at least 5 minutes.
Taste and serve. If it’s not zingy enough, add up to another tablespoon of lemon juice. Finish with salt and pepper to taste (I usually add a pinch or two of salt at the end) and serve warm.
A few notes from my kitchen
Thicker slices are your friend. Half-inch pieces are the sweet spot — thick enough to brown without falling apart. Cut them any thinner and you just have a lot of zucchini in the pan with no brown anywhere.
Skip the pre-salt trick. A lot of recipes tell you to salt the zucchini ahead of time to draw out moisture, then rinse it. I tried that, and my zucchini came out way too salty even after rinsing. Cook it straight — easier, and tastes better.
Toast the nuts before the zucchini. That way the pan is already warm when you dump the zucchini in, and you don’t have to go find another pan.
Don’t crowd the pan. About a pound of zucchini = one 12-inch pan, exactly, once cut up. If the pieces are too much, they’ll steam instead of brown, and that’s when you get the sad, smushed result.
What to serve it with
This is the side dish I reach for all summer — it’s light, it’s got real flavor, and it only takes 10 minutes of actual cooking time, so it won’t cook the whole kitchen.
It goes with basically anything from the summer table: tomatoes, corn, basil, Mediterranean-style food. I’ve been eating leftovers for the past few days, which is its highest compliment.
Keep it simple: a burrata-style salad, a white bean dip, some pesto pizza, a pasta with tomato and chickpeas — anything that doesn’t already have a green side. And if you want a fresh dessert to wrap it up, a simple fruit clafoutis is about as easy as it gets.
Trade-It Tip: No sliced almonds? Roughly chopped, toasted pistachios work just as well. Or if you’re keeping it nut-free, pine nuts (they’re actually seeds) do the job — or skip the nuts entirely, and the zucchini is still great.
Tell me how yours turned out in the comments. I hope this becomes your new go-to way of cooking zucchini too.
If it doesn’t fit a Tuesday night, it doesn’t get published.
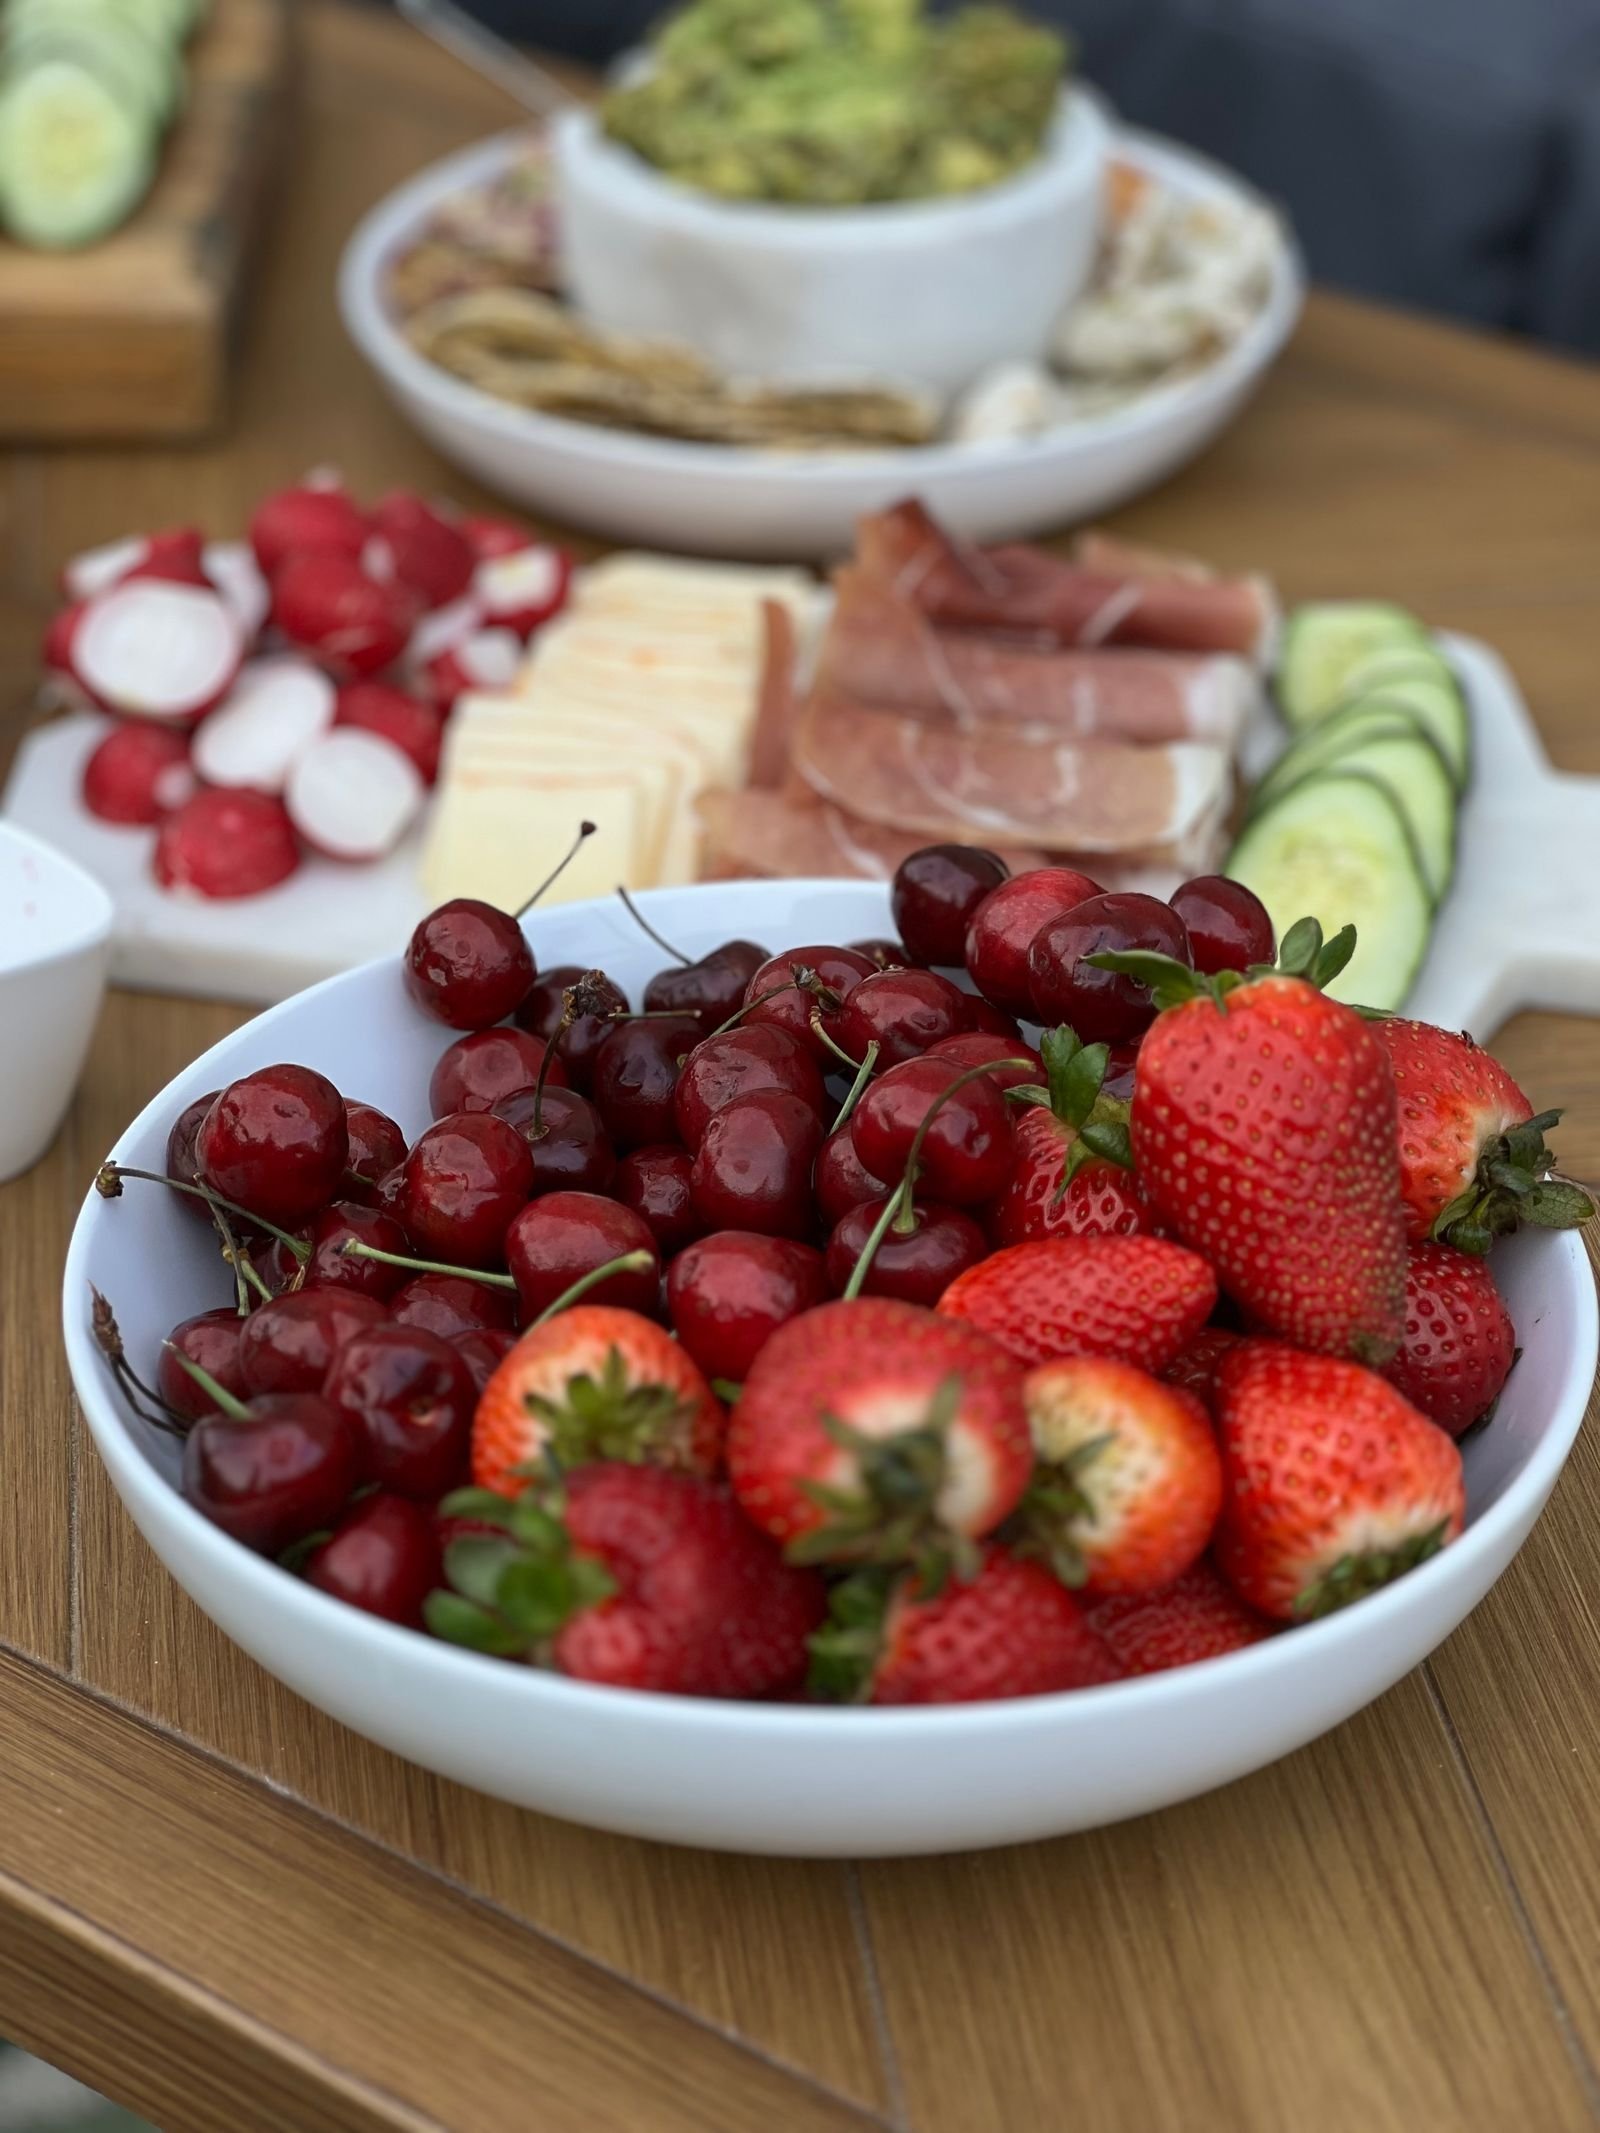
Summer is in full swing, which in my house means the grill is back on, the back door stays open, and somehow there are always people coming over. Here’s the thing I’ve learned after six years working a restaurant line: the best gatherings are the ones where the host barely looks like they tried. A crowd-pleasing appetizer, a platter of grilled vegetables, and a quick clean-up after — that’s the whole job.
So that’s what this post is: one easy appetizer recipe, a few honest tips on setting the scene, and the exact way I keep the kitchen looking good afterward. No hours of prep, no panic cleaning.
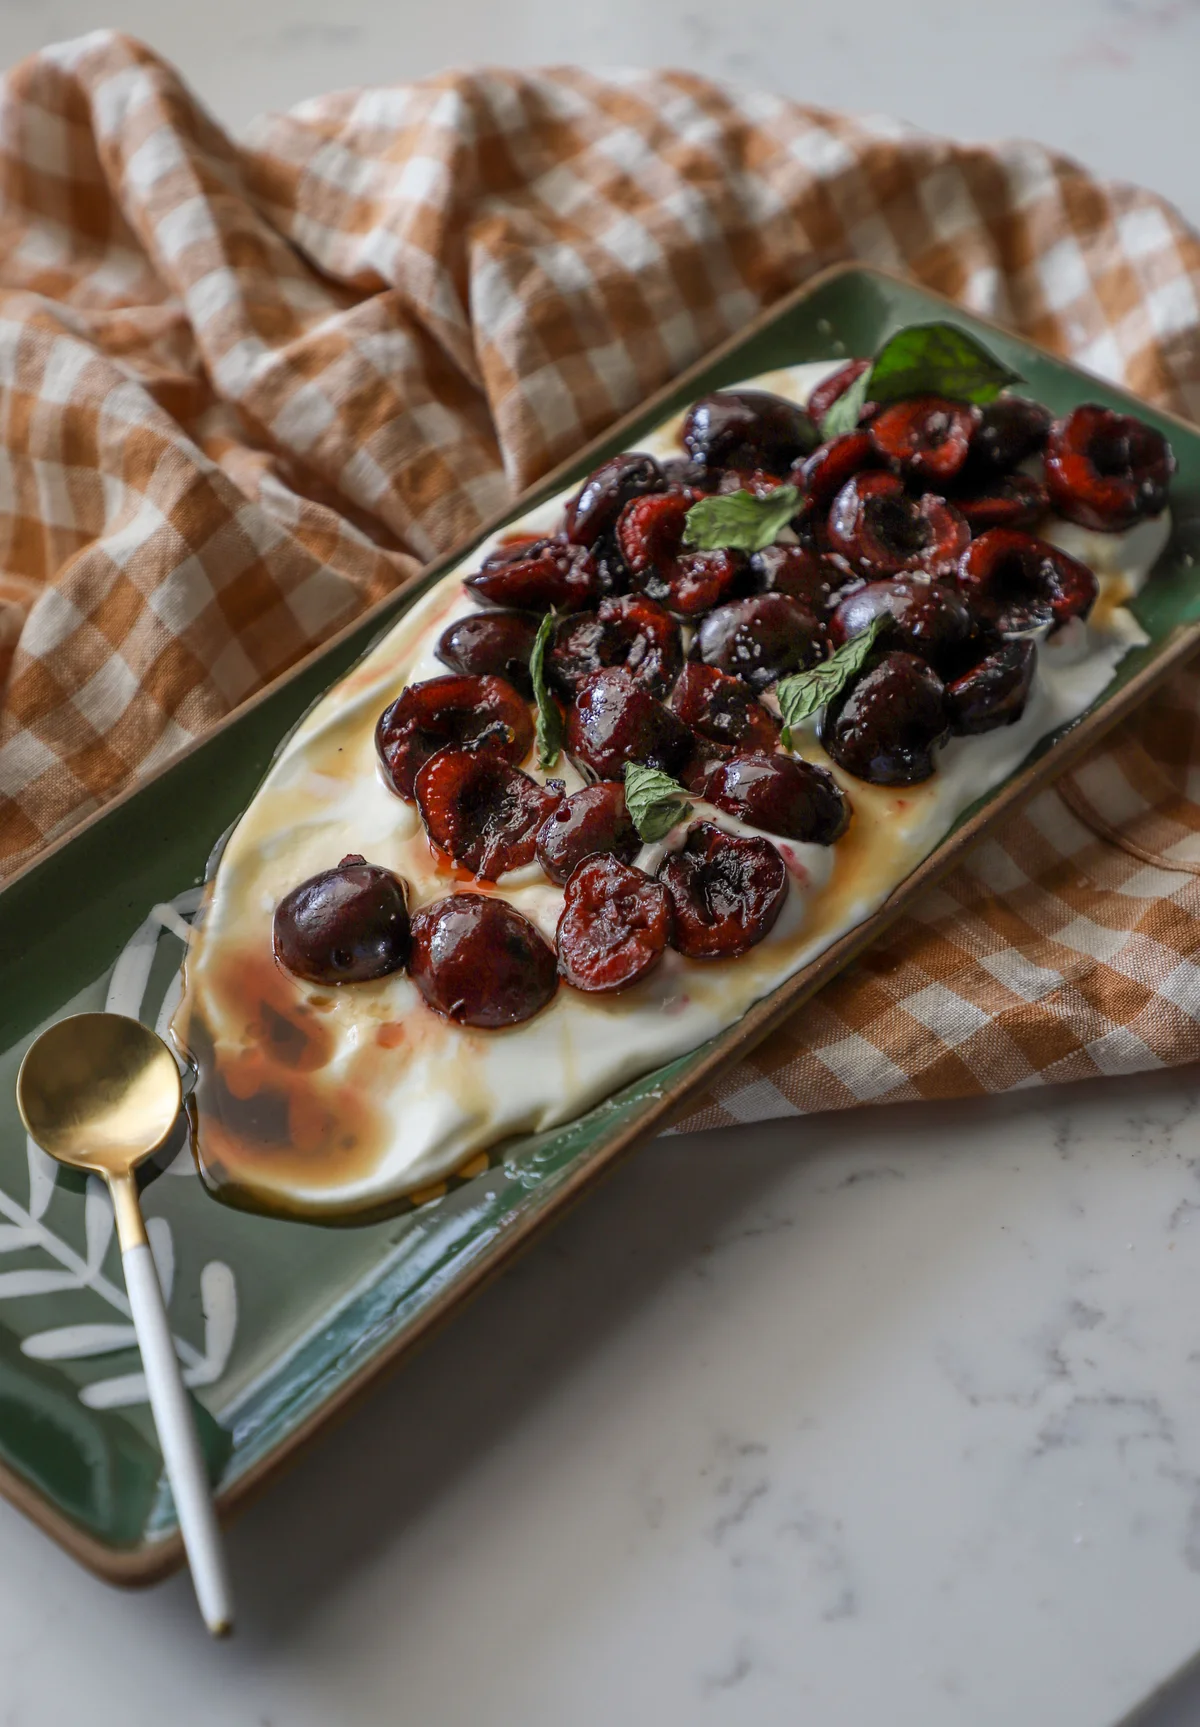
A Simple Summer Appetizer: Grilled Cherries with Whipped Goat Cheese
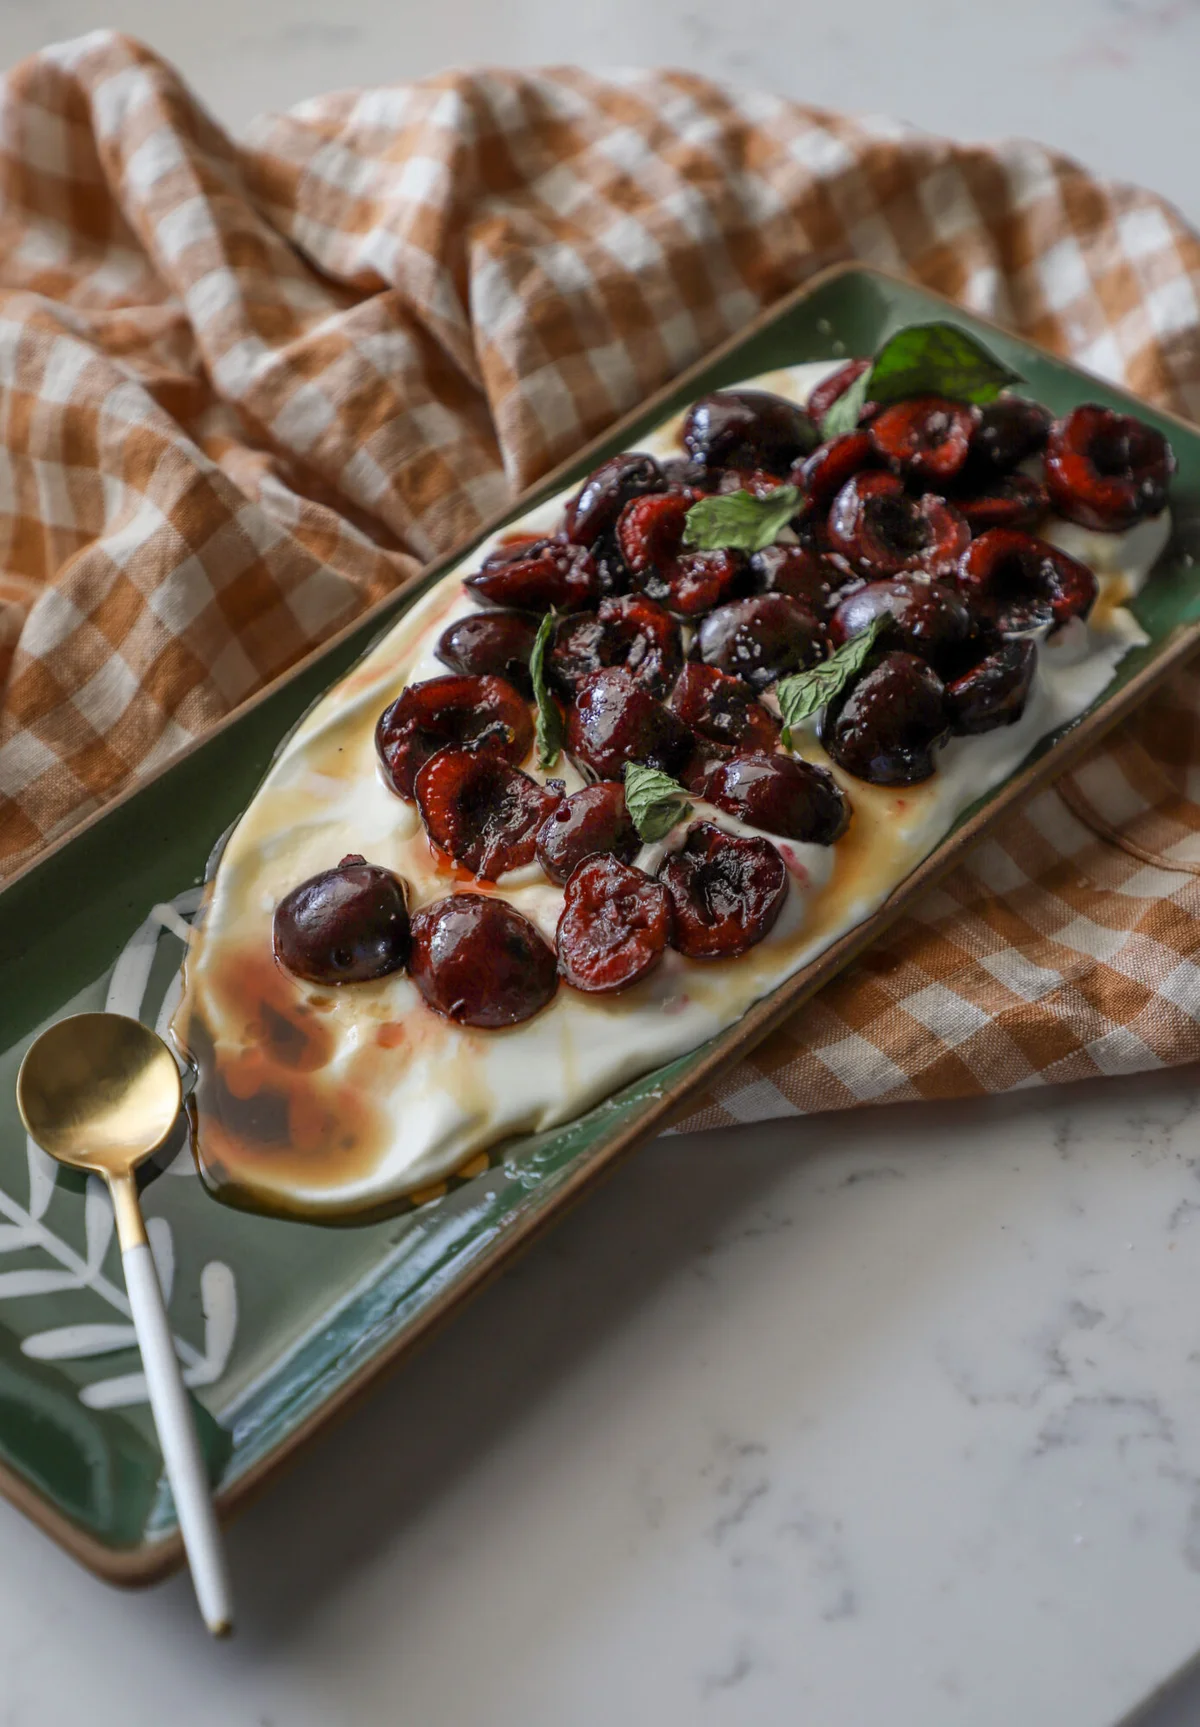
Chef’s confidence, not chef’s technique. That’s the standard I hold myself to these days. This dish looks like it came from a restaurant, but all it asks of you is a whisk, a grill, and about 15 minutes. Cherries are at their peak right now, and warm, charred cherries against cool, tangy goat cheese are guaranteed to impress — I’ve made it for backyard dinners and it’s always the first thing to disappear.
Why this works: grilling softens the cherries and concentrates their sweetness, while the whipped goat cheese adds a cool, tangy counterpoint. The balsamic-honey drizzle ties the sweet and savory together.
Ingredients
2 cups fresh cherries, pitted
4 oz goat cheese, softened
2–4 tablespoons heavy cream (or milk)
1 tablespoon balsamic vinegar
1 tablespoon honey
Olive oil
Salt and pepper to taste
Fresh mint leaves, for garnish
Instructions
1. Whip the goat cheese. Combine the softened goat cheese and 2 tablespoons of heavy cream. Whisk (or use an electric mixer) until creamy. Add more cream a splash at a time if you like it lighter, and season with salt and pepper to taste.
2. Prep the cherries. Toss the pitted cherries with a drizzle of olive oil and a pinch of salt.
3. Make the balsamic glaze. In a small bowl, stir together the balsamic vinegar and honey until well combined.
4. Grill the cherries. Preheat your grill to medium-high. Place the cherries cut-side down and grill for 2–3 minutes, then flip and grill another 1–2 minutes, until lightly charred and softened.
5. Assemble. Spread the whipped goat cheese over a platter, pile on the warm grilled cherries, and drizzle with the balsamic glaze.
6. Garnish and serve. Scatter over the mint leaves and serve warm or at room temperature, with fresh bread on the side if you have it.
Creamy, tangy, sweet, and savory all at once — and it’s genuinely pretty on a platter. If you only have time for one thing before guests arrive, make this.
The Secret to a Spotless Kitchen (Even After Cherries)
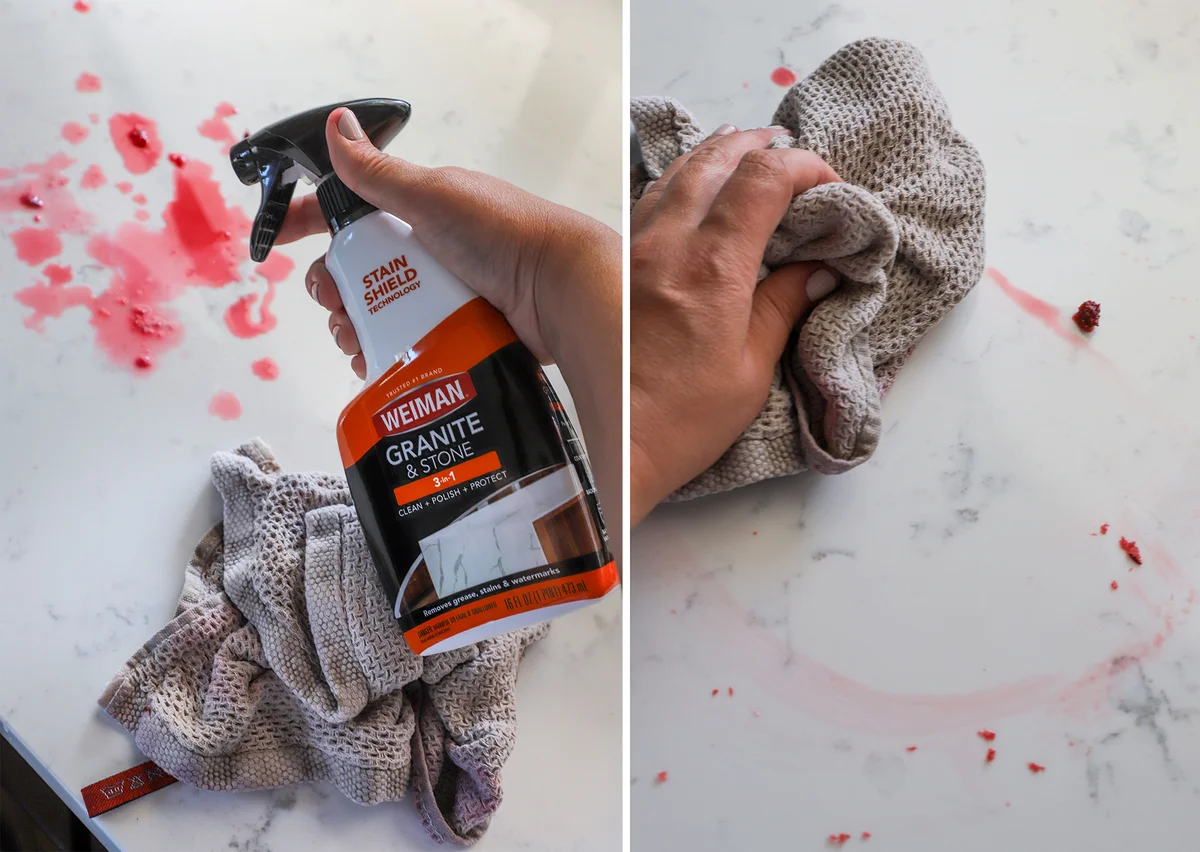
Cherries are delicious, and cherries are messy. The juice stains the countertop, and by the time everyone’s finished grazing, your hands are sticky too. Here’s what I keep in the cleaning caddy for exactly that kind of aftermath.
For stone counters — granite, marble, quartz — I use a dedicated 3-in-1 stone spray. You spray, you wipe, and the dark cherry stains lift without a scrub, and the counter comes up with a bit of extra shine. No fancy routine, just spray and wipe while the guests are still outside.
For the stainless steel — sink, faucet, and yes, the fridge door, which with two kids in the house looks like a fingerprint art project by lunchtime — I keep a stainless steel cleaner and a pack of wipes handy. Wipe down the faucet, give the fridge a pass, and it comes up streak-free with no scratching. Back when I worked the line, we wiped everything down with steel wool and prayer; a non-abrasive spray is a lot kinder to the finish.
While the cherries are on the grill, I do a quick pass over the serving space too — a wipe over the outdoor table and you’re set. The grill itself gets the same wipe-down before it goes back in the garage, so next time you fire it up it’s not a project.
Setting the Summer Scene
While the cherries are grilling, I toss some colorful summer vegetables on the same grill — zucchini, peppers, whatever’s cheap and ripe that week. Once everything’s done, it all goes on one big platter. A few wildflowers in a jar, the bread on the side, and the backyard is ready for whatever the evening throws at you.
Ready to Host? Here’s the Whole Job
One seasonal, crowd-pleasing appetizer (the cherries, above)
A platter of grilled vegetables to fill it out
A clean, sparkling kitchen and serving space
That’s it. No centerpiece shopping, no four-course menu, no three separate pans. One platter, one grill, one wipe-down — and you’ll be the person everyone asks for the recipe.
Trade-It Tip: No goat cheese? Cream cheese works — same tang, same creamy base, and it whips up just as easily.
If it doesn’t fit a Tuesday night, it doesn’t get published.
Don’t get me wrong — I absolutely love a good plate of steak. But I’ve noticed that when people order steak, they’re not just thinking about the meat itself. They’re thinking about the whole plate: the sides, the potatoes, the salads, all of it.
The thing is, most steak side recipes you’ll find online are either way too complicated (why am I making a full recipe just to accompany a steak?) or so uninteresting that people skip them entirely. So instead of listing every ridiculous mashed potatoes variation you’ve ever seen, here’s what I actually use.
I’ve been eating steak for a long time now, and I’ve built up my own go-to rotation based on what I actually like, what I don’t, and what’s easy to make. No complicated techniques, no 25-ingredient sauce. Just sides that taste great next to a steak and are simple enough to pull off even on busy nights.
The general approach: pick your main (we’ll talk about which steak works best for which situation) and then build around it. I group the options below into four categories: Warm and Creamy Sides, Steak Side Salads, Quick Vegetables, and Potato Based Sides.
If you’re looking for the quick version, here’s the rule I use: don’t stack two heavy sides on the same plate. That’s literally the only mistake people make. The reason it works is simple: when you eat a rich, fatty steak, your stomach is already doing a lot of heavy lifting. Adding a pile of scalloped potatoes or a slab of buttery fries on top turns what should be a satisfying dinner into a food coma. One heavy side plus something light keeps the plate balanced.
Warm and Creamy Steak Sides
This is where most of the real steak dishes I’m actually obsessed with live. Creamy sides paired with green and fresh do something special — they cut the richness of the steak without competing with it.
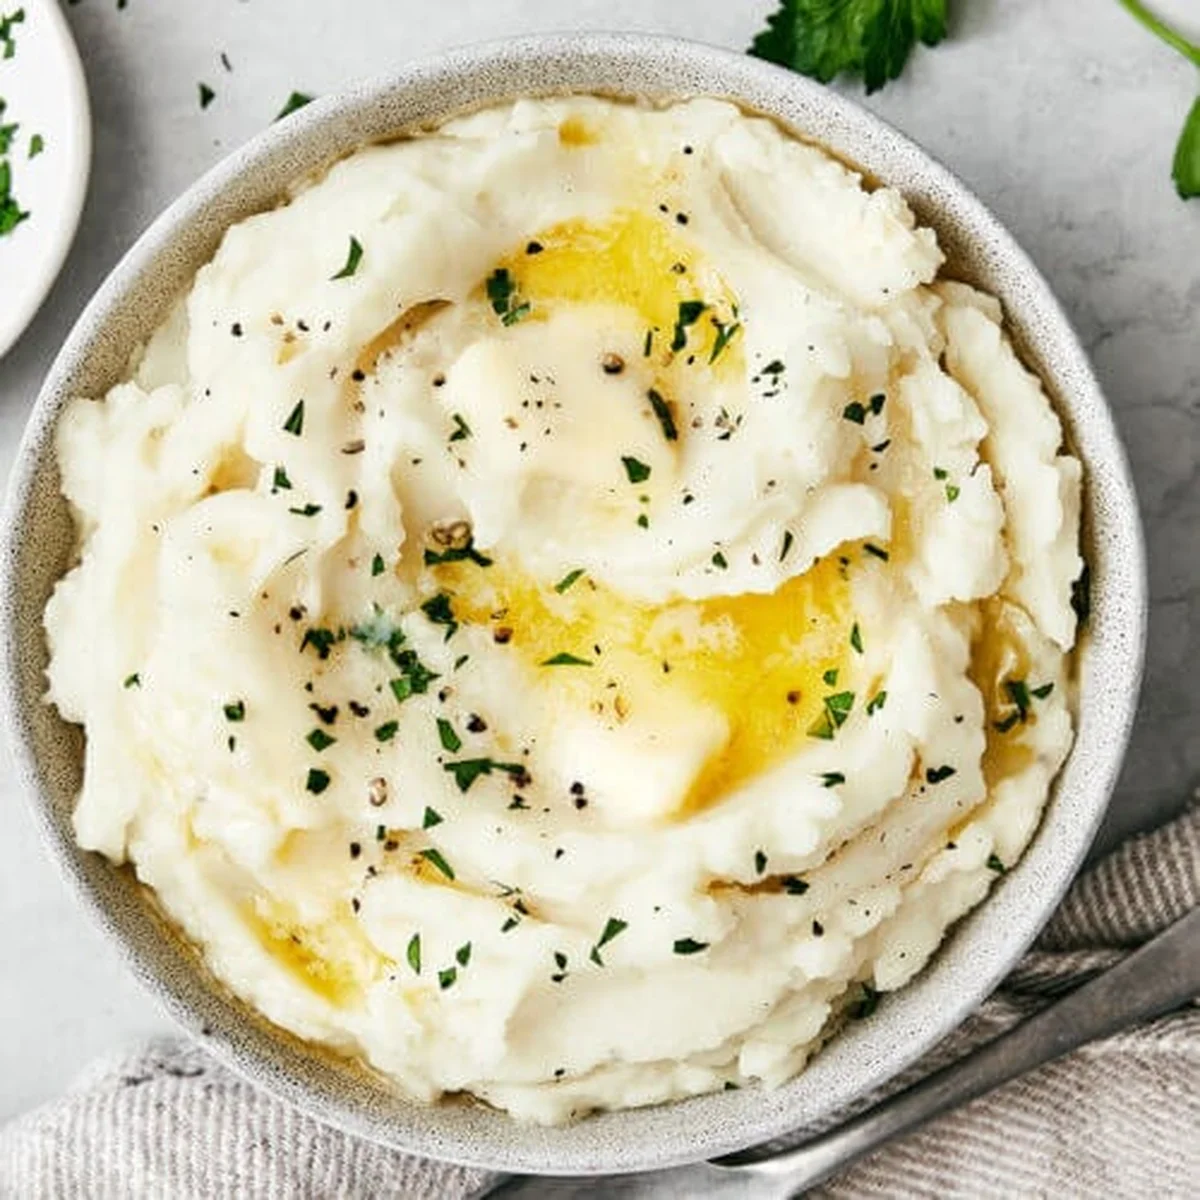
Classic Mashed Potatoes — this is the one I reach for most often. Buttery, soft, and exactly what a steak night calls for. If I’m planning a grilled ribeye or a pan-seared strip, mashed potatoes are the first side I make. It takes about 20 minutes start to finish and takes care on its own.
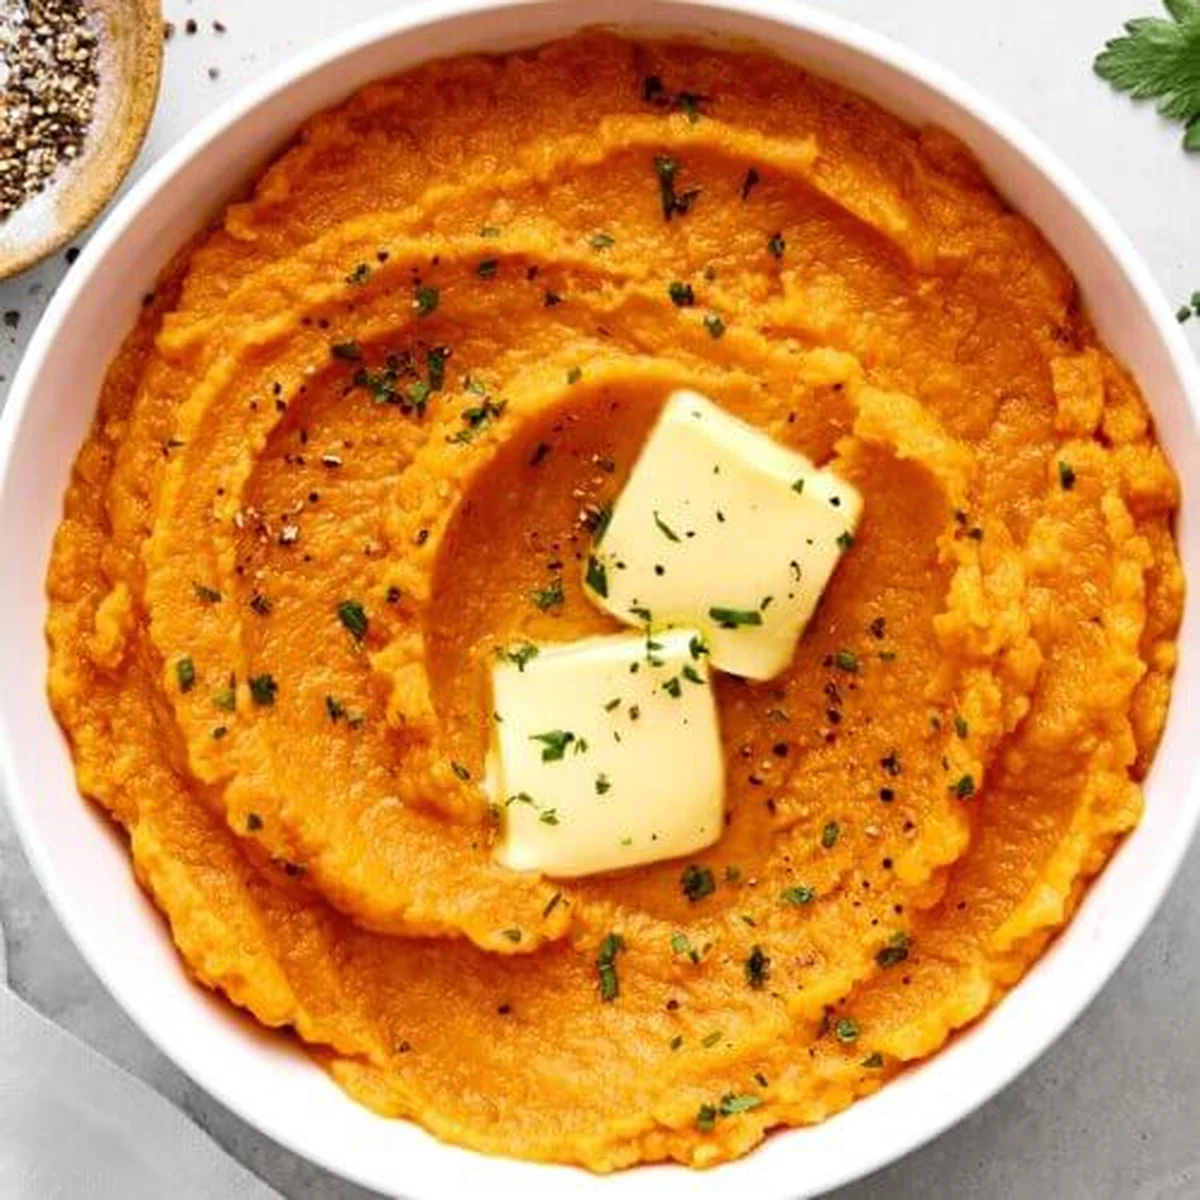
Mashed Sweet Potatoes — I’ll trade in for this one when the main is a little lighter. It’s creamier and naturally sweeter, which works really well with a leaner roast or a strip steak rather than a fatty ribeye. No need for salt or herbs just because it’s “less rich” — it doesn’t need them.
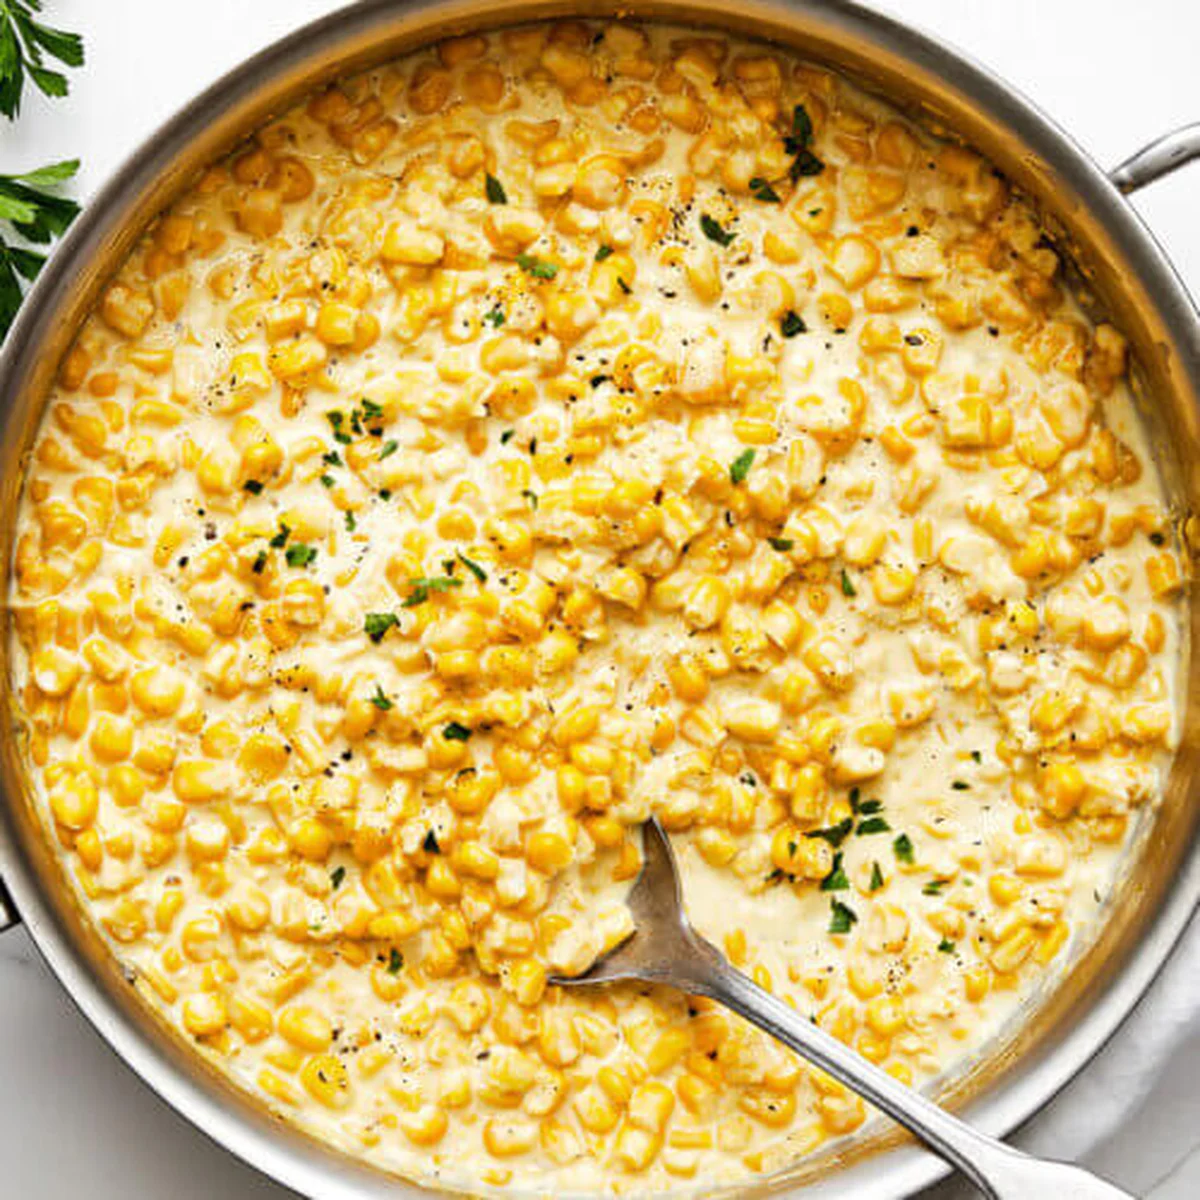
Perfect Creamed Corn — this is the one I’m a little embarrassed about because it is so obviously good. I don’t usually do much sweet corn unless it’s actually in season, but when it lands on the table next to a grilled ribeye, it disappears before the steak does. Make a big batch under a cold oven and it holds for hours — no one’s ever asked for a second serving because there wasn’t one left.
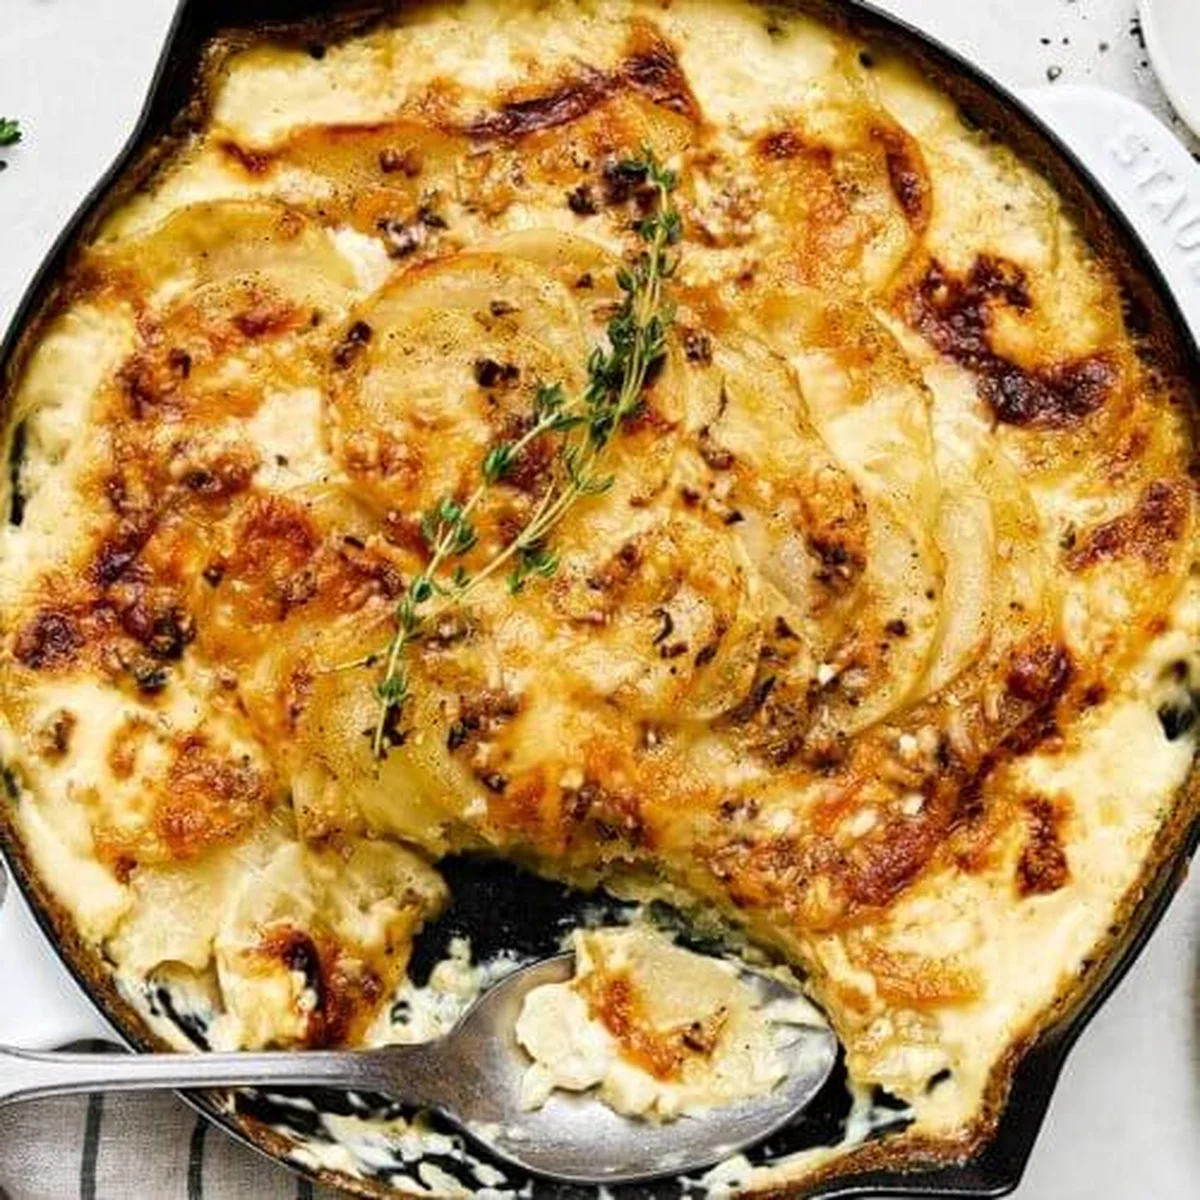
Scalloped Potatoes — this is the one I’m the proudest of. It takes the longest (I’d say 45–60 minutes start to finish, including searing and baking), but when I’m comfortable and there’s no deadline, it’s the one I bring to dinner parties. The texture is somewhere between a casserole and a proper skillet dish. Not every weeknight, but when you have time, you’ll know what to reach for.
Creamed Corn (Or Seasonal Equivalent) — I’ve listed this under warm sides, but I do grab a seasonal stand-in when corn’s not at its peak. Some people are confused about why a creamed corn shows up twice — once here once at the top — and the answer is simple: it’s the one I genuinely can’t stop making. No recipe is sacred. The list is for me to remember which ones I want to reach for without thinking too hard.
Steak Side Salads
This is the side that saves a plate. You need something fresh to balance the richness, and the best salads I’ve tried for this job have a few things in common: they hold up, they don’t get soggy in under 30 minutes, and they have enough acid that they don’t get lost behind the main course.
Simple Kale Salad — this is the one I reach for when I want something heartier than a basic green salad but without making a separate workout out of it. It holds up through a full dinner, which is exactly what you want next to a steak. Oil, dressings, a pinch of garlic — that’s it. The kale doesn’t wilt the way lettuce does, so if you’re plating early, you’re fine.
Easy Cucumber Salad — the one I turn to on a hot summer evening. Light, crisp, and very easy to pull together. Squeeze of lemon or a splash of vinegar, nothing too complicated. The whole point is that it should be cold enough to feel like a palate reset between bites of something richer.
Best Creamy Coleslaw — old-school, creamy coleslaw. I’m not a massive coleslaw person by default, but paired with a steak, the crunch and the tang carry through. It’s the side that makes a simple steak dinner feel like a restaurant plate without adding two more pans to the sink.
Quick Vegetables
This category is the one I use most often on a strictly short-weeknight. No 20-minute prep — these are the kind of things you can get done in directly on top of a preheated pan, basically. You’ll need a knife, oil, salt, and maybe a squeeze of lemon. That’s the whole toolset.
Roasted Asparagus — spring staple, obviously. Peel the Ends a touch, toss in olive oil, throw in the oven while the steak sears. 15 minutes and it’s done. Squeeze of lemon right before plating. I don’t add a sauce. I’ve tried a few and none of them beat the simplicity.
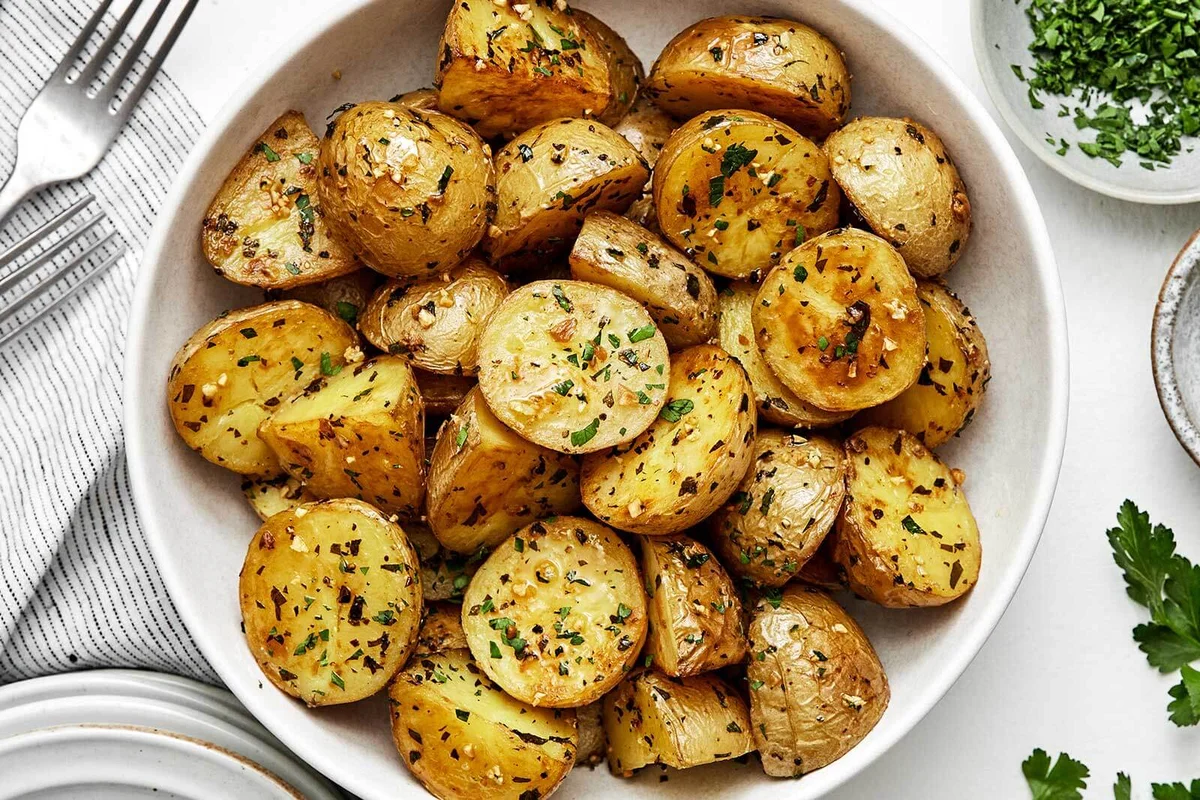
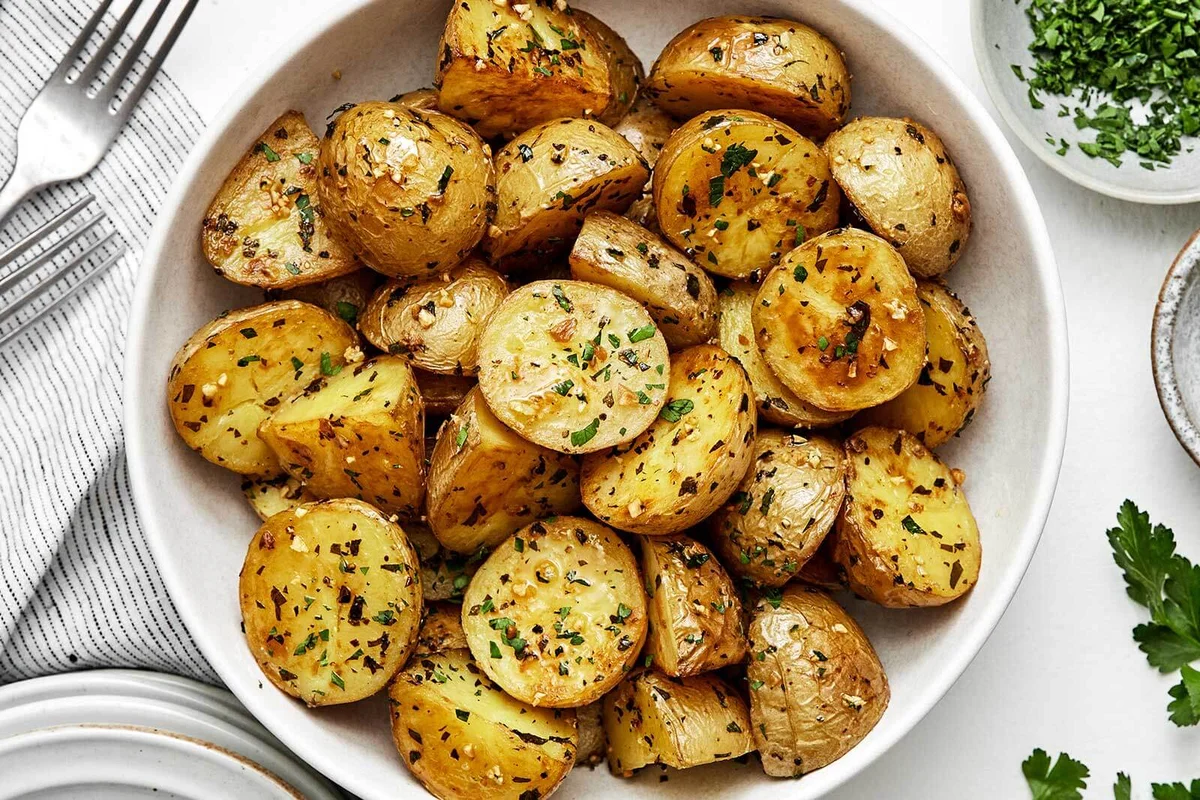
Garlic Herb Roasted Potatoes — crispy outside, soft inside, throws that garlicky sizzle that wakes up the whole kitchen. This is the one I use when I have under 20 minutes and want something that feels like effort without actually being effort. It also makes the base for a bigger meal if it turns out better than planned.
Roasted Broccoli (Garlic & Parmesan) — the crispy-flopping broccoli version. I’ll do this on a Wednesday night when I’m not going to spend 45 minutes on the slice pot thing. The key is not to crowd the pan; crowded broccoli steams and you end up with mush. High heat, space, a small amount of time — that’s the whole secret.
Roasted Brussels Sprouts — I don’t make these every week. They’re not my favourite, but I’ve made a version with balsamic and something that works well enough to send them out. When sprouts are actually cheap and in season, I’ll make a simple version with a squeeze of honey and sea salt. It’s the kind of thing you’ll make once, not every time, but it works if you’re running out of ideas.
Green Beans with Shallots and Lemon — this is the one I use when I want something that’s genuinely light and genuinely fast. A handful of shallots, a splash of lemon, a quick sauté. No truffle oil on the step — you don’t need truffle oil for this, just a little garlic and a little acid. It’s the biggest compliment I’ve gotten from guests on a dinner plate, which is more than I can say about most things.
Sautéed Mushrooms — rich, buttery, and I’ll serve this alongside a ribeye without a second thought. It’s the one I’d bring to a dinner party if I was running out of time and needed something that looked like I’d made an effort. I don’t overcomplicate it. Butter, garlic, thyme, a few minutes on the heat.
Simple Roasted Mushrooms (different from sautéed, much — this is the oven version. Less butter, more of that garlic-y roasted flavour.) I use this when I want more of a hands-off approach. Slightly different in texture — more of a deep savour than a sear. Turn the oven on while the steak is resting; you’ll have it plated in under the time it takes to grill a strip steak.
Balsamic Roasted Mushrooms — when I actually have time, I’ll swap in balsamic and a touch of honey. The sweetness cuts through the fat of the steak and it’s the kind of pairing you feel like you should have thought of yourself. I’m not a purist about this — I’ll use a dry red wine instead of balsamic sometimes depending on what I had in the fridge. The recipe is in the section above.
Potato Based Sides
I’ve made a whole section for these because I get asked about them specifically so often. If you want a steak dinner that isn’t just steak on a plate, this is where you start. The trick with all of them is the same: don’t overwork the potatoes, and don’t skip the salt.
Grilled Corn on the Cob — summer only, obviously. The cleanest form of but I still cook it with a brush of butter, a sprinkle of salt, and sometimes a little pepper. If you don’t have a grill, the oven works fine. Char isn’t the whole point, just a good season.
Grilled Corn and Zucchini Salad — this one’s a summer special. Grilled corn and zucchini, tossed with jalapeño, cilantro, onion, garlic, and a squeeze of lime. I make this when the kids are home and I need something cold on the table next to a grilled steak. Takes a grill, a knife, and a bowl. That’s it. It’s the kind of thing that makes a steamed corn on the cob look ordinary and that’s fine.
Roasted Green Beans Almondine — the almost fancy one. Green beans with toasted almonds and roasted garlic. It takes longer than a stir-fry but less than a casserole. I’ll do this one for a dinner that’s a stretch but not a special occasion. If you’re making a ribeye, pair this with a simple potato and a side salad and you’ve got a full plate without doubling up on weights.
A Note on Building the Actual Plate
All the way through, the thing I keep coming back to is this: the side is only good if the plate works together. So here’s how I actually choose, in order:
Pick your steak. This matters more than most people think — a fatty ribeye needs different balancing than a lean strip. You want something lighter and brighter if the meat is already doing heavy lifting.
Add one warm or creamy side from the first section. This is the comfort component. It gives the meal something solid without going overboard.
Add one salad. This is the reset button. No steak plate should go out without something acidic and fresh on board.
If you have time, add one vegetable from the quick section. This is the thing that makes the plate feel like it was built on purpose rather than assembled out of whatever was in the fridge.
That’s it. That’s the whole system. If you try two heavy sides, you’ll regret it. If you skip the salad, the plate will feel flat. If you follow the above, you’ll have a plate that actually works — dinner-perfect, no leftover guilt, no food coma at 9pm.
Trade-It Tip
No mushrooms in the house? Roasted baby potatoes work almost as well in the same pan. Same crunch, same garlic situation, barely different time. I’ve done it a handful of times and no one in the house has ever noticed. Not a lie, just been known to happen more than once.
If you try any of these and want to tell me I was wrong about something, or you made a version better than I did, this is the comment box I was using to keep track of that kind of thing. I read everything.
If it doesn’t fit a Tuesday night, it doesn’t get published.
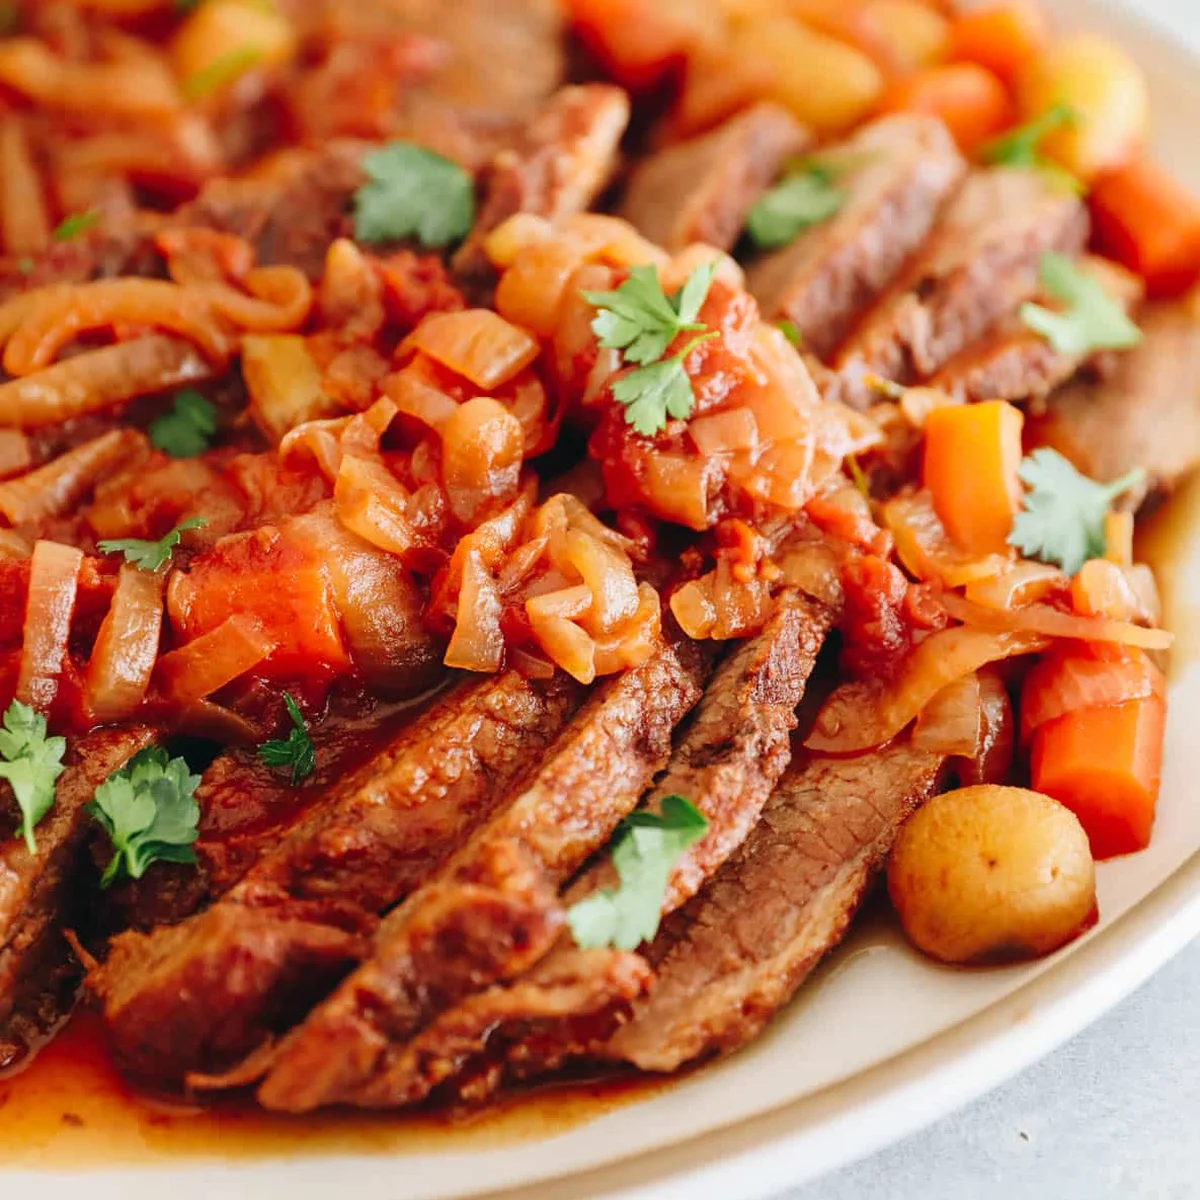
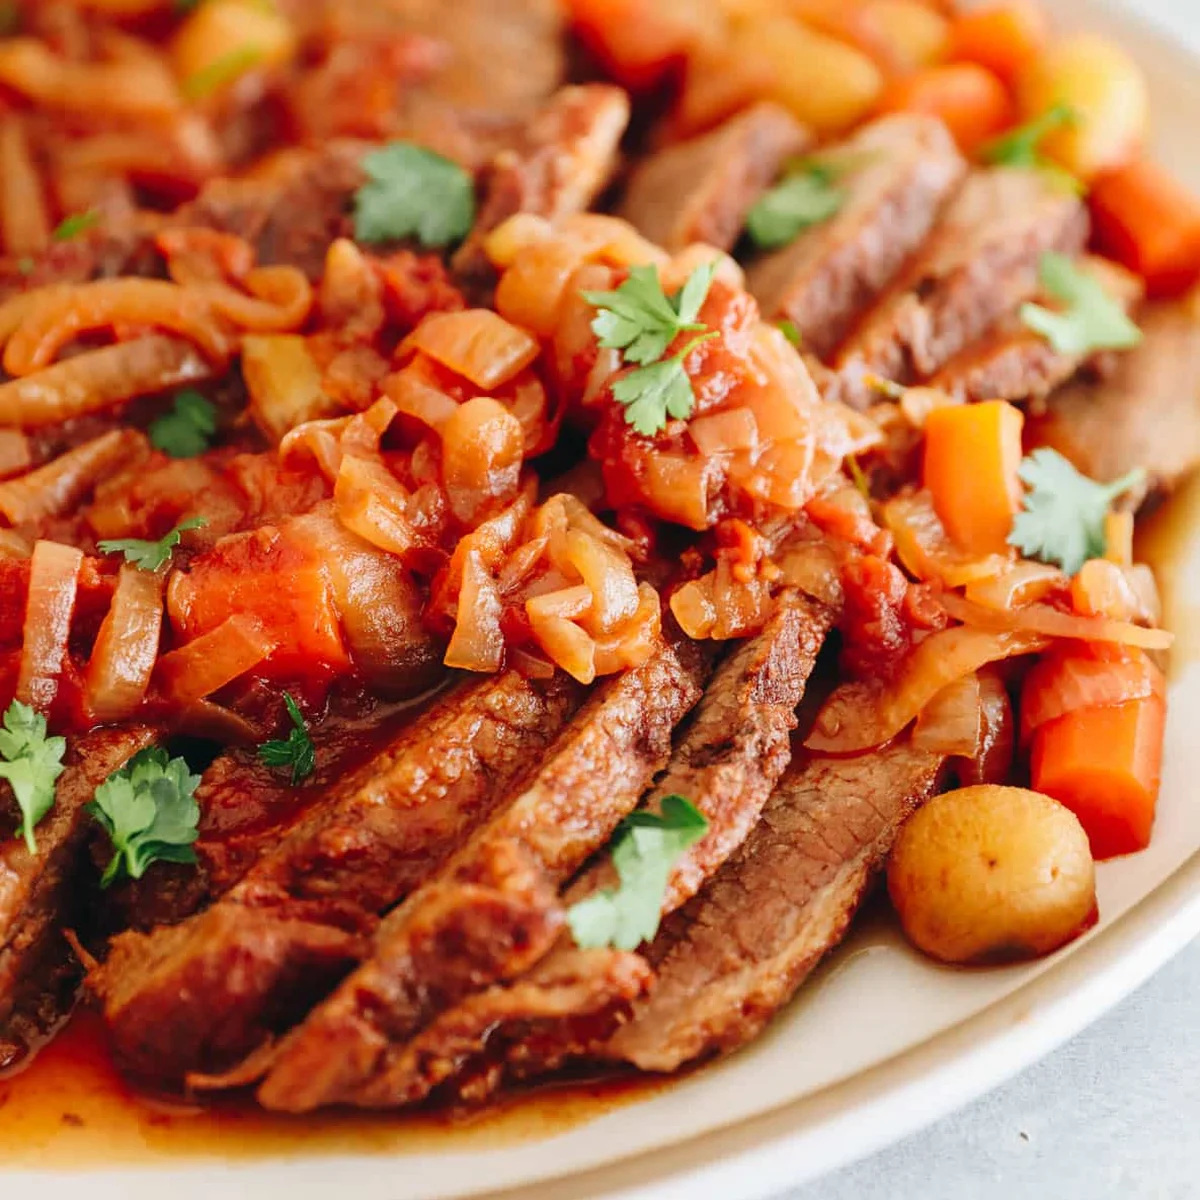
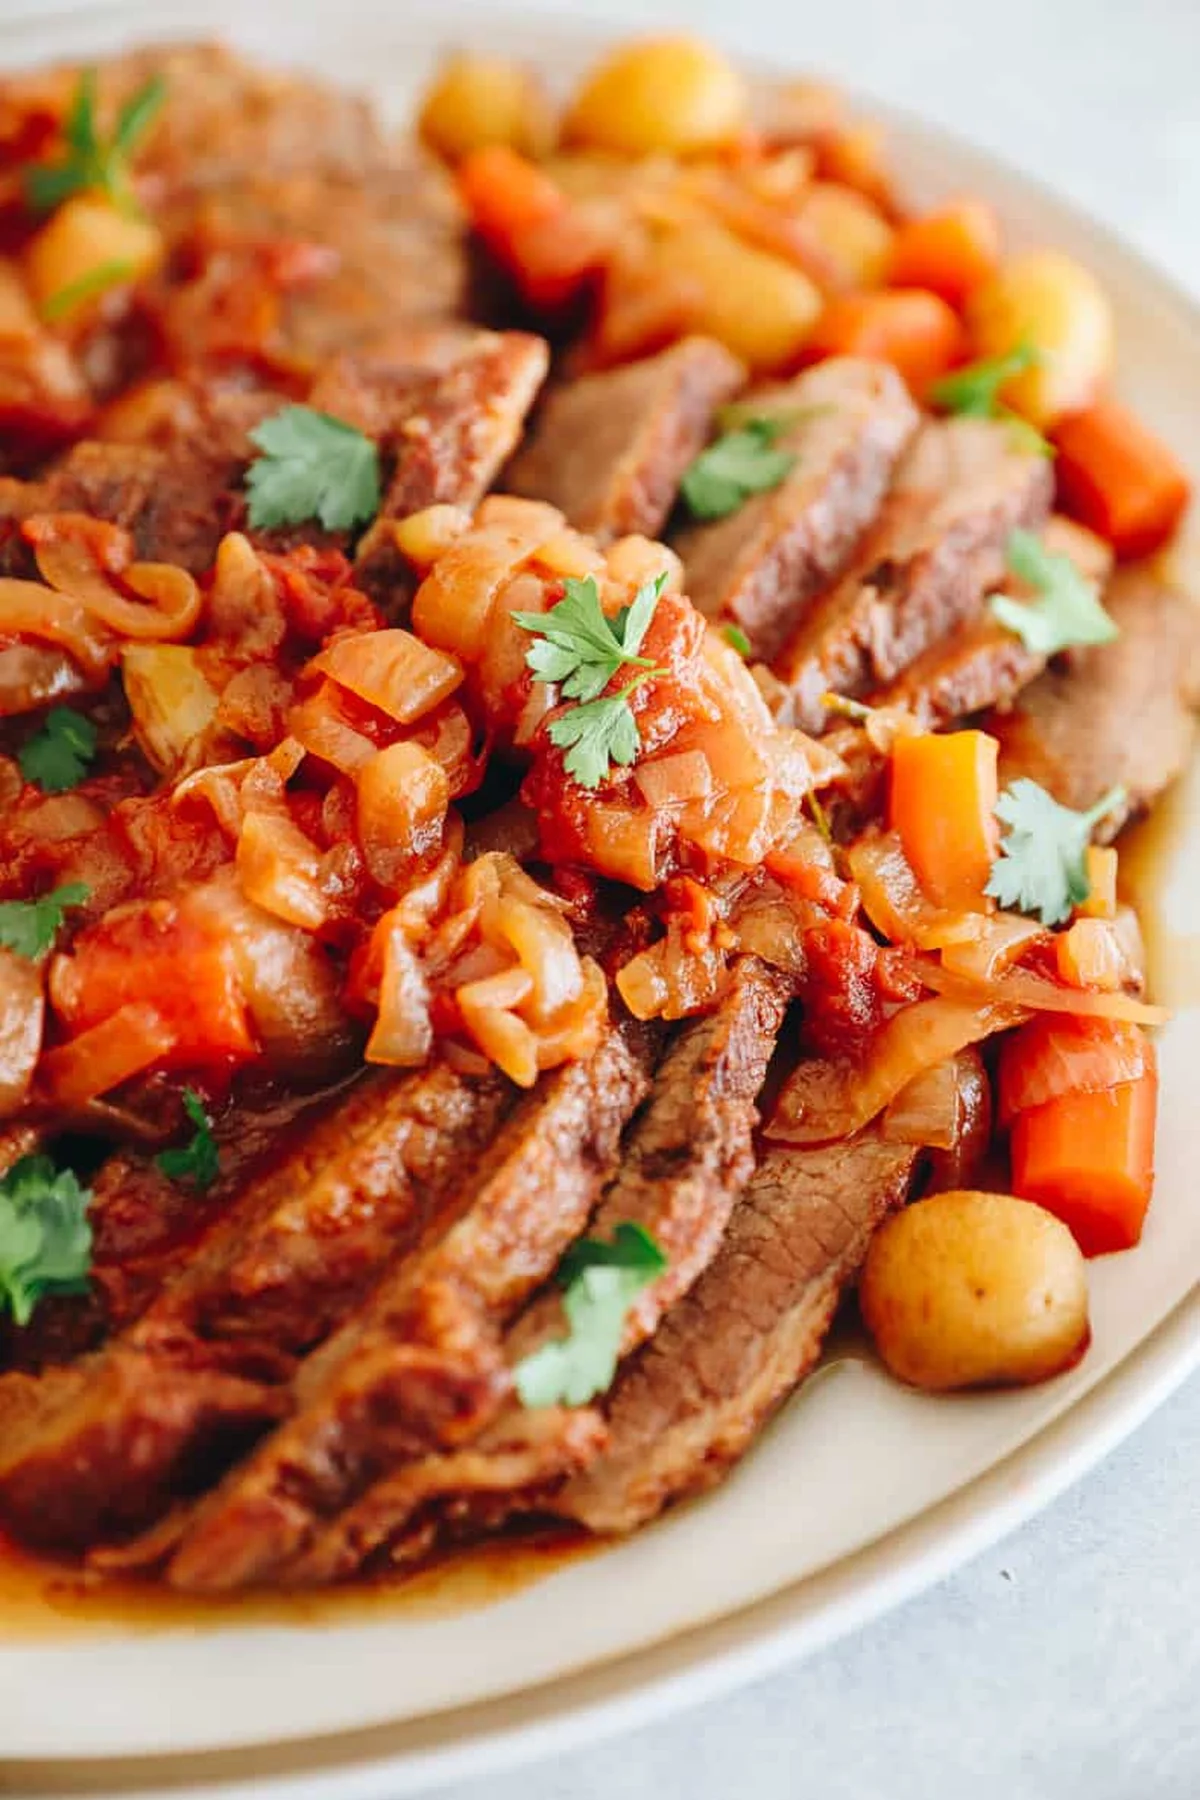
I used to think a brisket was a smoker person’s project. Then I spent a few weeks in my kitchen perfecting this oven version and realized the whole thing is one pot, one sauce, and a very patient oven.
This is a classic Jewish oven-braised brisket, the kind that’s on the table for Passover or Rosh Hashanah. Mine started as my bubby’s recipe, which, to be fair, included a ton of ketchup and I’m pretty sure some cola, too. This is my take on it. It comes out tender, sweet, and saucy, and it’s the kind of dinner that makes a house smell like a holiday even when it isn’t one.
Why this works
Brisket is one of the toughest cuts on the cow, packed with connective tissue. Cook it slowly enough and that tissue breaks down into gelatin, which is exactly why the meat feels so tender and the sauce gets all glossy and rich.
What you’ll need
A dutch oven is the easiest way to do this, but a large oven-safe pot or a big aluminum pan tented with foil works just as well. Here’s the shopping list:
5–6 lb (2.3–2.7 kg) beef brisket, point cut if you can find it — it’s juicier. Flat cut works too.
1 tbsp (15 ml) kosher salt
1 tsp (5 ml) black pepper
1 tsp (5 ml) smoked paprika (sweet paprika works too)
10 garlic cloves, peeled and kept whole
2 tbsp (30 ml) olive oil, divided
2 large sweet onions, sliced (yellow onions are fine)
6 oz (170 g) tomato paste, about a small can
14.5 oz (410 g) can of diced or crushed tomatoes
¼ cup (60 ml) pure maple syrup — brown sugar works if you prefer
2 cups (480 ml) beef stock
1 cup (240 ml) red wine, any you have in the cupboard
4 carrots, peeled and chopped into even pieces
1 lb (450 g) baby potatoes, whole
¼ cup (30 g) fresh herbs — thyme, rosemary, sage, whatever you like
Yields 10 servings. Prep time is short; the real time is an overnight dry brine and about 3 hours in the oven. I count the total at roughly 15 hours, but most of that is the fridge doing its job while you sleep.
Make it
1. Dry brine it
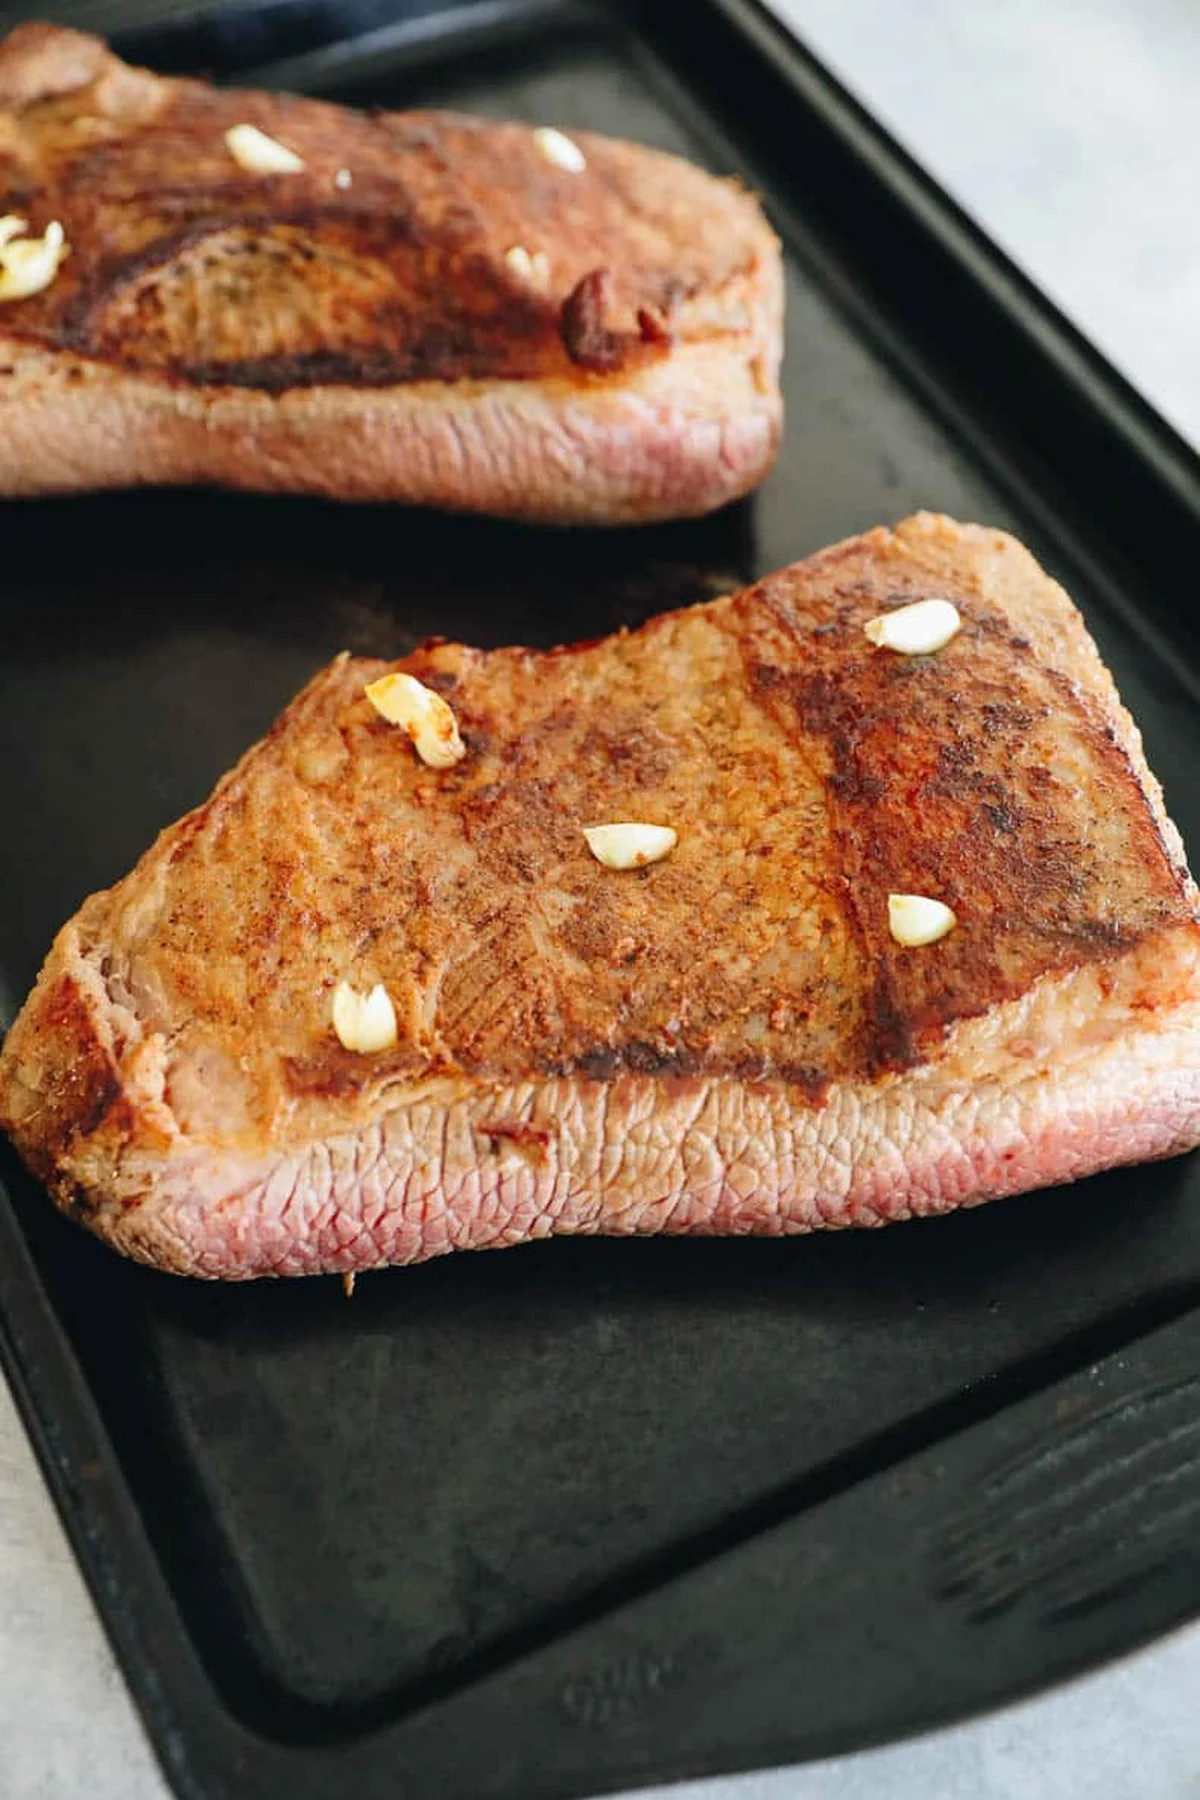
Lay the brisket on a baking sheet and coat it all over with the salt, pepper, and paprika. Rub it in with your hands. Cover and refrigerate overnight. Take it out 1 hour (30 minutes is the minimum I’d allow) before you start cooking.
2. Sear it
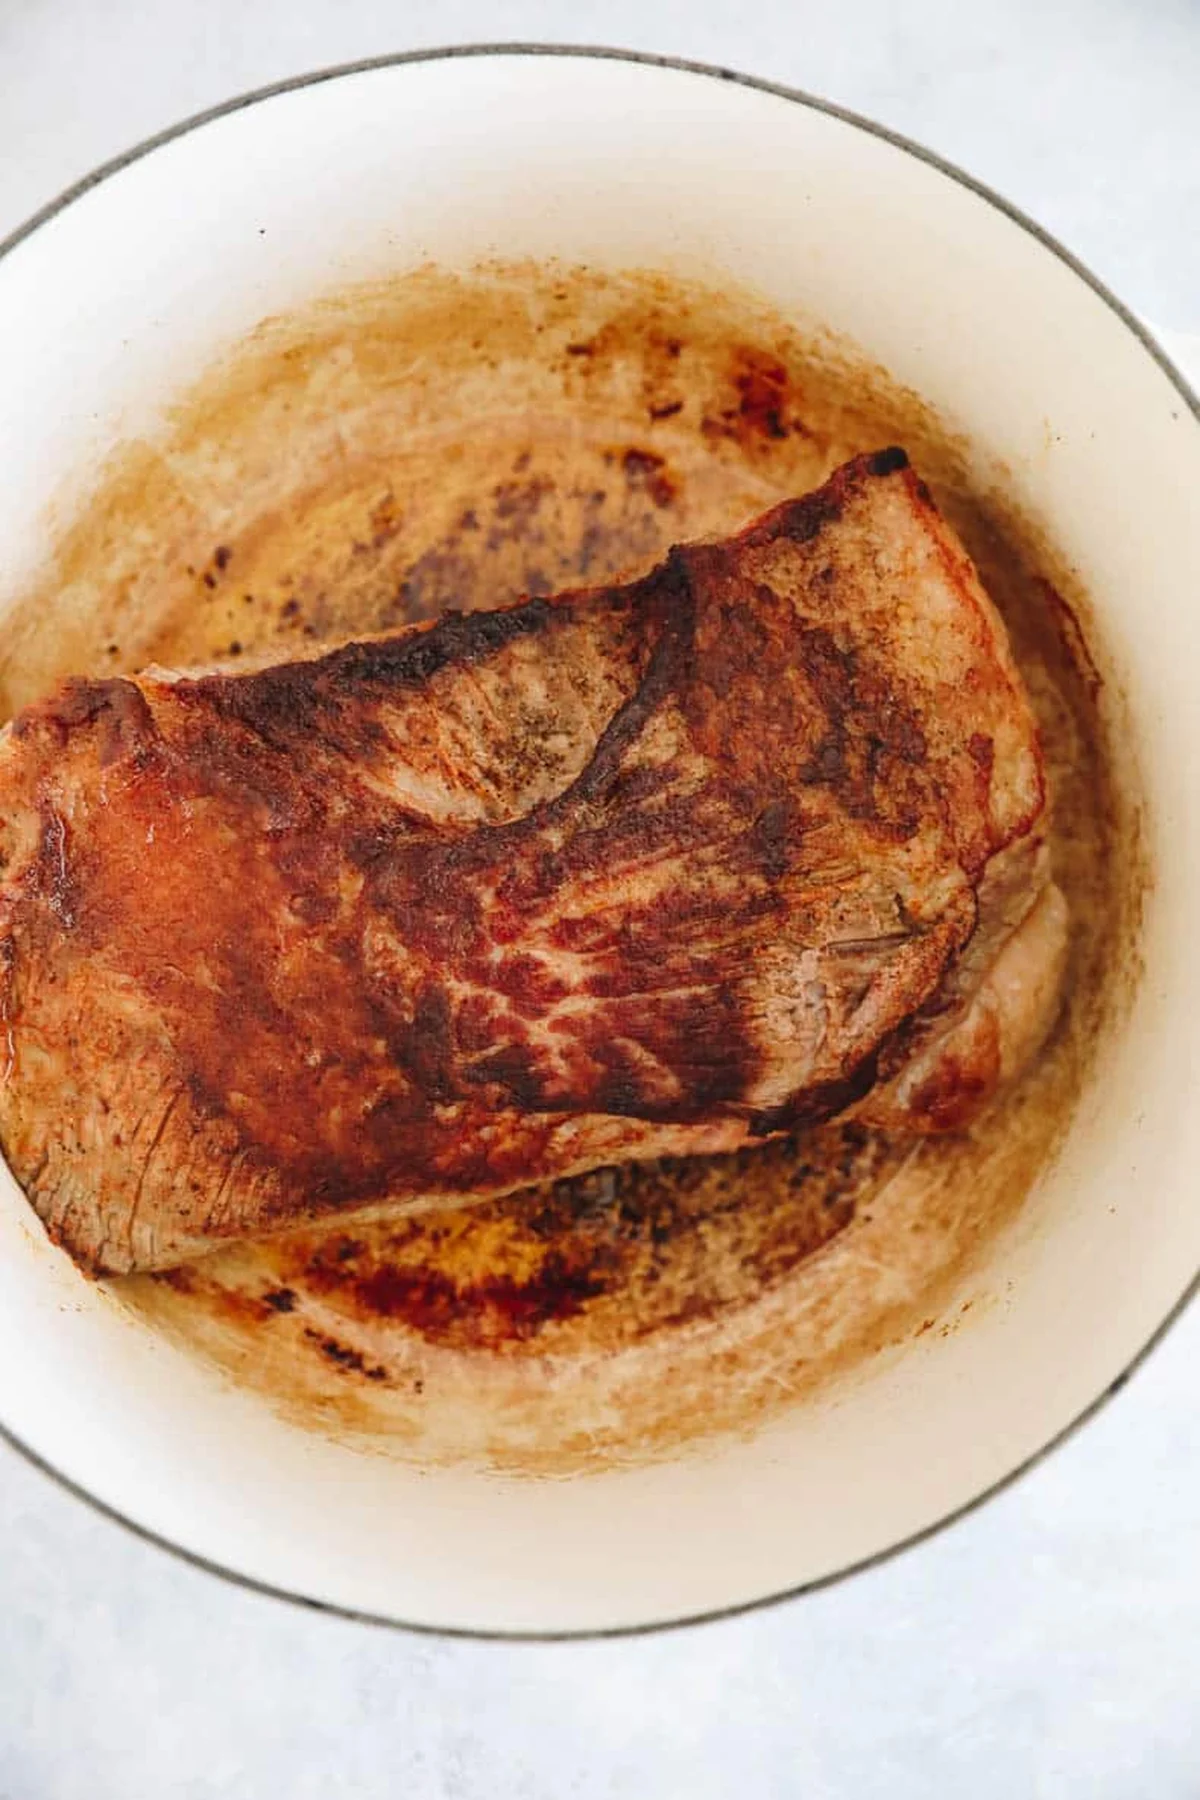
Preheat the oven to 325°F (165°C). If the brisket doesn’t fit in your pot, slice it in half — I always do, and it sears way better in two pieces. Heat 1 tbsp of the oil in your dutch oven over medium-high heat and sear the meat until it’s nicely golden, 3–5 minutes per side. Repeat with the second piece. Then make 10 small cuts all over the brisket and tuck the garlic cloves into them. If a few fall out, no one notices.
3. Build the sauce
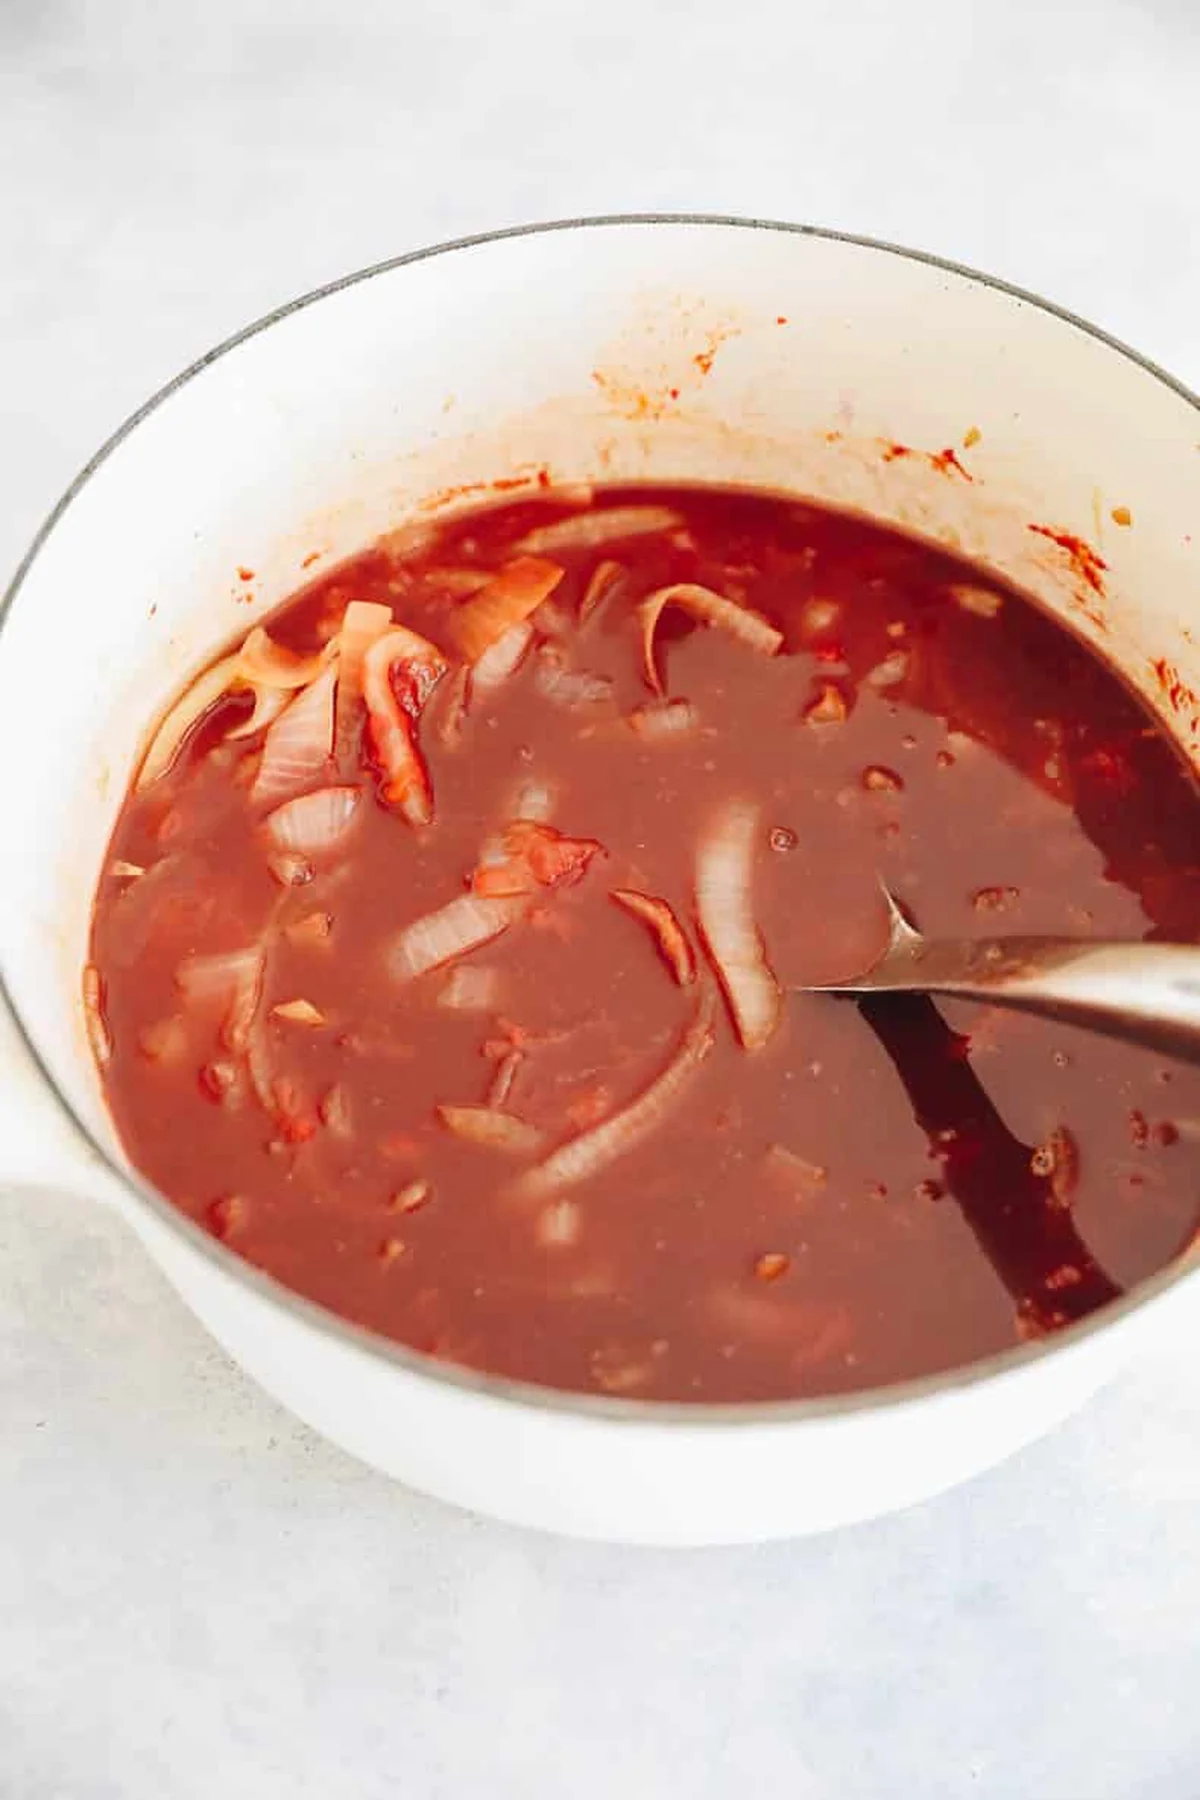
Add the remaining oil to the pot and turn the heat to medium-low. Stir in the sliced onions and let them cook 7–10 minutes, until they start to soften and catch color. Stir in the tomato paste during the last minute and scrape up all the browned bits on the bottom of the pan — that’s flavor, not cleanup. Add the diced tomatoes, maple syrup, beef stock, and wine, and give it a stir.
4. Slow cook
Nestle the brisket into the sauce so it’s mostly covered, top it with the carrots and potatoes, and tuck the fresh herbs around the edges. It will be a tight squeeze. Cover and cook for 3 to 3½ hours. Check with a meat thermometer at the 3-hour mark: it’s done when the internal temperature hits 195–205°F (90–96°C).
5. Rest, slice, serve
Take the brisket out of the sauce and let it rest for 20 minutes. Pull out the herb sprigs and discard. Slice against the grain with a sharp serrated knife (a bread knife is great for this), then put the slices back in the sauce or spoon it generously over the top. Serve with the cooked carrots, potatoes, and as much sauce as you can manage.
Questions, answered
Do I really have to dry brine it? It’s optional, but I’d strongly recommend it — it builds a lot of flavor and keeps the meat tender.
Can I double the recipe? Sure. Just make sure your pot is big enough, or use a large aluminum pan tented with foil, which is what I do when I’m cooking a big one.
No dutch oven? Any oven-safe pot with a lid works, or a big pan covered with foil.
Can I use a slow cooker? Yes. Sear the brisket and caramelize the onions on the stovetop first, then put everything in the slow cooker for 6–8 hours.
How do I slice it? Against the grain, with a serrated knife. I find it easier to see the grain before the meat is cooked, so I take a photo first and use it to orient myself.
Should I trim the fat? Leave about ¼ of the fat cap on. It feeds the meat while it cooks, and you won’t end up with a slab of blubber on top.
Storing it
Keep leftovers in an airtight container in the fridge for up to 5 days. Reheat in the oven, on the stovetop, or in the microwave. You can also freeze it: pack it in a covered aluminum baking dish, seal it tightly with foil and plastic wrap, and thaw it overnight in the fridge before reheating.
Trade-It Tip: No smoked paprika? Sweet paprika works — you lose the smoke, but the color and sweetness stay.
Back when I worked the line, we called this kind of dish a “slow money” recipe: a little bit of work spread over a day, and a result that looks like you all day. This one’s the good kind of simple. It doesn’t fit a Tuesday night — but it fits a holiday, and that’s what it’s for.
If it doesn’t fit a Tuesday night, it doesn’t get published.
I used to think a salad that could carry a dinner was either a restaurant bowl you’d rather not pay for, or a sad bag of pre-shredded stuff from the deli counter. Then this cabbage salad took over my kitchen. Fifteen minutes, one bowl, and something that tastes like it took all afternoon.
It’s all over TikTok these days — it even had a moment with the little green muffins from Baked by Melissa — and honestly, the hype is earned. If you’ve had one before, you know the drill: plenty of crunchy cabbage and cucumber, drowned in a bright, garlicky, herby dressing. If it’s new to you — this is the salad that makes ‘healthy dinner’ stop sounding like a compromise.
Why this works
Cabbage is the underrated workhorse of the salad world. It’s sturdy enough that the dressing soaks in over a couple of days instead of making everything soggy, and it’s cheap, so you can make a big batch without feeling like it’s costing a fortune. The dressing is just yogurt, fresh garlic, and whatever herbs are in your drawer — no fancy ingredients, no blender required.
Green goddess salad ingredients
The good news is you don’t need to shop specifically for this. Use what’s in your fridge.
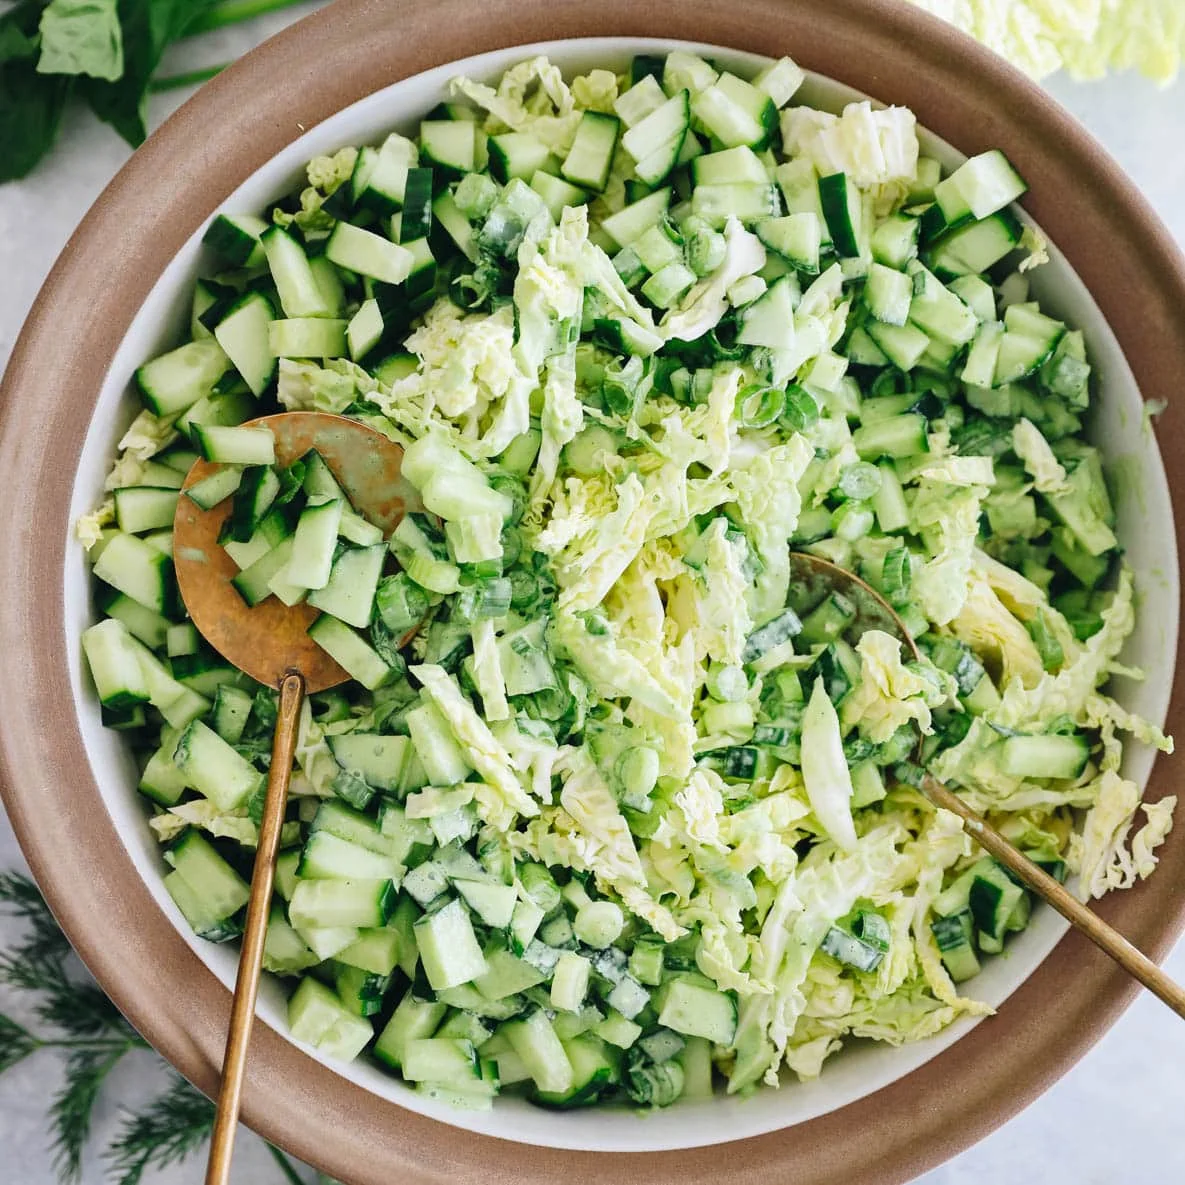
Cabbage — 1 small Napa cabbage, or green cabbage if that’s what you’ve got. Finely shredded by hand or with a mandolin.
Green onions — 6, finely diced.
Cucumber — 1 large English cucumber, or 2 medium Persian cucumbers, finely chopped.
Chives — 2 tbsp, fresh and finely chopped. I use them in the salad and in the dressing.
The green goddess dressing
This is the part people overcomplicate. It’s not. You need:
Plain Greek yogurt (any plain yogurt works — I just prefer Greek)
Fresh garlic — trust me on this one, it tastes so much better
Salt and black pepper
Jalapeno, optional. I love the kick, but leave it out if you’re cooking for kids
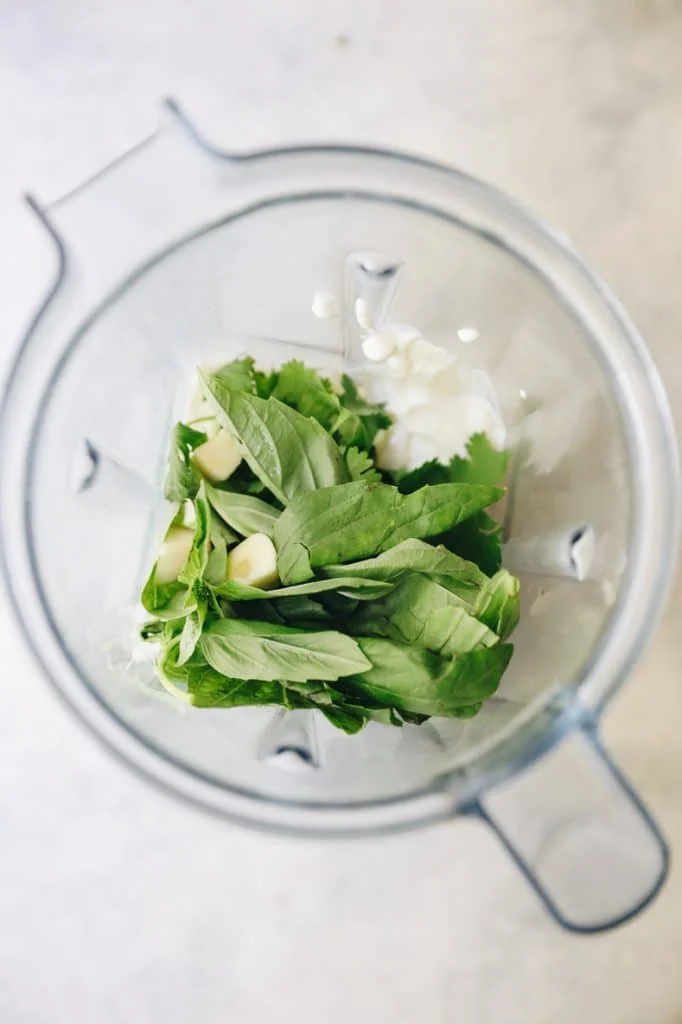
My favorite combo is cilantro, basil, and dill, but really any mix works. That’s the whole point of a goddess dressing — it’s as different as the herbs you happened to have lying around.
How to make it
15 minutes, start to finish — including chopping. This is not a ‘if you have an afternoon’ salad.
Make the dressing. Chop up your herbs and a clove or two of fresh garlic, then stir them through the yogurt with salt, pepper, and the jalapeno if you’re brave. Taste it. Adjust it. It should be tangy and garlicky, not subtle.
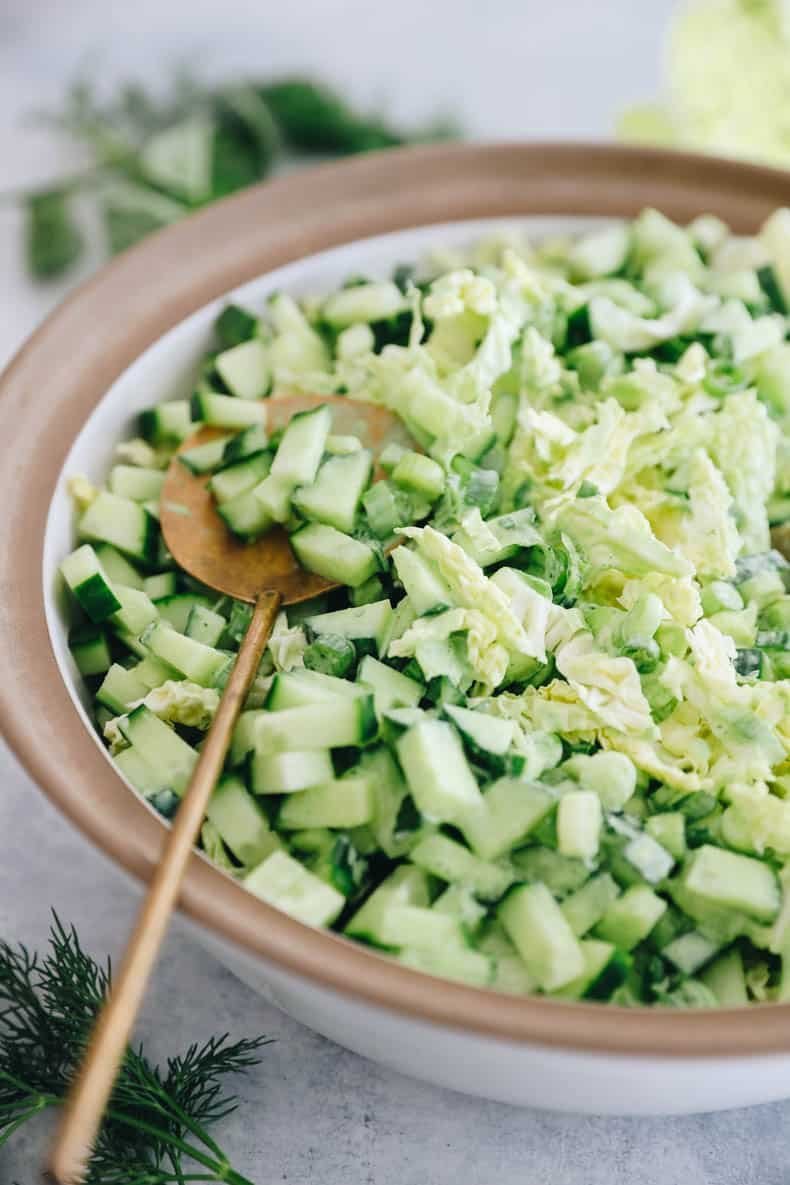
Shred and chop the vegetables. Finely slice the cabbage, dice the green onions, and chop the cucumber. Put it all in a large bowl.
Stir in the chives and toss the lot together.
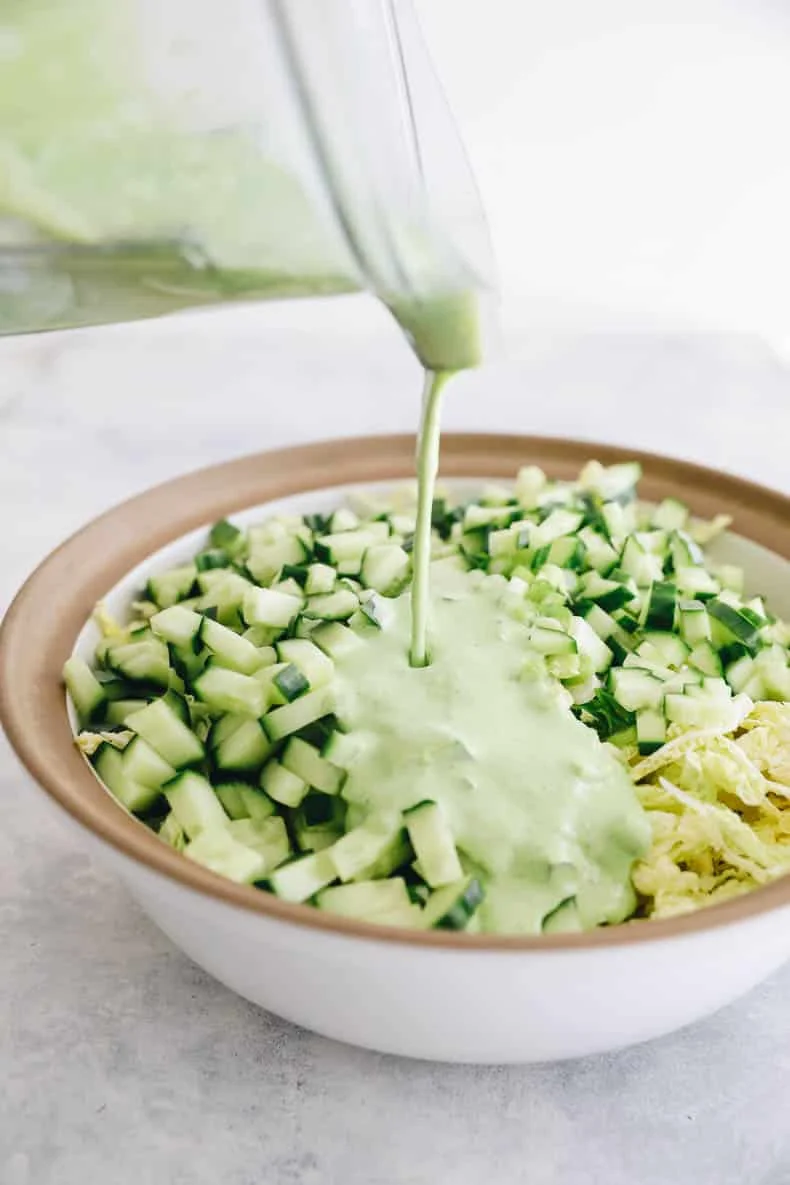
Dress it. Pour over as much or as little dressing as you like and stir until everything’s coated. Serve it straight away, or stash it in the fridge for up to 3 days.
That’s it. One bowl, one fork, done. Back when I worked the line, we called this kind of thing ‘the good kind of simple’ — not lazy simple, just honest. No sauces to emulsify, no ingredients you have to hunt down.
Make it vegan
Skip the yogurt and blend 1 large avocado with 1/4 cup water until it’s creamy. Stir it through the herbs and garlic the same way. Same tang, same texture, zero dairy.
Add-ons and swaps
This salad is built for whatever’s already in your fridge:
Make it a meal. Top with grilled chicken or crispy bacon. Vegetarian? Crispy chickpeas work beautifully.
No cabbage? Sub shredded kale, thinly sliced brussels sprouts, or finely chopped romaine. Same idea, heartier green.
Add fennel. I love a little oomph in this one — thinly sliced, it throws right in. You might need a bit more dressing.
Turn up the heat. The jalapeno in the dressing does the heavy lifting — more seeds means more kick, fewer means milder. Dial it to your table.
FAQs
What actually is a green goddess salad? Any salad tossed in green goddess dressing. Mine is cabbage, green onions, cucumber, and chives — but the dressing is the star, and that’s just a yogurt or mayo base with fresh garlic and mixed herbs. I use yogurt, and I add jalapeno for a kick. A squeeze of lemon if you want a touch more zest.
Can I double it? Absolutely. Double or triple it for a dinner party or potluck — it’s a great healthy side to bring to a table.
Can I make it ahead? Yes, up to 3 days. Which brings me to the best part of this recipe…
I don’t like cabbage. Now what? Swap in another hearty green — kale, brussels sprouts, romaine. The dressing doesn’t care.
Storage (and the secret)
Keep it in the fridge for up to 3 days. Here’s the thing nobody tells you: this salad gets better the longer it sits. The heartiness of the cabbage lets the dressing soak in properly, and day two is honestly the best day. It’s one of those rare meal prep salads that doesn’t turn into a sad, soggy mess by Thursday.
A note from Grace
Make a big batch on Sunday, eat it for lunches all week, and keep some for dinner on the night you’re too tired to cook. That’s the whole strategy, and it’s the good kind of simple.
Trade-It Tip: No Greek yogurt? Regular plain yogurt works — the dressing will be a little thinner, and that’s fine. No jalapeno? Just live with the mild version — the herbs carry the flavor on their own.
If it doesn’t fit a Tuesday night, it doesn’t get published.