Category: Desserts

  • Ritz-Carlton Chocolate Chip Cookies, Baked at Home

    Ritz-Carlton Chocolate Chip Cookies, Baked at Home

    Back when I worked the line, dessert was someone else’s problem. You plated the main course, wiped the pass, and the pastry chef handled everything sweet. So when I found the Ritz-Carlton Amelia Island chocolate chip cookie recipe printed on those little drawstring pouches the hotel gives guests, I treated it like a ticket: I was trying it, and I was bringing it home.
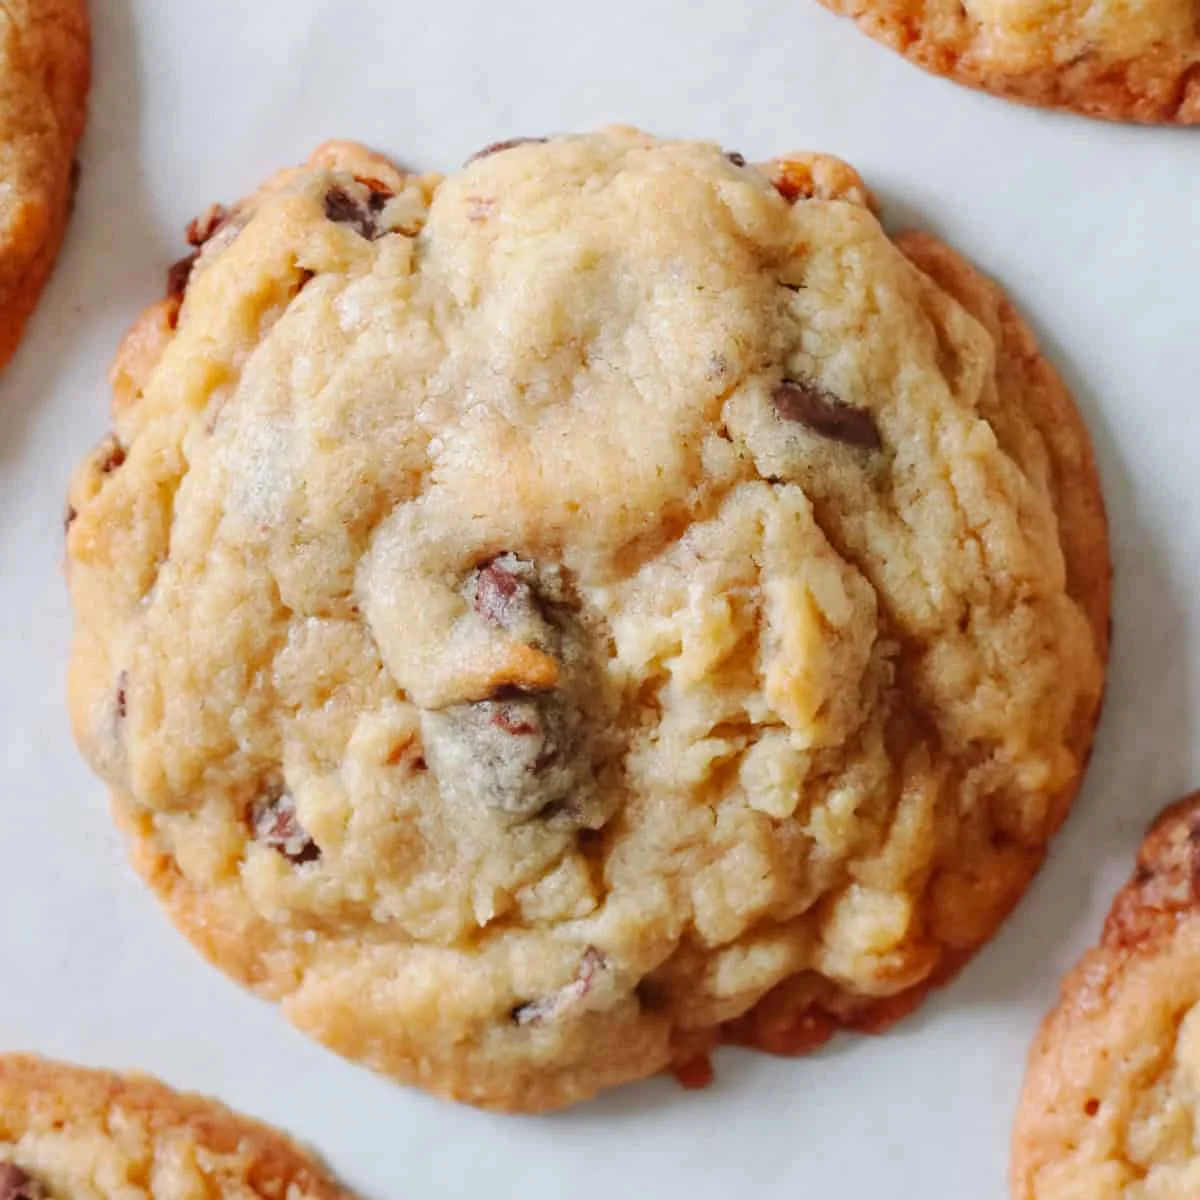
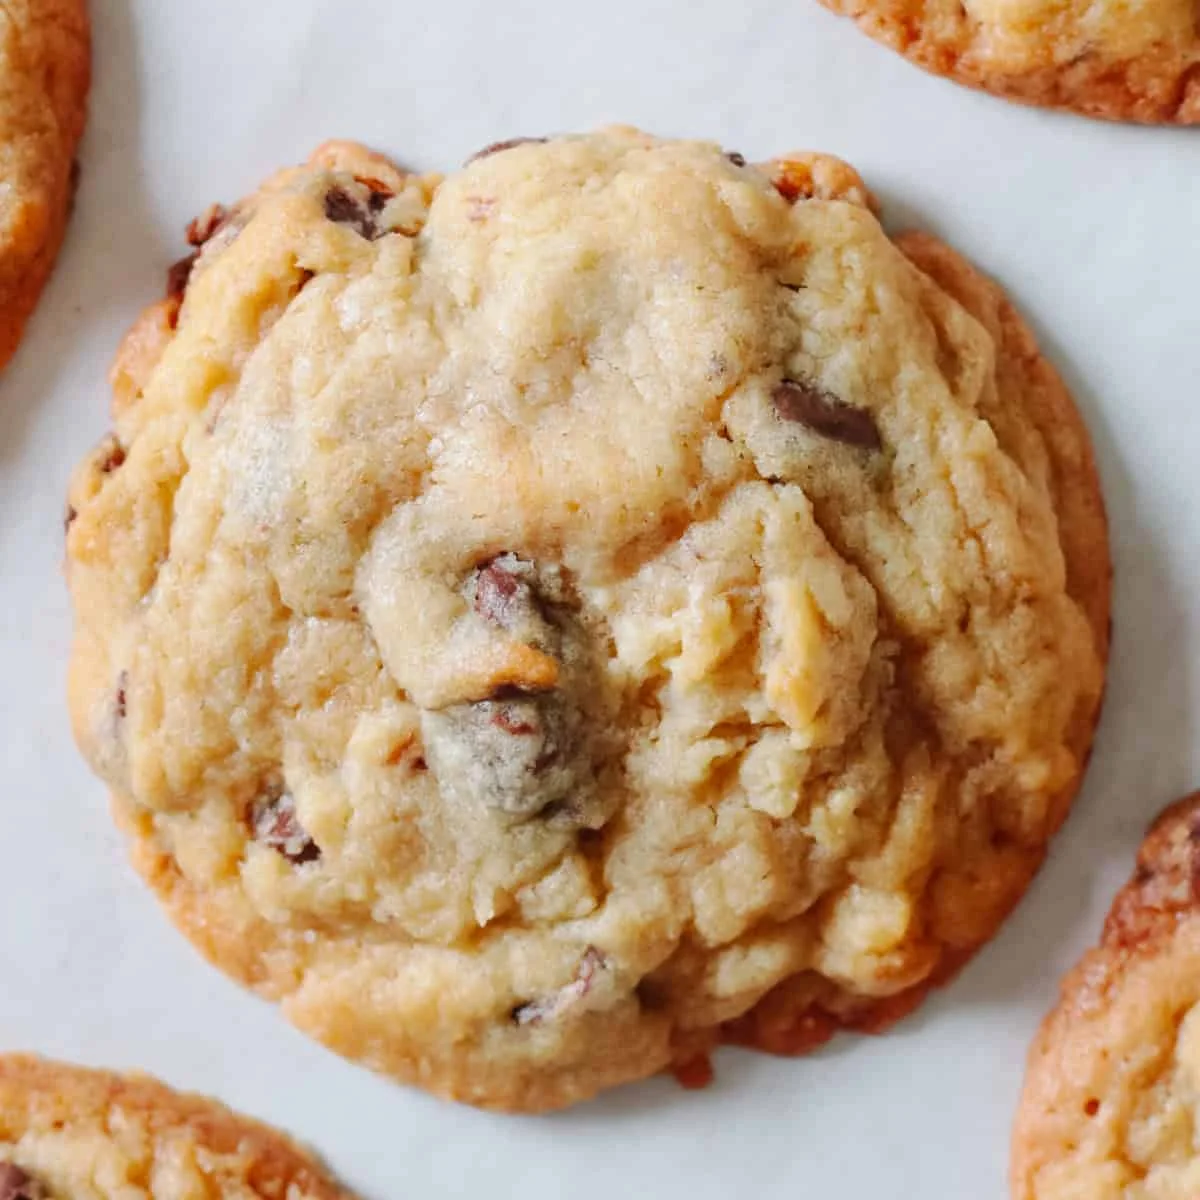
    Freshly baked Ritz-Carlton-style chocolate chip cookies on parchment paper

    The good news: it’s real. The Ritz-Carlton actually shares cookie recipes from a few of its locations — Amelia Island, Half-Moon Bay, Marina del Rey, Washington D.C. — and this one comes from the original version printed on the guest pouches, not the updated one. I went straight to the original, and I’m not sorry.

    Why these cookies work

    They’re sweetened with nothing but brown sugar, and that’s the whole trick. All-brown-sugar dough stays soft and chewy in the middle while the edges turn crisp and toasty. Add a full pound of butter and plenty of chips, and you get that hotel-lobby cookie that tastes expensive without any fuss.

    One honest heads-up before you mix: the recipe calls for 2 cups (1 pound) of butter against just 4 cups of flour. That’s a lot of butter. When I baked it exactly as written, the cookies spread a little more than I wanted. Two ways to fix it — pick your poison:

    • No chill: add an extra ⅔ cup of flour. That’s the sweet spot I landed on. The cookies keep their shape and the centers stay soft and chewy.
    • Chill instead: use the original flour amount, scoop the dough, and chill it for 1–2 hours before baking.

    Ingredients
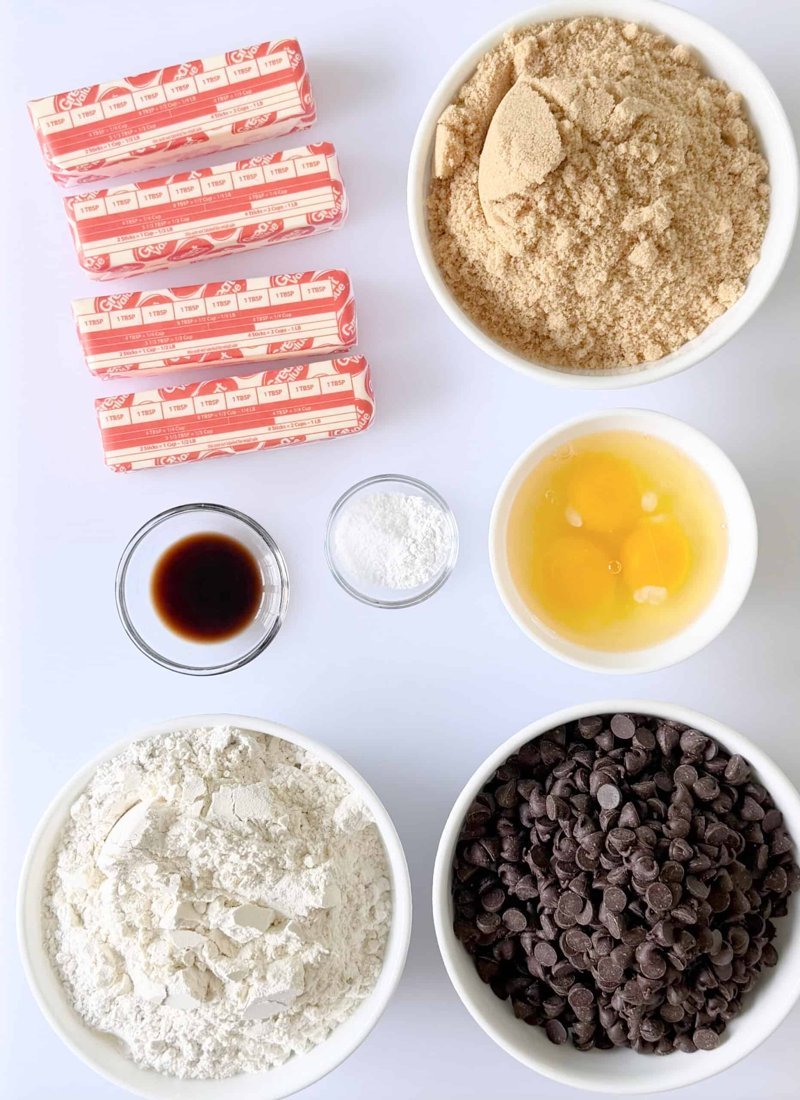
    Cookie ingredients laid out: butter, brown sugar, eggs, flour, chips
    • 1 pound butter (4 sticks), salted or unsalted — both work, no adjustments needed
    • 3 cups brown sugar — all brown sugar is what makes these soft and chewy
    • 3 large eggs
    • 1 ½ teaspoons vanilla extract
    • 1 ½ teaspoons baking powder — yes, baking powder, not baking soda. That surprised me the first time too
    • 1 teaspoon salt
    • 4 cups all-purpose flour, plus an extra ⅔ cup if you’re skipping the chill
    • 3 ¼ cups chocolate chips — I used semi-sweet; use whatever you like

    Why this works: the brown sugar keeps the centers fudgy and caramel-deep, and the baking powder (not soda) gives the lift without any bitter aftertaste.

    How to make them

    25 minutes start to finish — 10 to mix, 12–15 in the oven, and I’m not even counting the cooling.

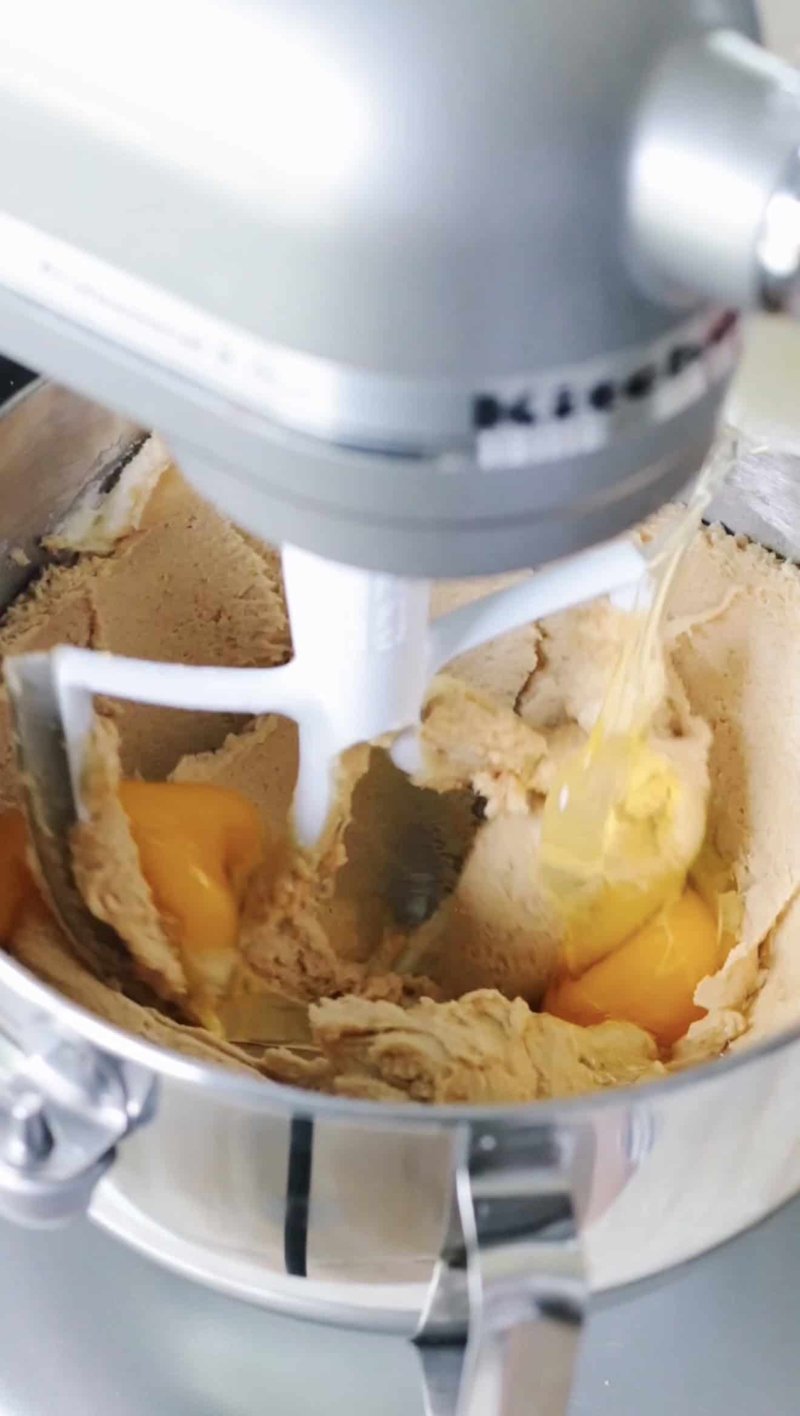
    1. Whip the butter until soft. Add the eggs, brown sugar, and vanilla, and beat until smooth.
    2. Creamed butter, egg, and brown sugar mixed in a stand mixer
    3. Mix in the salt, baking powder, flour, and chocolate chips until just combined.
    4. Scoop the dough onto parchment-paper-lined baking sheets. Six cookies per sheet. I use a 2 Tbsp scoop for regular-sized cookies and a 3 Tbsp scoop for the larger bakery-style ones.
    5. Finished cookie dough folded with chocolate chips in a bowl
    6. Bake at 350°F. Regular-sized (2 Tbsp) cookies take 12–13 minutes. Larger (3 Tbsp) cookies take 14–15 minutes.
    7. Let them cool completely on the baking sheets — the centers keep setting as they cool.
    If a cookie comes out a little wonky, don’t panic. Press a small bowl or biscuit cutter around it while it’s still hot and it’ll snap back into shape. I learned this the hard way, and now I do it by reflex.
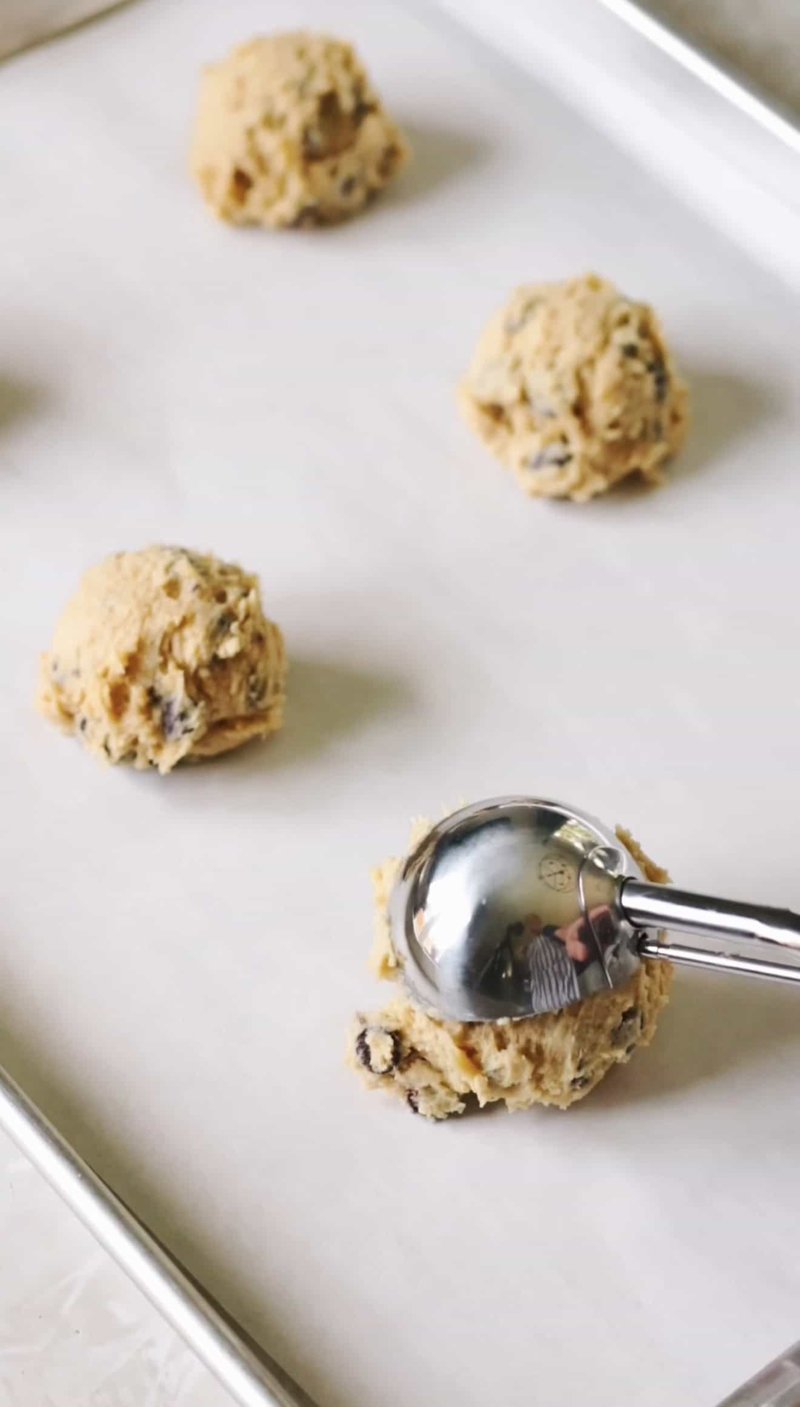
    Cookie dough scooped into even balls on a parchment-lined sheet

    A few questions people keep asking

    Are these the actual Ritz-Carlton cookies? They’re based on the original Amelia Island recipe the hotel printed for guests, with my no-chill flour adjustment added. The hotel has shared versions from several locations; this is the classic one.

    Why add the extra flour? The original leans heavy on butter, so the dough spreads more than you’d expect. The extra ⅔ cup keeps the shape intact while the soft, chewy center stays exactly as it should. If you’d rather not change the recipe, chill the scooped dough for 1–2 hours instead.

    What makes them different from regular chocolate chip cookies? The all-brown-sugar base. That’s what gives the deep caramel flavor and the fudgy middle with the crisp, buttery edges.

    How big should the cookies be? 2 Tbsp of dough, 12–13 minutes at 350°F for regular. 3 Tbsp of dough, 14–15 minutes for the larger ones. This batch makes 54 regular-sized cookies or 36 larger ones, so feel free to halve it if you don’t need a tray.

    Storing them

    Cookies keep well individually wrapped in plastic or in an airtight container. I wrap each one as it cools and they’re gone by Thursday — between Tom and the kids, a batch never survives the weekend.

    Trade-It Tip: No semi-sweet chips? Dark chocolate works beautifully here — the all-brown-sugar base tames the bitterness and the contrast actually shines. White chips are lovely too, if you’re feeling indulgent.

    If it doesn’t fit a Tuesday night, it doesn’t get published.

    — Grace
    Keep Reading

  • Chocolate Chip Zucchini Bread (Moist, Honey-Sweetened, No Butter)

    Chocolate Chip Zucchini Bread (Moist, Honey-Sweetened, No Butter)

    There’s a week or two every summer when the zucchini comes out of nowhere and lands on your counter in a pile, and suddenly the whole house smells faintly of garden. I don’t have a garden — I have a farmers’ market — but the panic is the same. That’s when I make this chocolate chip zucchini bread, and it always goes before it cools all the way down.

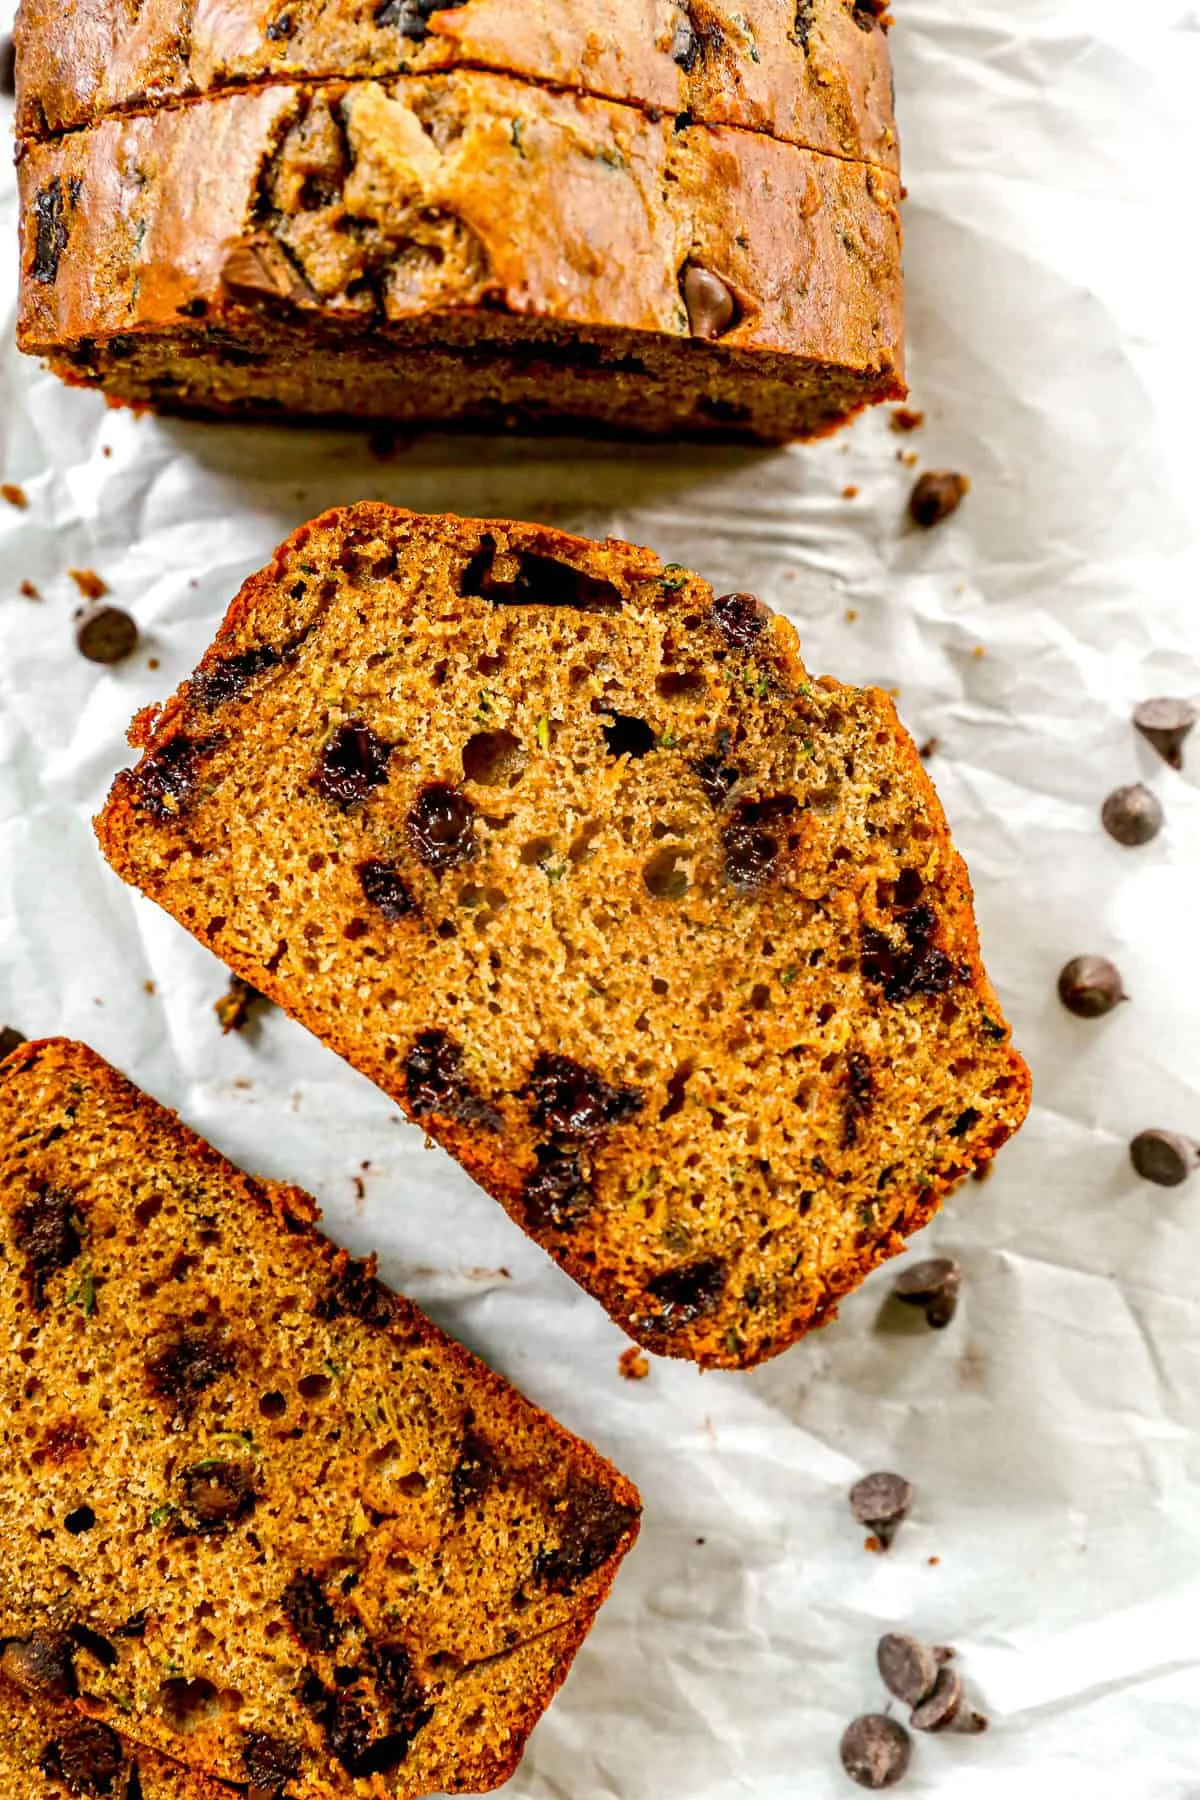
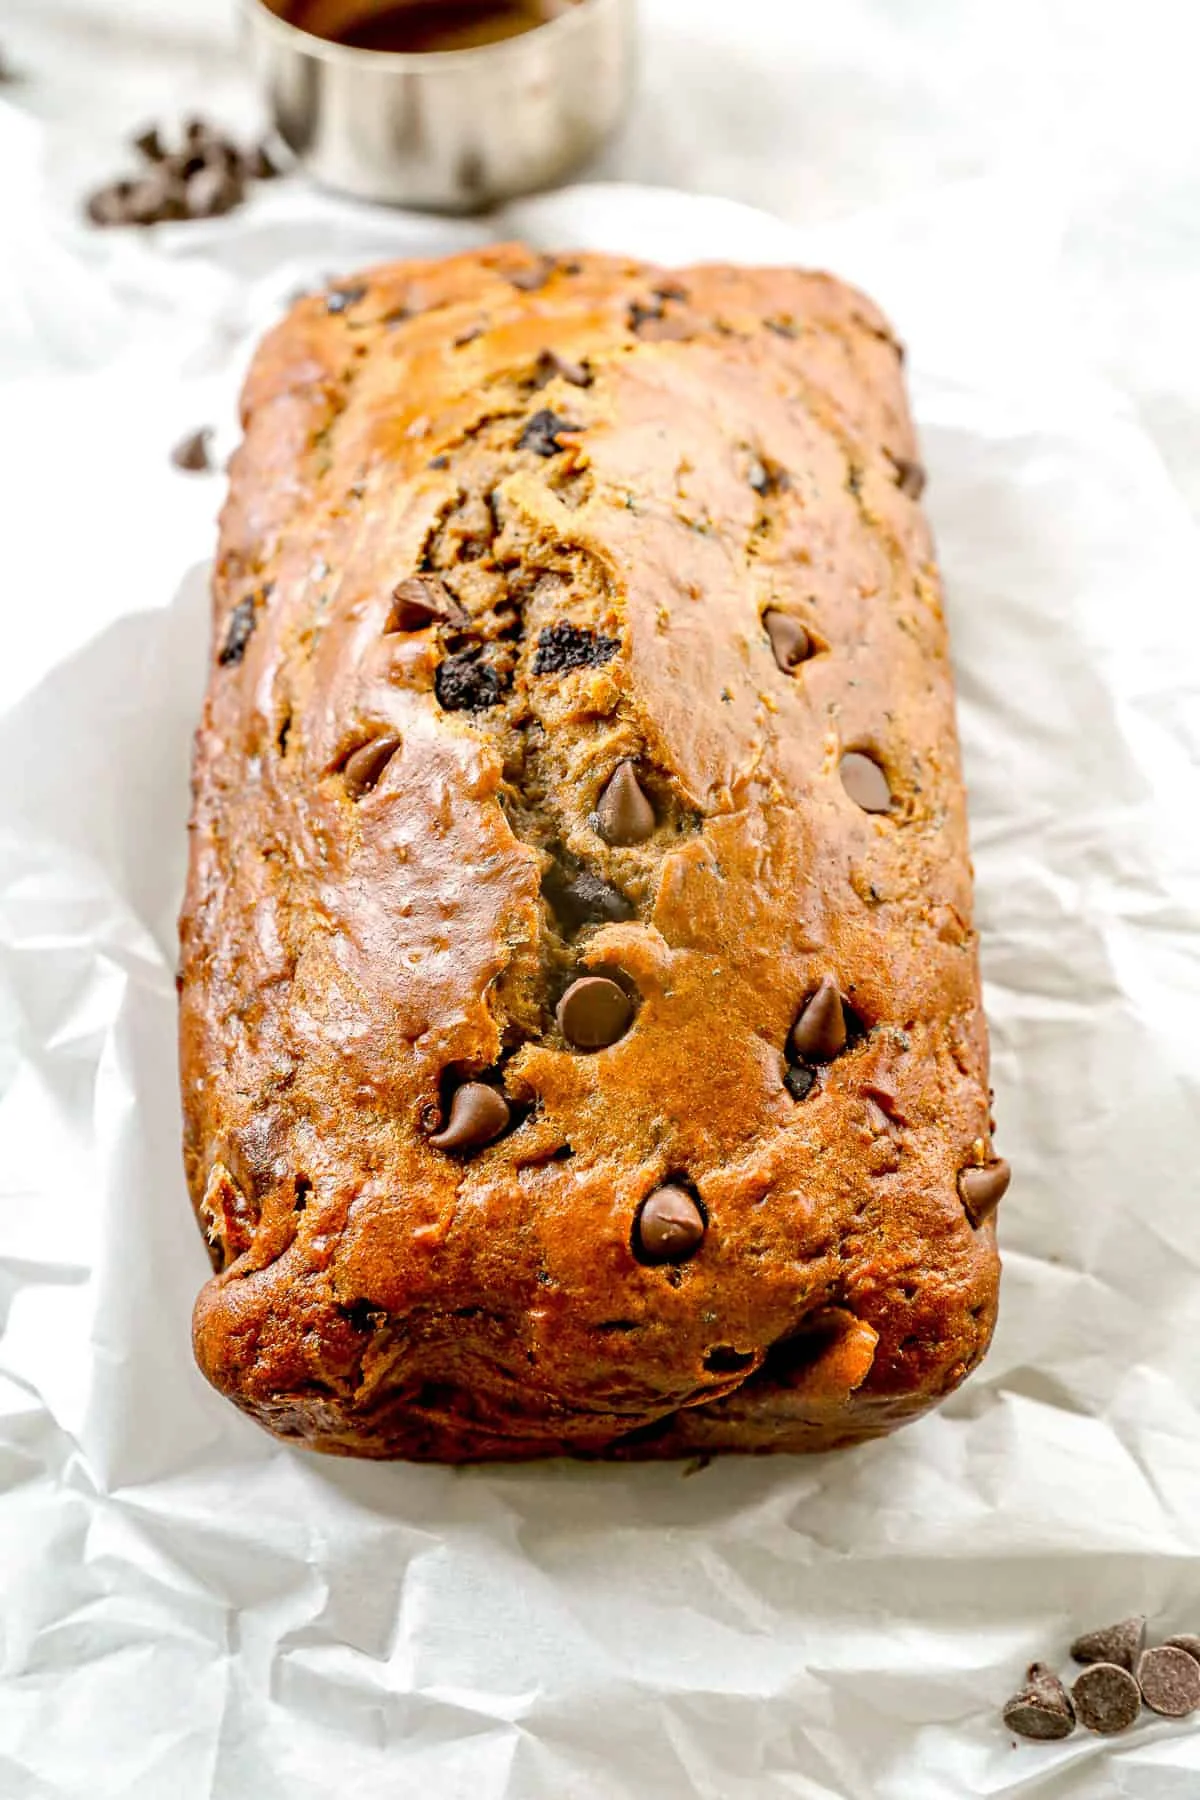
    Golden chocolate chip zucchini bread loaf with melted chips

    This one is moist, lightly sweetened with honey, and studded with dark chocolate chips. Greek yogurt and properly squeezed zucchini keep the loaf tender, and a blend of all-purpose and whole wheat flour gives it substance without making it heavy. No butter in sight — it’s the good kind of simple.

    Why this works: the one non-negotiable step is squeezing the shredded zucchini dry. That single extra move is what gives you a loaf that’s moist without being gummy, with a nicely domed top instead of an under-baked middle. Skip it and you’re gambling; do it and the bread bakes like it means business.

    Ingredients, with honest swap notes

    You’ll find the full list in the recipe card below. A few things worth knowing first.

    • Zucchini: pick small ones. The seeds are smaller, and big squash-y zucchini tastes more like — well, squash — than like sweet bread.
    • Eggs: bring them to room temperature if you can; they fold into the batter much more easily.
    • Honey: sweetens the bread and helps it stay moist for several days. Pure maple syrup works in its place. Imitation “pancake” syrup does not behave properly in baking — trust me, I’ve watched it happen.
    • Greek yogurt: what keeps the loaf tender and moist without making it heavy.
    • Coconut oil: canola or any neutral oil works just as well if that’s what’s in your pantry.
    • Vanilla: this is what makes zucchini bread taste like dessert and not like a vegetable. Don’t skip it.
    • Cinnamon (and a pinch of nutmeg, if you’re feeling cozy): for a warm, bakery-style background.
    • Baking soda: reacts with the acidity in the yogurt for a proper rise and a tender crumb.
    • Kosher salt: brings the whole thing together.
    • Flour: half all-purpose, half white whole wheat or regular whole wheat — tender, but with a backbone.
    • Dark chocolate chips: mini or regular, both work. Sprinkle a few extra over the top before baking for the good looks.

    Method

    1. Prepare the pan. Preheat the oven to 325°F (about 165°C) and place a rack in the center. Lightly coat a 9×5-inch (about 23×13 cm) loaf pan with nonstick spray, then line it with parchment, letting two opposite sides overhang the edges so you can lift the loaf out later. Spray the parchment too.

    2. Prep the zucchini. Grate the zucchini and measure 2 loosely packed cups (about 2 small zucchini, roughly 200g shredded). Wrap it in paper towels and squeeze with your whole hand until very little moisture remains. This is the step that makes or breaks the loaf, so don’t be polite about it.

    Whisked eggs, honey, and yogurt in a mixing bowl

    3. Mix the wet ingredients. In a large bowl, whisk the eggs, honey, Greek yogurt, oil, and vanilla until smooth.

    4. Add the dry ingredients. Sprinkle the cinnamon, baking soda, and salt over the wet mixture and whisk briefly. Add both flours and stir just until the flour disappears. Overmixing develops gluten and turns quick breads tough — stop the second the streaks are gone.

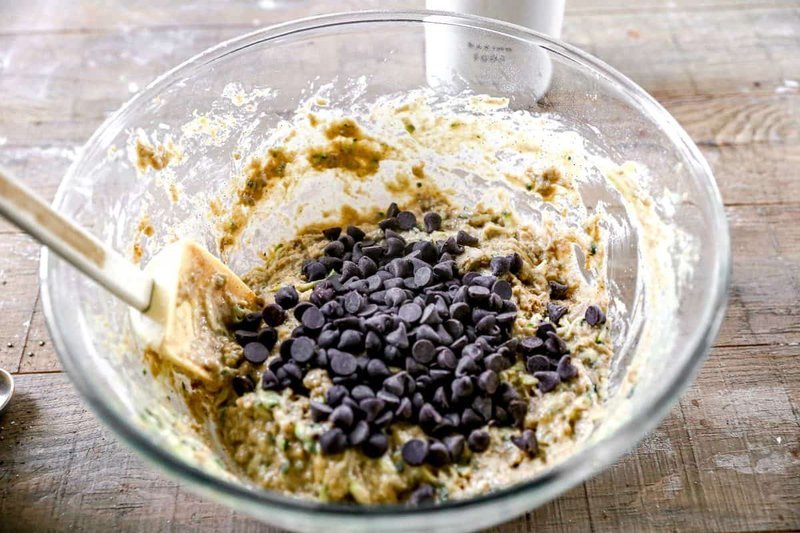
    5. Fold it all together. Fold in the zucchini and chocolate chips, just until incorporated. The batter will be very thick — that’s correct, not a sign of a mistake.

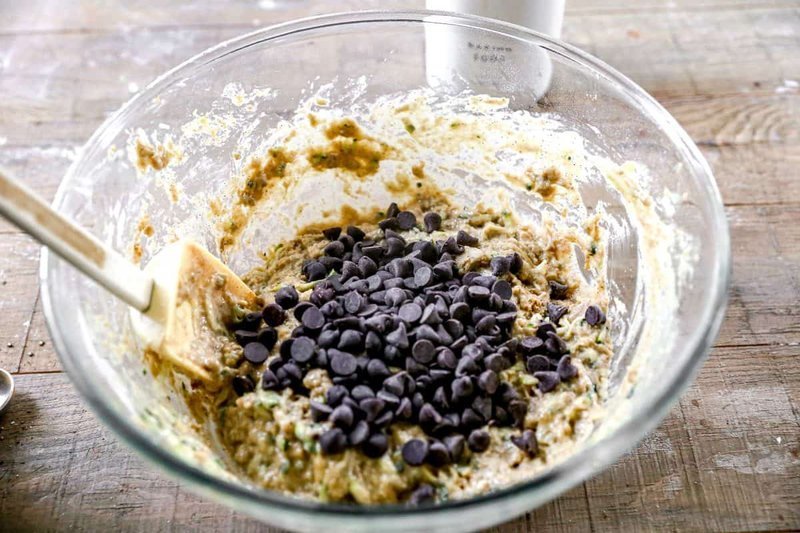
    Chocolate chips folded into thick zucchini bread batter

    6. Bake. Scrape the batter into the prepared pan and smooth the top. Scatter a few extra chocolate chips over the surface. Bake for 50 to 60 minutes, checking from around the 50-minute mark. A toothpick inserted into the center should come out clean or with a few moist crumbs (melted chocolate doesn’t count), and the loaf should spring back lightly when gently pressed in the middle. If you want to be precise, it should read 195° to 200°F (about 90° to 93°C) on an instant-read thermometer.

    7. Cool. Let the bread cool in the pan for 10 minutes, then use the parchment handles to lift it onto a wire rack. Wait until it’s completely cool before slicing — hot zucchini bread crumbles, and we’ve both been there.

    Notes from my testing

    I’ve tested this recipe with both applesauce and Greek yogurt, and the yogurt version wins — it bakes up plusher and richer. I also tried it in an 8×4-inch pan before settling on the 9×5: in the smaller pan it was much harder to get the center to bake through evenly, so I went with the bigger one.

    And yes, this is a whole loaf in about an hour and a half, start to finish — the good kind of simple.

    Storage and freezing

    • To store: wrap the cooled loaf tightly, or keep it in an airtight container at room temperature for up to 3 days. Refrigerated, it keeps for up to 1 week.
    • To freeze: freeze individual slices or the whole loaf, tightly wrapped, for up to 3 months.
    • To reheat: 10 to 15 seconds in the microwave makes the chocolate chips soft and melty again.

    Trade-It Tip: No Greek yogurt? Applesauce keeps the moisture, though the loaf will be a little less rich. And if honey’s gone, pure maple syrup is the swap to make — never the imitation kind.

    If it doesn’t fit a Tuesday night, it doesn’t get published.

    — Grace
    Keep Reading

  • Fudgy Chocolate Tahini Cookies (1 Bowl, 8 Ingredients, 20 Minutes)

    Fudgy Chocolate Tahini Cookies (1 Bowl, 8 Ingredients, 20 Minutes)

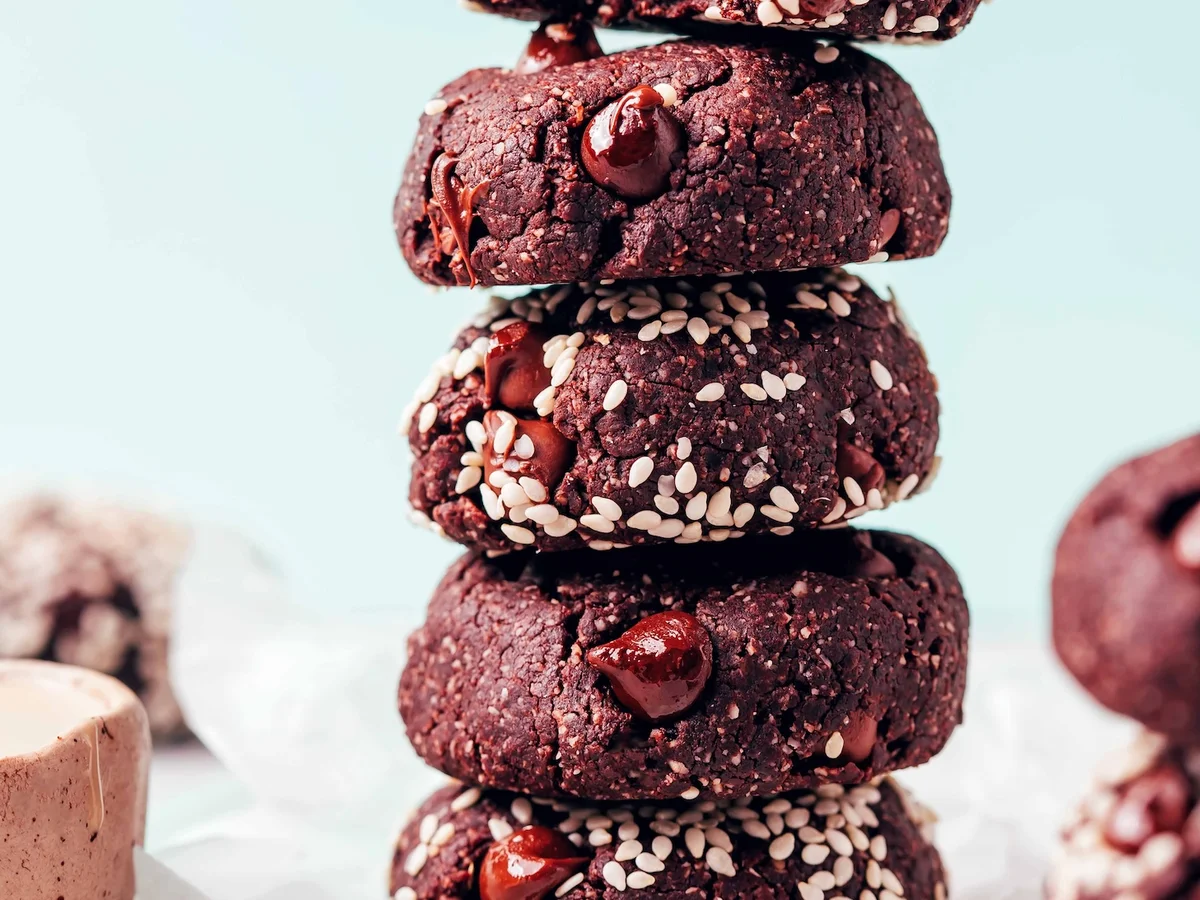
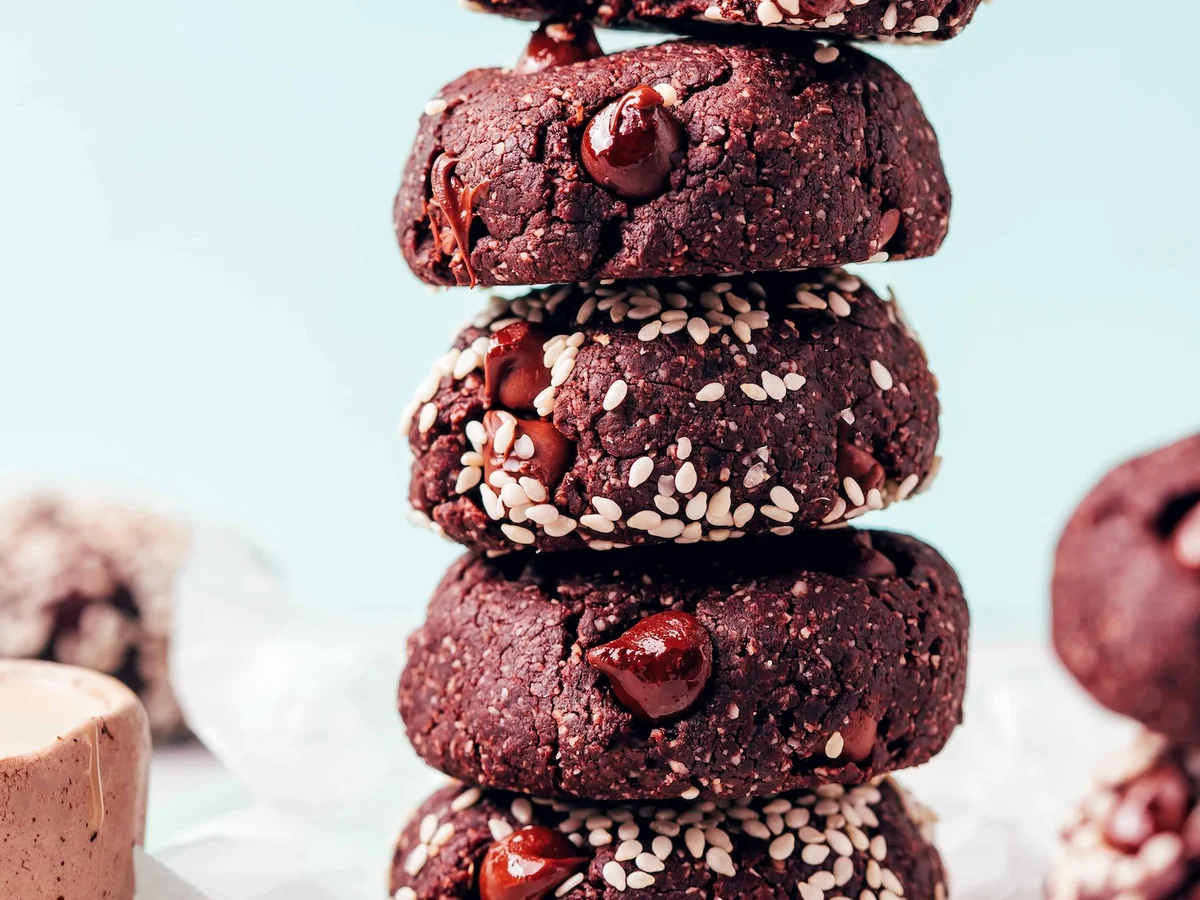
    Tahini has become one of my favorite things to hide in sweet things. It’s creamy, a little bitter, and it keeps cookies moist without a drop of oil, so when I found myself reaching for my plain tahini cookie recipe for what felt like the hundredth time, I added chocolate to the party. The result tastes like a brownie and a cookie had a very fudgy baby.

    They’re vegan, gluten-free, and made in a single bowl with 8 ingredients. Twenty minutes, start to finish, oven to plate.

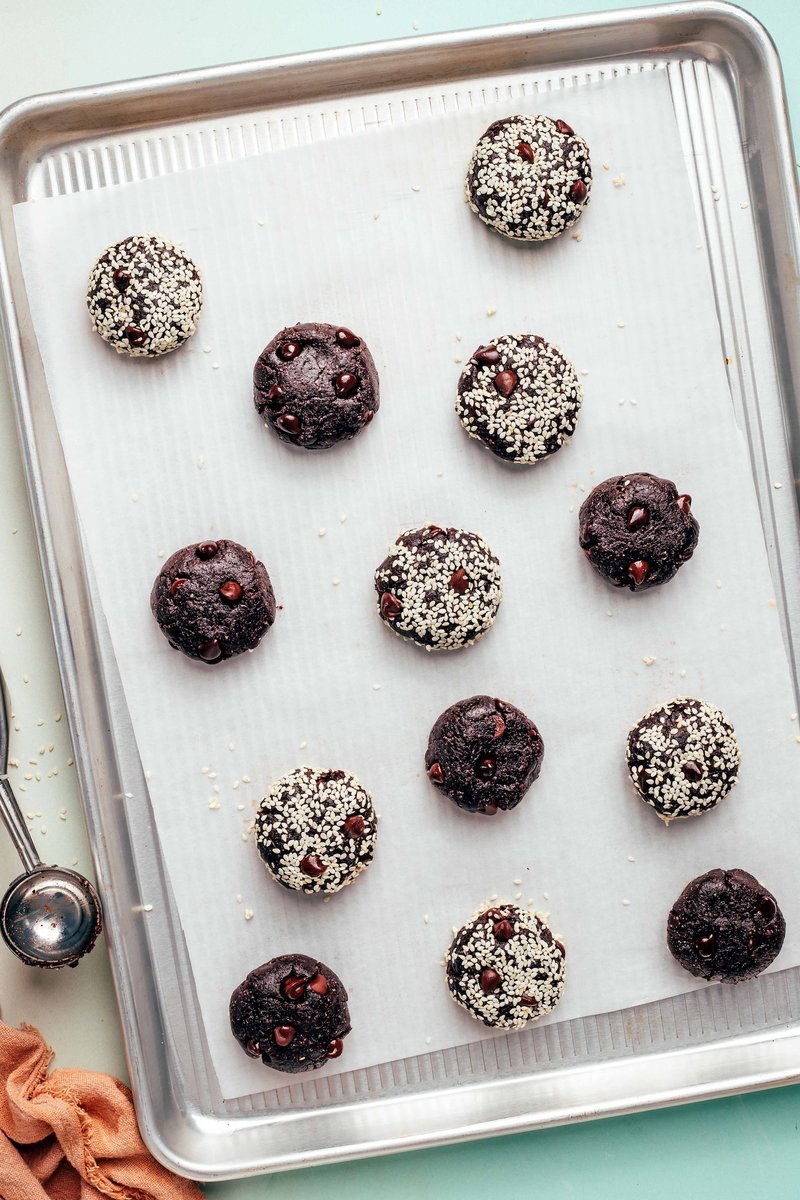
    Stack of fudgy chocolate tahini cookies with molten chips

    Why this works

    Tahini is a seed butter made by blending sesame seeds, and it does two jobs at once. Its natural oils replace the butter or oil a typical cookie calls for, so the cookies stay soft without being greasy, and its rich, nutty, slightly bitter flavor balances the sweetness of the maple syrup. You get something close to caramel, with a hint of dark chocolate underneath.

    What you need

    • Tahini, smooth and drippy (unsalted), 1/2 cup (120 ml)
    • Maple syrup, 1/2 cup (120 ml)
    • Almond flour, 1 cup (120 g)
    • Tapioca starch (also called tapioca flour), 1/2 cup (60 g)
    • Unsweetened cocoa powder, 1/2 cup (45 g)
    • Baking soda, 1/2 tsp (2.5 ml)
    • Sea salt, 1/2 tsp (2.5 ml)
    • Semisweet chocolate chips or chunks, 1/2 cup (90 g) (we like Enjoy Life chocolate chips)

    Two flour notes, in case you can’t have almonds: cashew flour will likely work well, and if you’re fully nut-free you can experiment with a seed-based flour, or a lesser amount of all-purpose or oat flour, though the texture and flavor will be different.

    How to make them

    1. Preheat the oven to 350 F (176 C) and line a baking sheet with parchment paper.
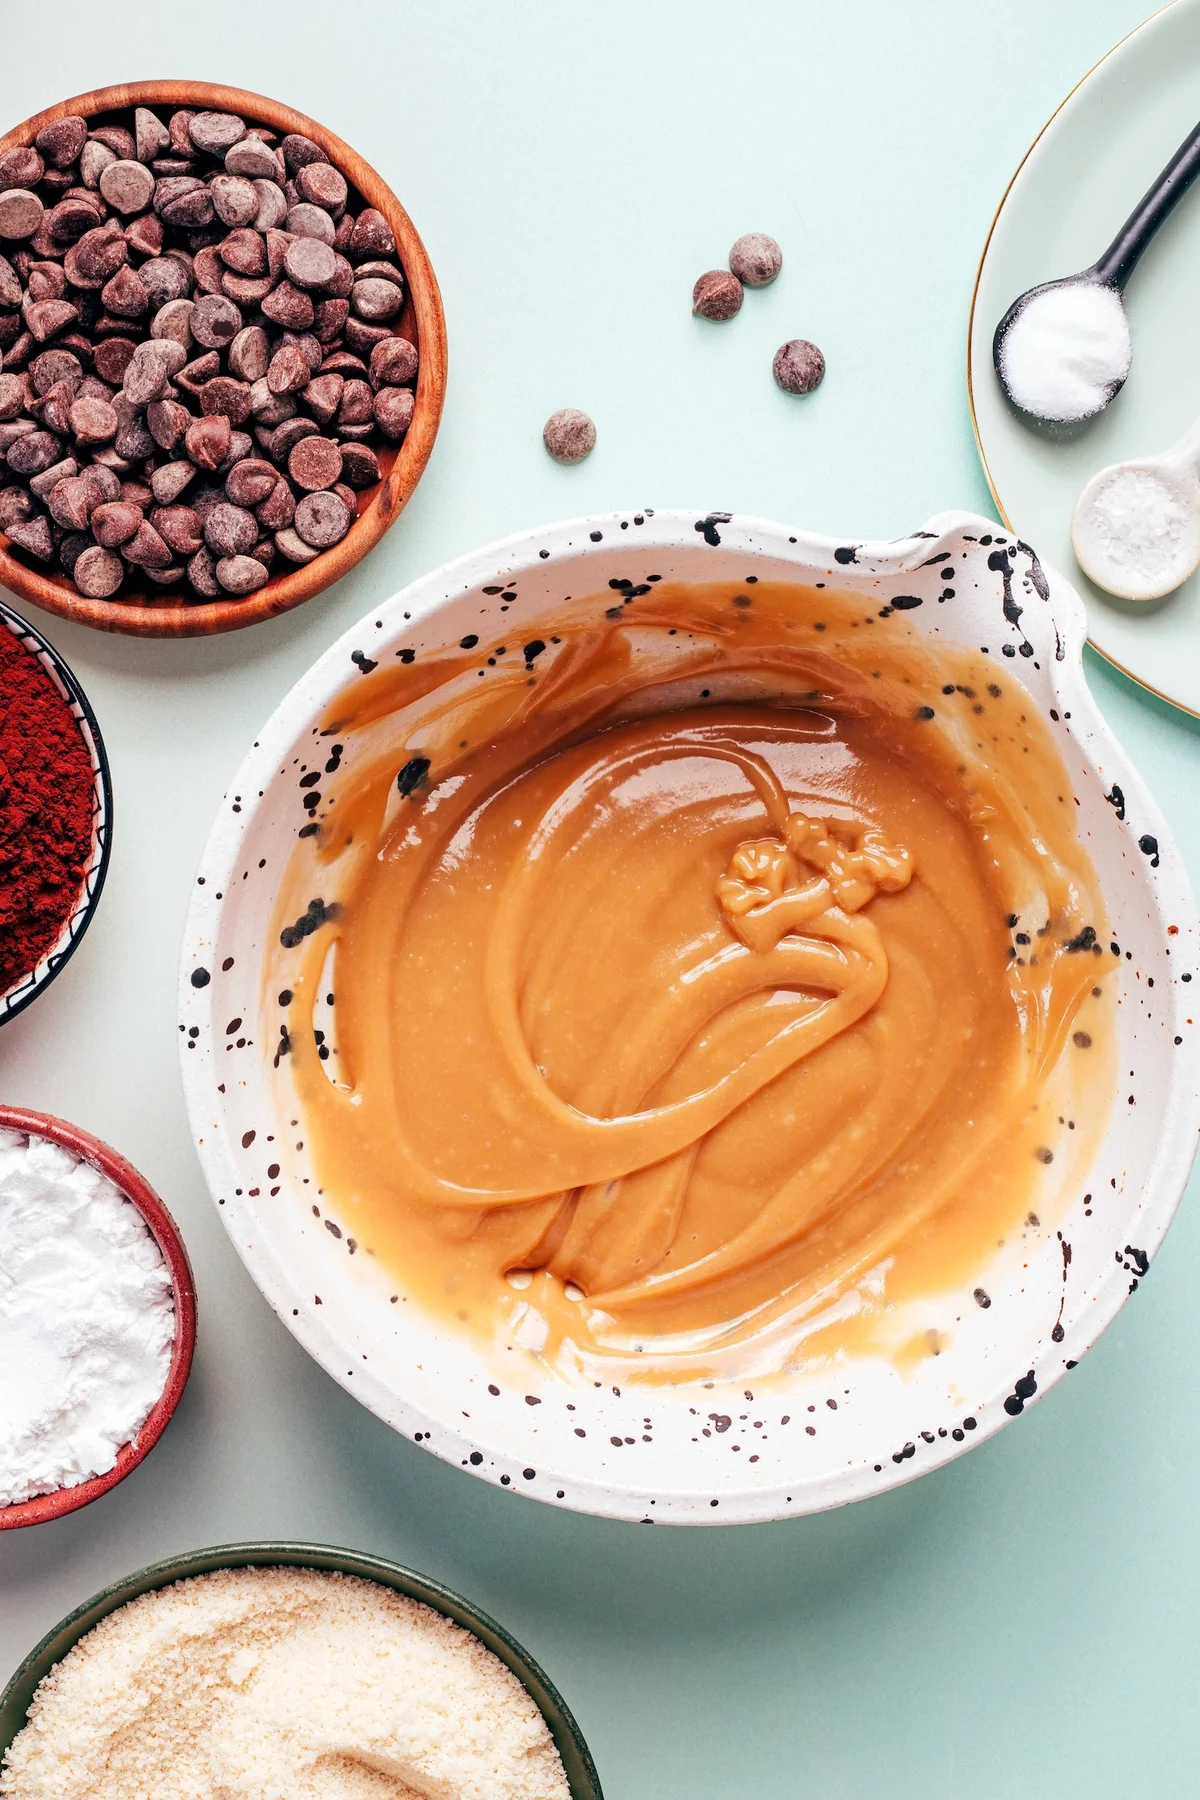
    2. In a medium bowl, whisk the tahini and maple syrup together until smooth. It turns into a luscious, caramel-looking mixture with a perfect bitter-sweet balance.
    3. Tahini and maple syrup whisked into caramel-colored batter
    4. Add the almond flour, tapioca starch, cocoa powder, baking soda, and salt. Stir with a wooden spoon or rubber spatula until the dough comes together. That’s the whole mixing part.
    5. Chocolate cookie dough balls on parchment-lined baking sheet
    6. Fold in the chocolate chips and stir to distribute. Because who wouldn’t want melty bites of chocolate in the middle of a cookie.
    7. Scoop generous 1 1/2 tablespoon portions of dough, roll them into rough balls, and place them 2 inches apart on the baking sheet. Press each down slightly to flatten.
    8. Bake for 9-12 minutes, until slightly firm on the edges. Let them cool on the sheet for about 5 minutes, then eat.

    As written, this makes about 13 cookies, and they barely spread, so everything fits on a standard baking sheet.

    Tips from my kitchen

    • Warm is the best temperature. The chips go melty and the fudgy center really comes alive, so if you can, eat the first batch straight off the tray.
    • These keep well covered at room temperature for 3-4 days, or in the freezer for up to 1 month, whether as dough or as baked cookies. Scoop dough balls, freeze them on a lined sheet until firm, then bag them. When a craving hits, bake straight from the freezer at 325 F (162 C) for 11-15 minutes.
    • One cookie comes in around 202 calories with about 5 g of protein, which makes it a genuinely satisfying afternoon snack, not just a guilty one.

    They’re rich, fudgy, crisp on the outside, tender on the inside, and perfectly sweet. Good for Valentine’s Day, good for holiday baking, and honestly good for a random Wednesday when you want chocolate and can’t justify the cake.

    Trade-It Tip

    No maple syrup? Honey or agave work in the same amount, and the cookies still turn out. I’d keep the tahini, though, because that’s where the whole thing gets its depth.

    If you make these, I’d love to hear how they turned out. Leave a comment, rate the recipe, and tag a photo @healthvistablog on Instagram.

    If it doesn’t fit a Tuesday night, it doesn’t get published.

    Keep Reading

  • Small-Batch Funfetti Cupcakes: 6 Moist Cupcakes, One Weekend Batch

    Small-Batch Funfetti Cupcakes: 6 Moist Cupcakes, One Weekend Batch

    I used to think a homemade cupcake batch was a commitment device. You bake, the kids eat two, the dog gets one, and suddenly there are eight of them in a Tupperware on the middle shelf, going through a personality change. I was over it. So when I found a recipe that makes exactly 6, I was suspicious. Then I made them, and the suspicion became a standing invitation to my weekend.

    Let’s address the elephant in the room: yes, funfetti is basically vanilla cake with sprinkles. And yes, it’s absolutely worth making from scratch. These aren’t the sad, dense ones that make you miss box mix — they’re legitimately better than anything you can buy, and the batch size means you can actually finish them before they get sad.

    Frosted funfetti cupcakes with sprinkles on a light countertop

    Why This Works

    Two things do the heavy lifting here. Cake flour instead of all-purpose flour — it has less protein (5-8% versus 10-13%), so less gluten forms, and the crumb comes out tender instead of chewy. Then sour cream and buttermilk, which keep the interior moist and give that quiet tang that makes vanilla cake feel like it has something to say. Egg whites add structure without the heaviness, and vanilla bean paste gives you those little dark flecks that quietly announce ‘homemade.’

    No cake flour? Here’s the swap. Measure 3/4 cup + 2 tablespoons (109 g) of all-purpose flour, scoop out 1 1/2 tablespoons (12 g), and replace it with 1 1/2 tablespoons (12 g) of cornstarch. Sift the mix together 4-5 times and you’re in business. I keep a bag of cake flour in the pantry now, but the swap is the good kind of simple too.

    Ingredients

    • 57 g (1/2 cup) unsalted butter, softened
    • 100 g (1/2 cup) granulated sugar
    • 2 large egg whites
    • 60 g (1/4 cup) sour cream
    • 1 teaspoon vanilla bean paste
    • 109 g (3/4 cup + 2 tablespoons) cake flour
    • 1/2 teaspoon baking powder
    • 1/8 teaspoon baking soda
    • 1/4 teaspoon fine sea salt
    • 60 g (1/4 cup + 2 tablespoons) buttermilk
    • 45 g (1/2 cup) rainbow sprinkles (jimmies), plus more for garnish
    • Double vanilla buttercream, half-batch — see the note below

    Why this works, one more time: cake flour for a tender crumb, dairy for moisture and tang, sprinkles folded in at the very end so they pop in every bite instead of bleeding the batter pink.

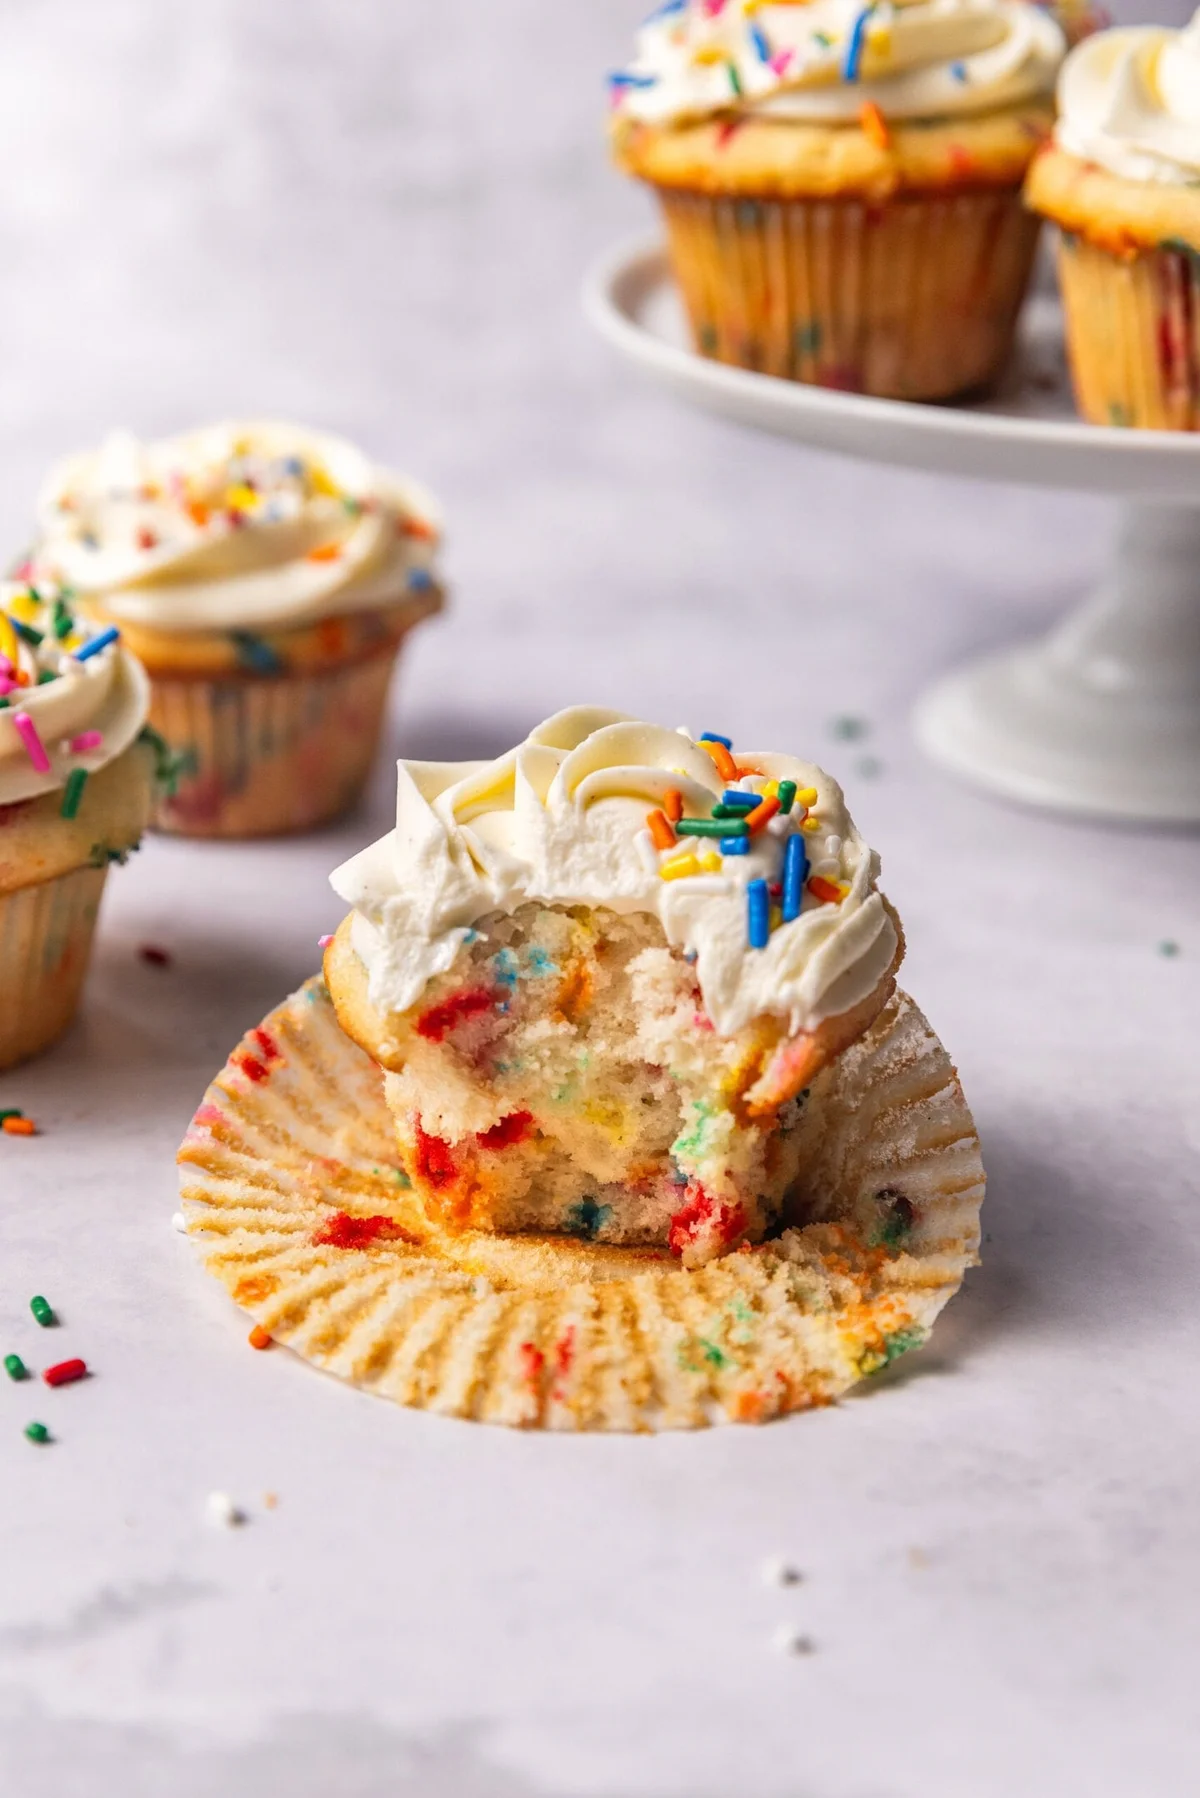
    Cut funfetti cupcake showing sprinkle-filled interior crumb

    Method

    1. Preheat the oven to 350°F (180°C). Line a 6-cup muffin pan with cupcake liners and set it aside.
    2. In a medium bowl, beat the butter on high until smooth and creamy, about 1 minute. Add the sugar and beat on high for 2-3 minutes until light and fluffy. Scrape down the bowl as needed — this step is where the tenderness comes from.
    3. Add the egg whites, sour cream, and vanilla. Beat on medium-high until combined, scraping down again.
    4. Add the flour, baking powder, baking soda, and salt, and mix just until incorporated. With the mixer on low, stream in the buttermilk until combined. Stop there — overmixing is what turns these into bricks.
    5. Fold in the sprinkles by hand, gently, just until combined.
    6. Spoon the batter into the liners, filling each about two-thirds full (about 4 tablespoons, 60 g, per cup). That fill level is what gives you the nicely domed tops without the overflow drama.
    7. Bake 20 to 22 minutes. The tops should be pale golden, not brown, and a toothpick comes out with just a few moist crumbs. A completely clean toothpick means you waited too long.
    8. Cool completely in the pan before frosting.
    Bite taken from a funfetti cupcake revealing moist interior

    What I Learned the Hard Way

    • Room-temperature ingredients are not optional. Cold butter and cold sour cream don’t emulsify, and cold batter makes dense cupcakes. Set everything out the moment you remember you’re baking.
    • Use jimmies, not nonpareils. The little rods hold their shape and their color. Nonpareils dissolve and streak the batter, which is a specific kind of sadness.
    • Don’t wait for a clean toothpick. Moist crumbs = done. Clean = overdone.

    The Frosting Question

    These are topped with a half-batch of my 5-minute double vanilla buttercream“>double vanilla buttercream — just enough for a modest swirl on each cupcake, which is what a realistic person actually wants. Want the sky-high Instagram swirls? Make a full batch and go wild. Vanilla on vanilla is classic for a reason, but chocolate or strawberry frosting works beautifully here if you’re feeling adventurous.

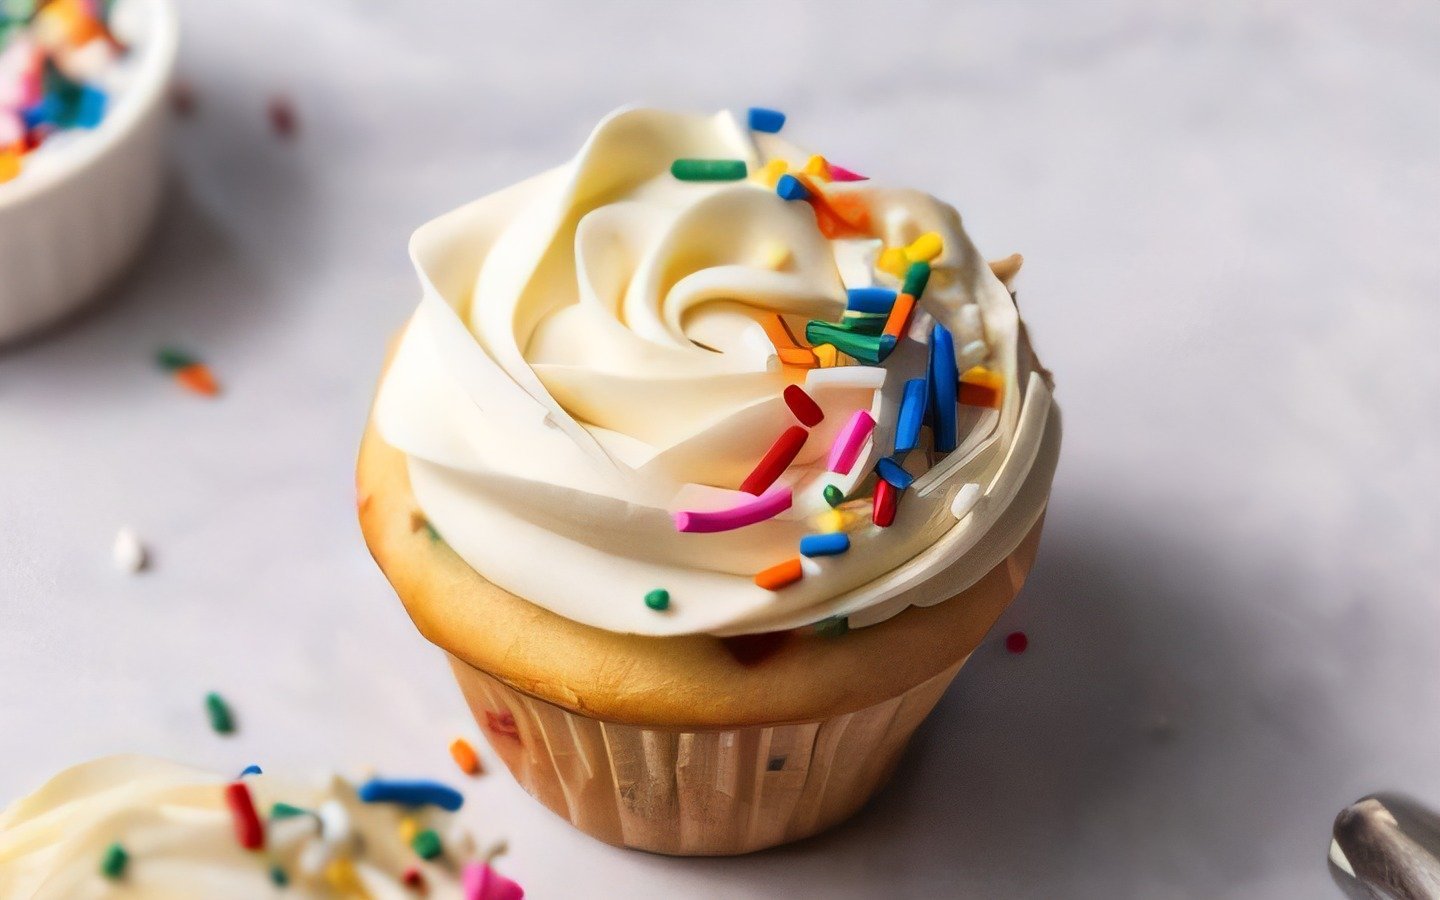
    Overhead view of frosted funfetti cupcakes with scattered sprinkles

    Storage, Freezing, and Making Ahead

    • Unfrosted, covered at room temperature: 2 days.
    • Unfrosted, refrigerated: 5 days.
    • For longer: wrap individual cupcakes in plastic wrap and freeze up to 3 months. Thaw at room temperature for 2 hours before frosting.
    • Frosted cupcakes freeze fine too — put them uncovered in the freezer for 30 minutes to set the frosting, then wrap individually.

    Trade-It Tip: No vanilla bean paste? A full 1 1/2 teaspoons of good vanilla extract works, you just lose the flecks. The taste holds up fine.

    These are the dessert I make when I want something that feels like a treat without the commitment. Six cupcakes, one pan, one bowl. If it doesn’t fit a Tuesday night, it doesn’t get published — and honestly, this one wouldn’t pass that test, but it fits a Saturday morning, which is close enough.

  • Strawberries & Cream Chia Pudding (5 Ingredients, 5 Minutes of Work)

    Strawberries & Cream Chia Pudding (5 Ingredients, 5 Minutes of Work)

    Five minutes of actual work. That’s the whole catch with this pudding: you blend, you stir, you walk away, and the chia seeds do the rest while you’re doing something else. I’ve made this twice for my kids’ lunchboxes and once because I wanted something that felt like dessert without the guilt. It worked all three times.

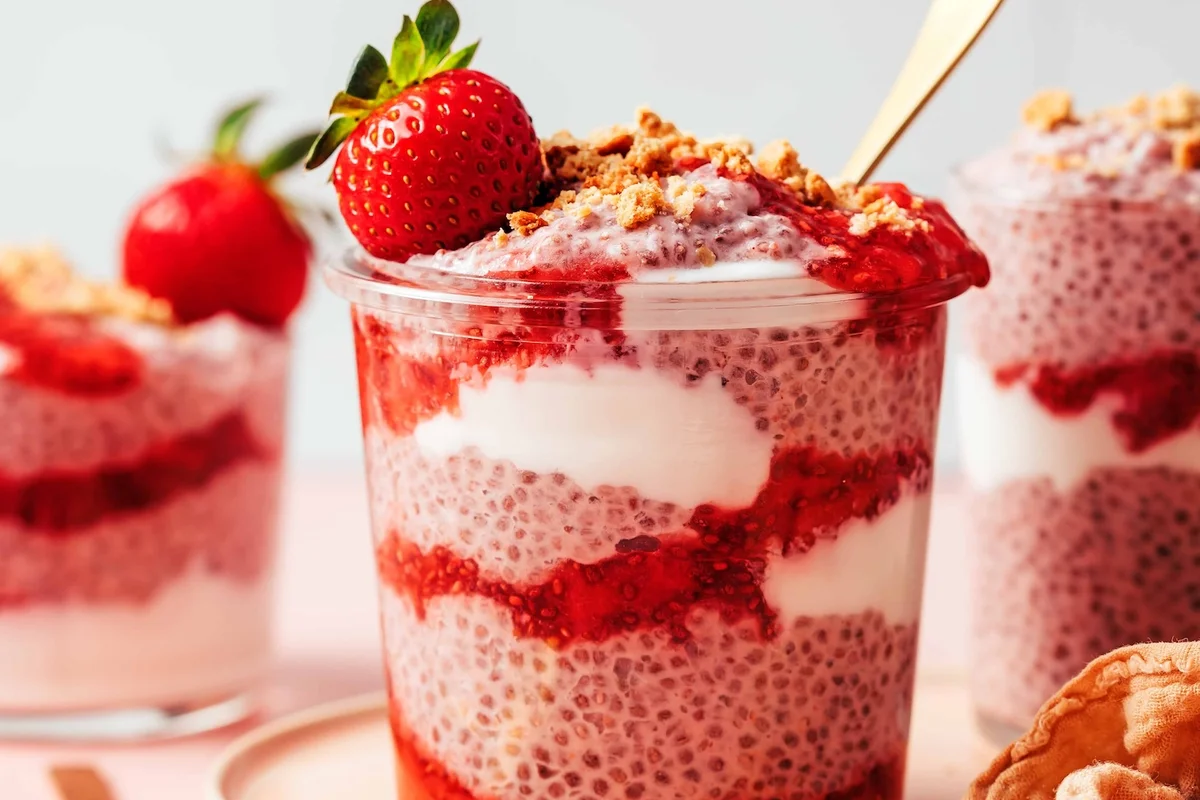
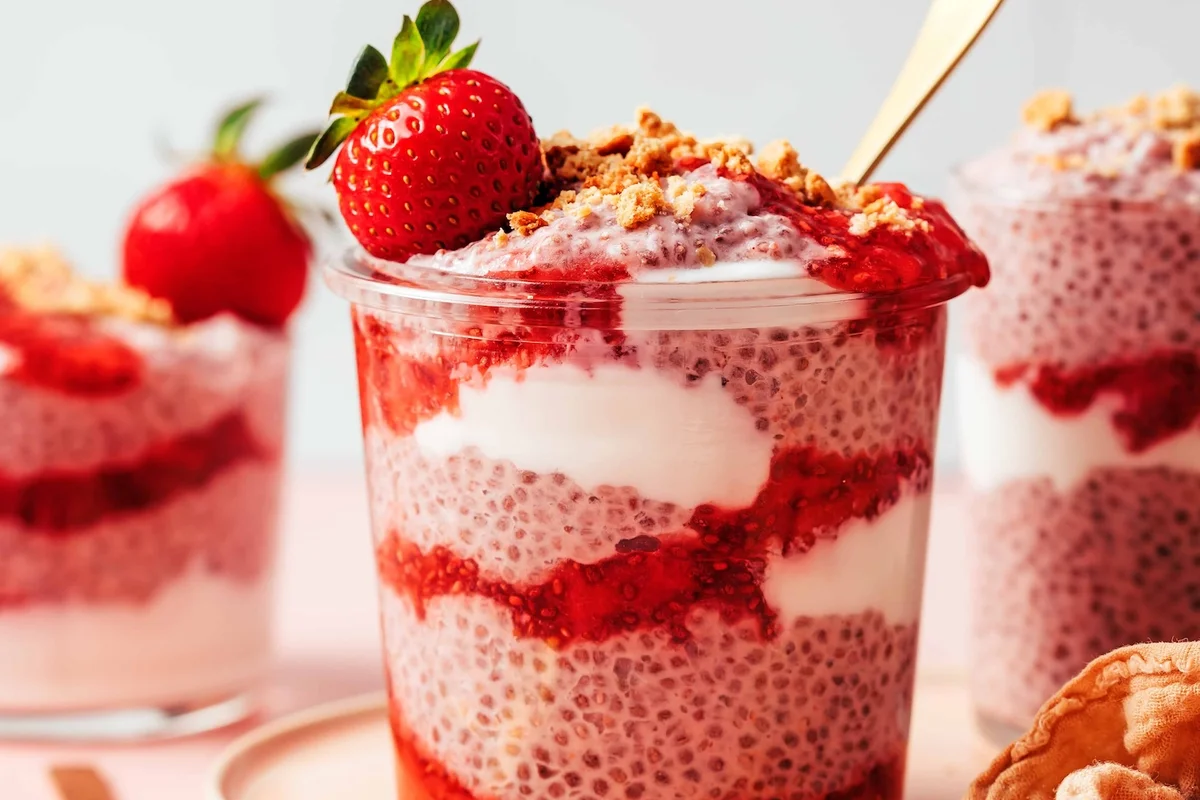
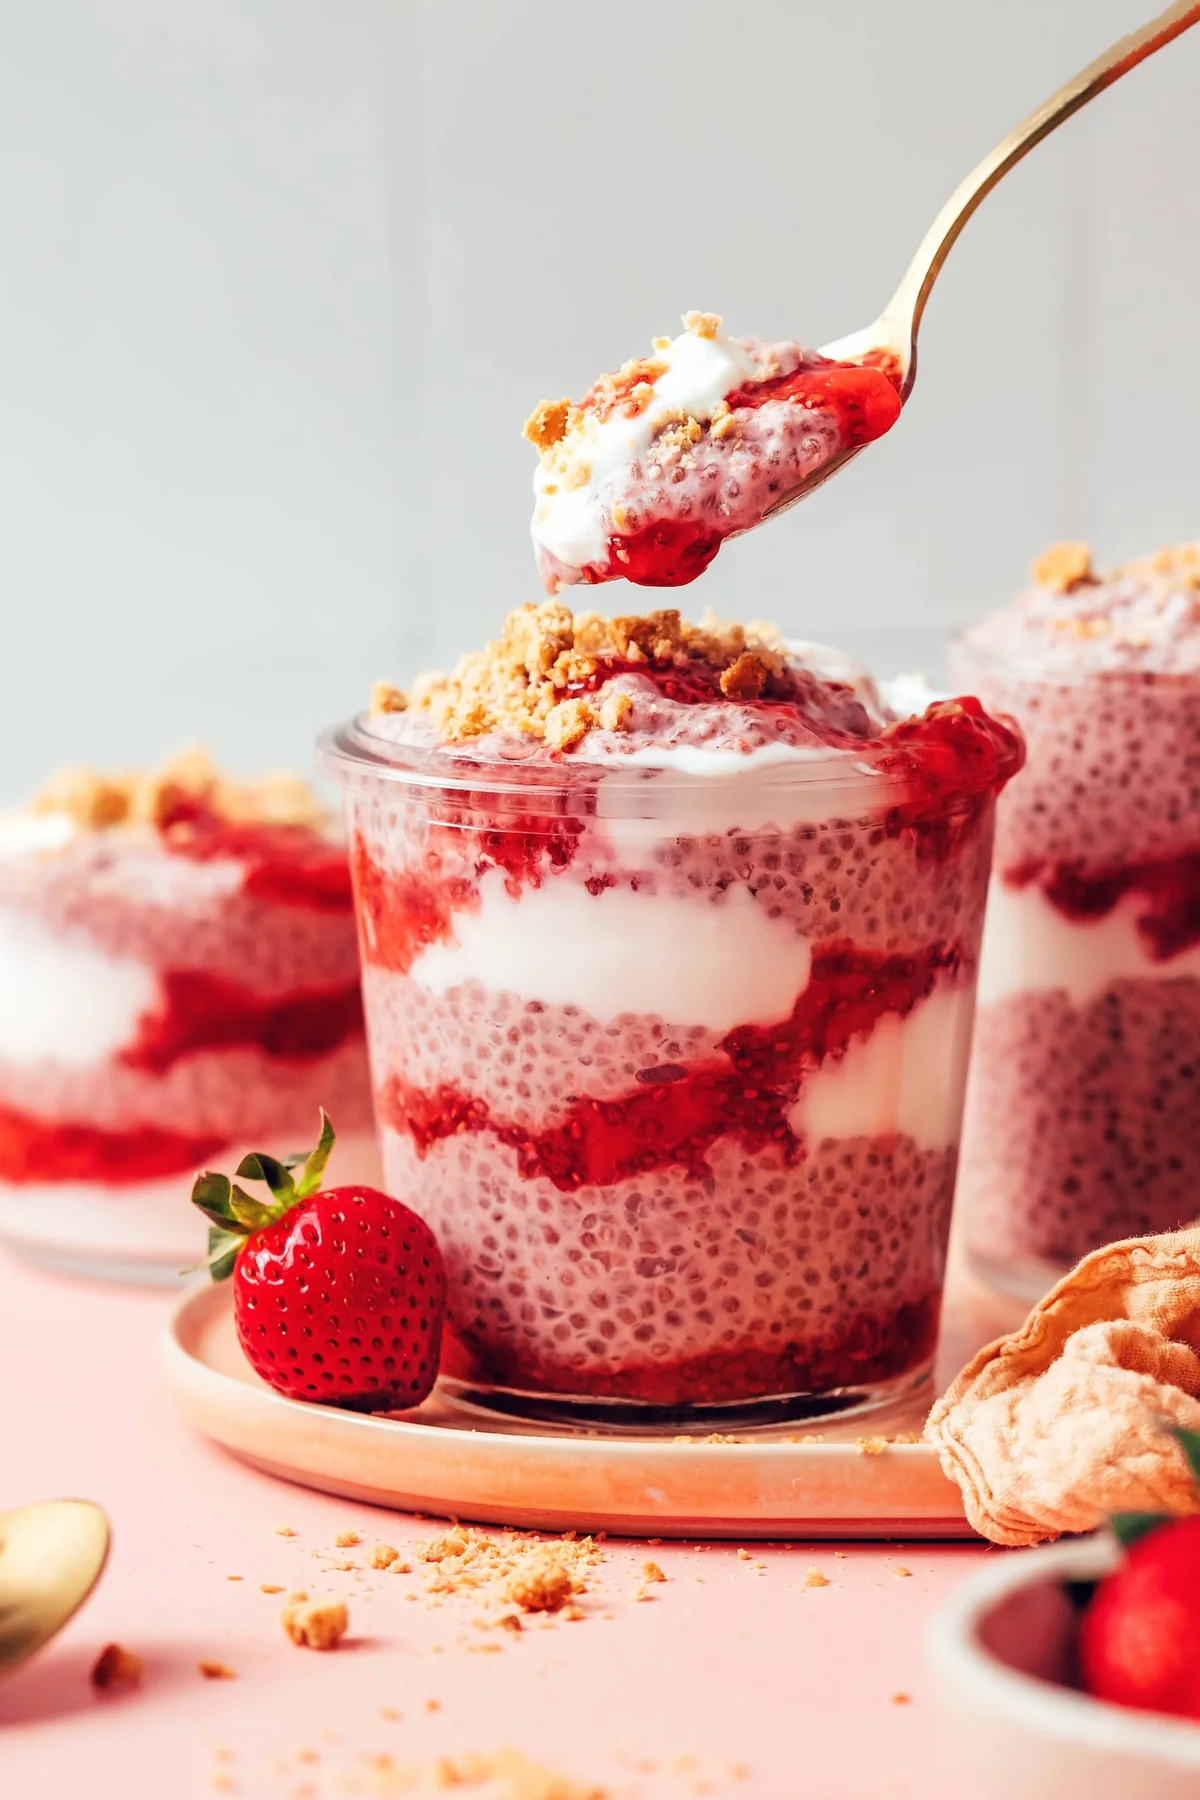
    Strawberry chia pudding layered with cream in a clear glass jar
    Layered strawberry chia pudding jar with a lifted spoonful

    Why this works

    Chia seeds drink up liquid and swell, so the longer you chill it, the thicker and creamier it gets — no cook, no set, no stirring vigil. And blending the strawberries straight into the milk means you get that strawberry-and-cream flavor without making a separate sauce or compote from scratch.

    It’s the good kind of simple: five ingredients, one blender, one jar. You don’t need to be a nutrition nerd to know it’s fiber-rich; you just need to like the way it tastes.

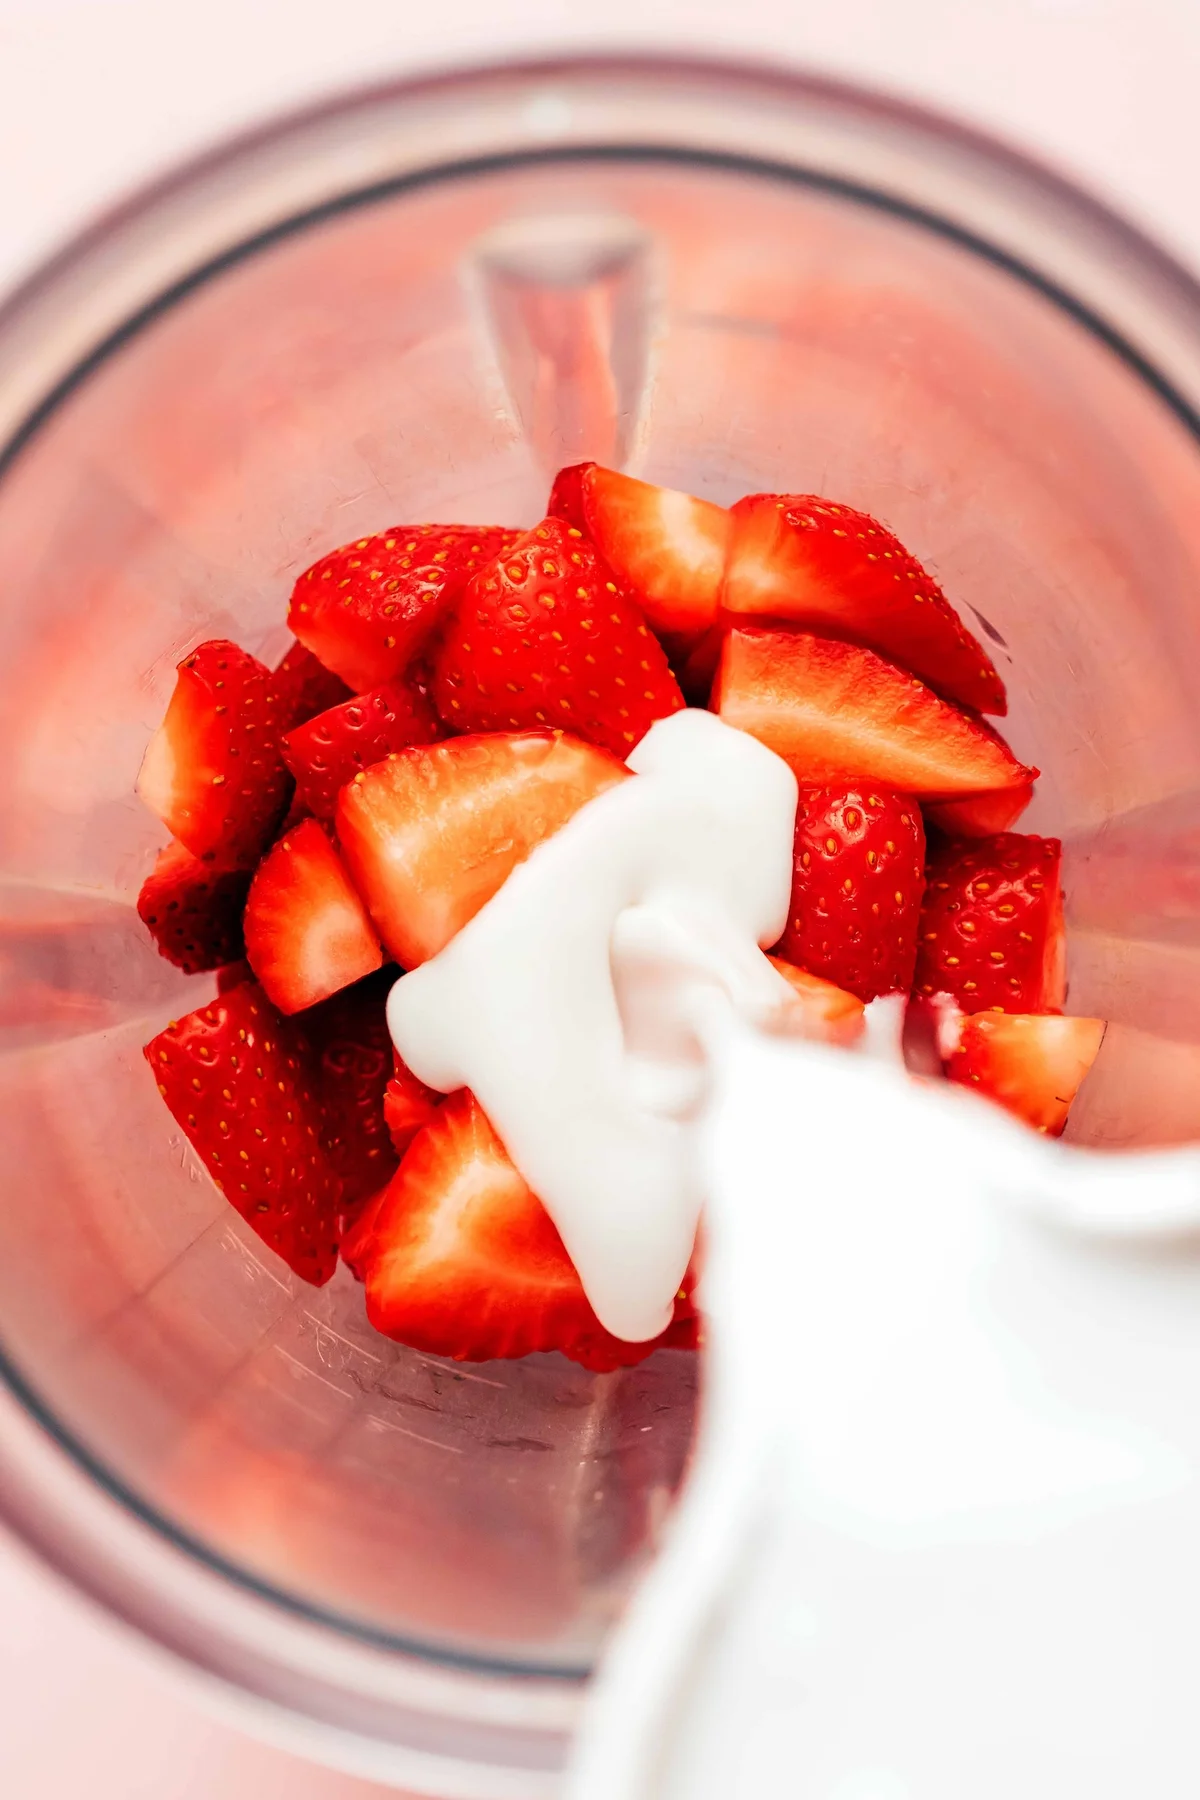
    Strawberries and coconut milk being blended together

    Ingredients

    • 1 (14-oz) can light coconut milk — pick a smooth, creamy brand. (One can is roughly 1 ¾ cups / 400 ml. Any other creamy milk you like works too.)
    • 1 cup roughly chopped fresh strawberries (thawed frozen ones are fine)
    • ½ tsp vanilla extract
    • 1–3 Tbsp maple syrup, to taste (agave, or another liquid sweetener you’re used to, works as well)
    • ⅓ cup chia seeds

    For serving, all optional: a scoop of yogurt, coconut whipped cream, strawberry compote or fresh strawberries, and crushed graham crackers (vegan/gluten-free as needed).

    Steps

    1. Blend the coconut milk, strawberries, vanilla, and the smaller amount of sweetener on high until no strawberry bits remain.
    2. Taste and sweeten to your liking. Add the chia seeds and pulse just a few times — you want them combined, not crushed.
    3. Transfer to a jar or container with a lid and chill for at least 2–4 hours, ideally overnight. It sets as it chills. If it looks uneven after about 30 minutes, give it a stir.
    4. Serve as is, or top with yogurt, coconut whipped cream, compote, and crushed graham crackers if you’re feeling fancy.
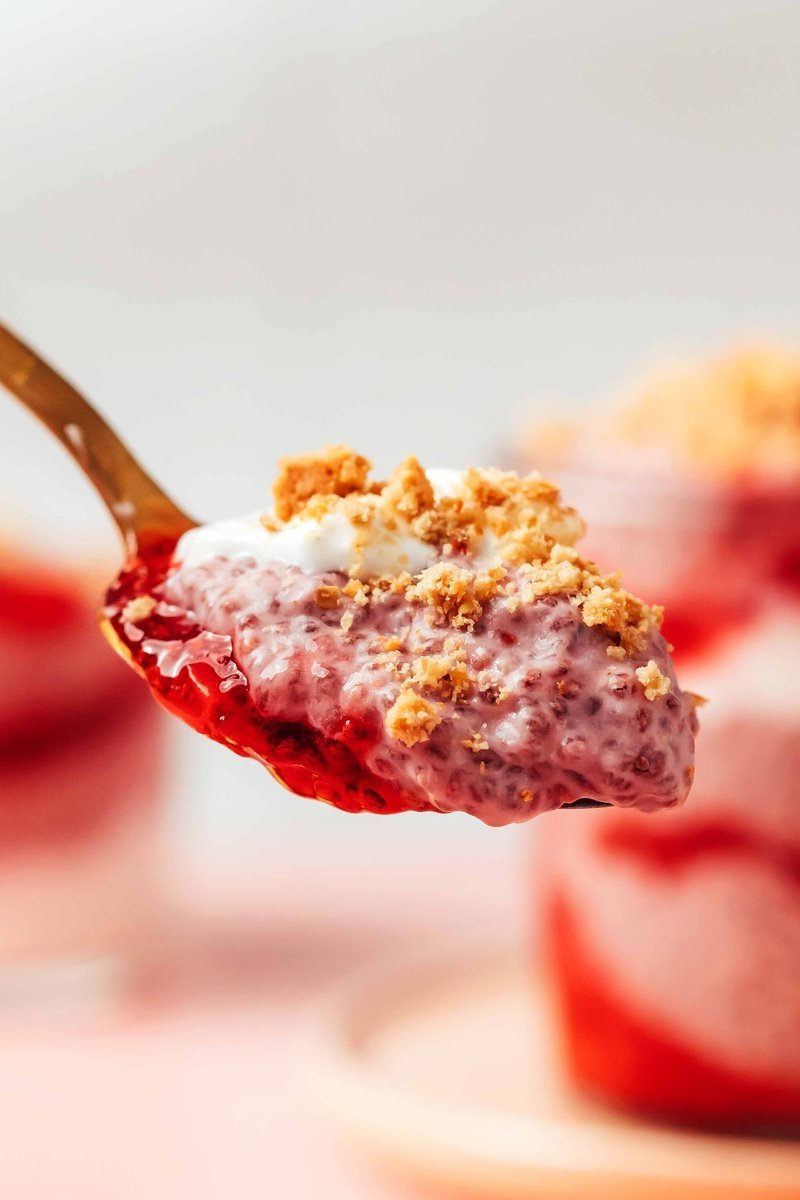
    Spoonful of layered strawberry chia pudding showing creamy texture

    Leftovers keep in the refrigerator for 4–5 days. It doesn’t freeze well, but it can work as little popsicles if you’re up for it.

    Hands lifting a spoonful of strawberry chia pudding from a bowl

    Notes from my kitchen

    Prep time doesn’t include chilling — that part is on the fridge, not you. Nutrition numbers below are a rough estimate without the optional toppings. If you’re making it for a crowd, individual glass jars are the move: everyone gets their own, and it looks better than it tastes (okay, it tastes great too).

    Nutrition per ½-cup serving (of 5 servings): 127 calories, 11.9 g carbs, 2.5 g protein, 8.6 g fat, 4.3 g fiber.

    Trade-It Tip

    No coconut milk? Any creamy milk works — oat, whole cow’s, or almond. You’re after thickness and a little richness, so skip the thin stuff. And no fresh strawberries? Thawed frozen ones blend just as smooth.

    If it doesn’t fit a Tuesday night, it doesn’t get published.

    — Grace
    Keep Reading