作者: Grace Bennett

  • Texas Margarita: The 5-Minute Citrus Cocktail I Actually Want to Drink

    Texas Margarita: The 5-Minute Citrus Cocktail I Actually Want to Drink

    I used to think a margarita was a margarita — tequila, lime, orange liqueur, done. Then I poured fresh orange juice into one and my whole idea of the drink went a little sideways. It’s still a margarita. But it tastes different in a way I can’t quite explain, and I’ve been making it this way ever since.

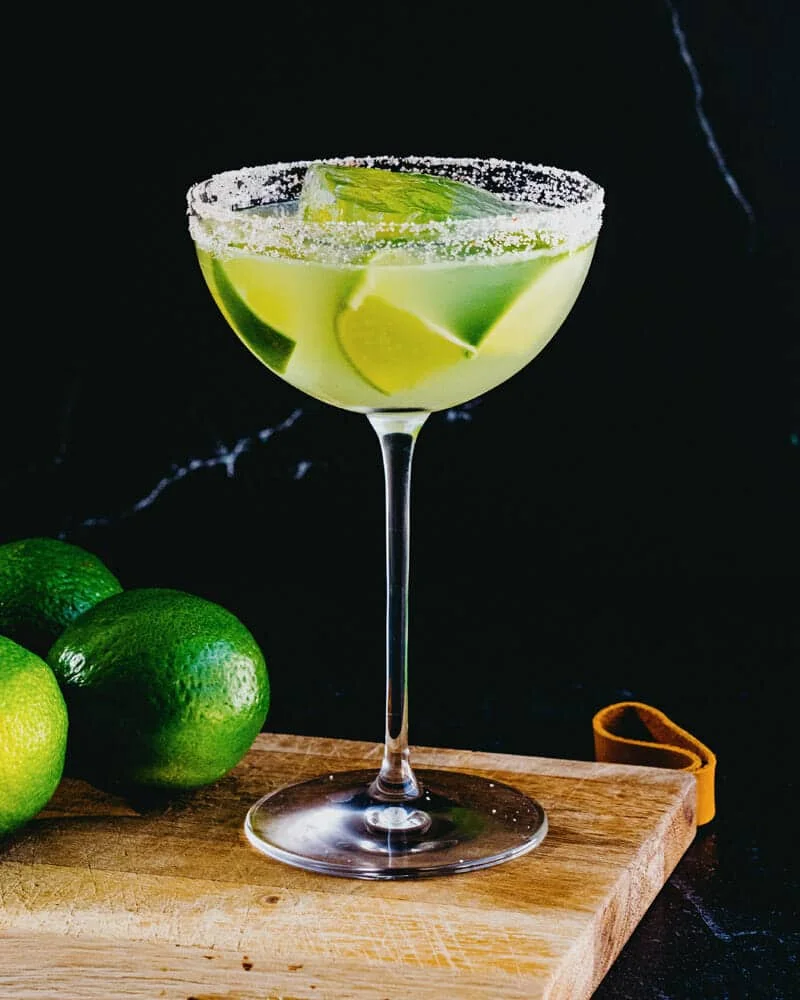
    Texas margarita in a salt-rimmed coupe glass with lime wedges

    This is the Texas margarita. One honest warning before you start: I’ve never found a definitive origin story for it. No bar, no bartender, no famous first pour — it may have started as a throw-together pitcher of limeade, frozen orange juice, and tequila. Which, honestly, is the kind of drink that sounds like something I’d throw together after a long week. And I mean that as a compliment.

    Why this works

    The orange juice does two things at once: it rounds off the sharp edge of the lime and adds just enough sweetness that the whole drink feels balanced instead of just sour. The tequila pour stays exactly what it would be in a classic margarita, so it drinks smoother without actually being weaker. That’s the whole trick — same strength, softer landing.

    What you need

    • Tequila blanco — I usually reach for reposado for its oak and vanilla notes, but this drink wants something clean and straightforward. Blanco is the right call here.
    • Triple Sec — more on the brand talk below. Cointreau works too, but I keep a simpler orange liqueur in the cabinet specifically for this one.
    • Fresh lime juice — always fresh. I say this the way I say “eat with a fork”: bottled lime juice just can’t compete.
    • Orange juice — freshly squeezed if you’ve got the time, decent bottled is fine if you don’t. No added sweeteners, whatever you choose.
    • Kosher salt or sea salt for the rim. A festive margarita salt blend works too if you’ve got one.

    Triple Sec vs. Cointreau (the honest version)

    Cointreau is a type of Triple Sec — they’re all in the same family of dry orange liqueurs — but in practice, “Triple Sec” usually means the cheaper, plainer bottle. My everyday margarita go-to is Cointreau, because it adds warm spice and a little vanilla-oak depth. For a Texas margarita, that complexity fights the orange juice. A straightforward Triple Sec lets the citrus do the talking. I like Drillaud; it’s a quality brand at a sensible price, and that’s all this recipe needs.

    One more note on citrus: fresh-squeezed wins for lime and lemon, no debate. But orange juice is the exception — there’s genuinely decent bottled stuff out there. Just pick the highest quality you can find and skip anything with added sweeteners.

    Texas margarita with fresh limes on a wooden board

    Texas Margarita

    5 minutes, start to finish. Serves 1. Method: shaken.

    Ingredients

    • 1 ½ ounces tequila blanco
    • 1 ½ ounces Triple Sec (Cointreau works too)
    • 1 ounce fresh lime juice
    • 1 ounce orange juice
    • Kosher salt or sea salt, for the rim
    • Ice, for serving (clear ice if you’re fancy)

    Converting to tablespoons? 1 ounce = 2 tablespoons.

    Instructions

    1. Cut a notch in a lime wedge, then run it around the rim of your glass. Dip the rim into a plate of salt — or a margarita salt blend if you want the festive look.
    2. Put the tequila, Triple Sec, lime juice, and orange juice in a cocktail shaker with ice. Shake until cold, then strain into your salted glass.
    3. Fill the glass with ice and serve. You’re done. Go touch grass.

    The pitcher version (for when you’re actually hosting)

    Texas calls for big everything, right? So here’s the pitcher — and trust me, you want it. At 5 minutes per drink, mixing eight individual Texas margaritas by hand is a whole evening. One pitcher, and you’re done before the chips arrive.

    • 1 ½ cups tequila
    • 1 ½ cups Triple Sec
    • 1 cup lime juice
    • 1 cup orange juice

    Stir it all together, add 3 handfuls of ice, stir again until cold. That’s it — 8 servings of a very tasty Texas margarita. Just try not to drink it too fast; these go down easy.

    Fun detail: I’ve been serving it in a stemmed cocktail glass, which is a bit of a departure — margaritas usually land in a low ball glass or the classic wide-rimmed one. But it’s a cocktail, and it looks good up there. Honestly, any glass you have works.
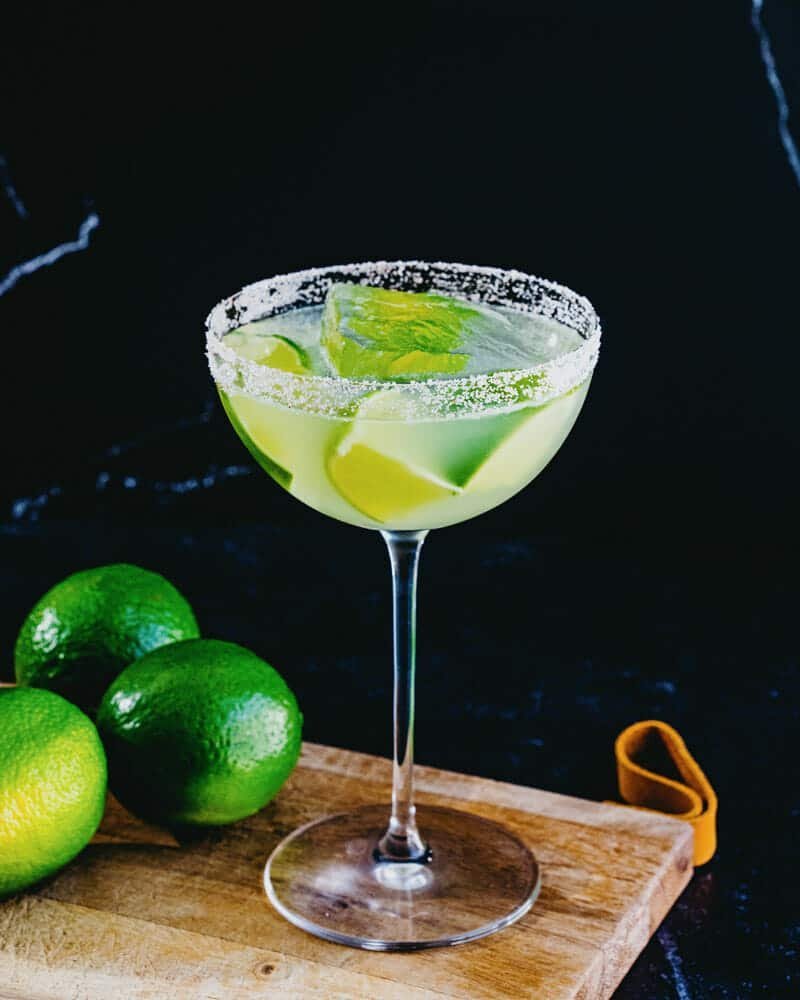
    Salt-rimmed cocktail glass with lime wedges and ice cubes

    What to eat with it

    Pair it with something Tex-Mex, because that’s clearly where it’s headed. A few things that work great:

    • Texas caviar — aka Cowboy Caviar. The colorful bean dip that’s basically a party on a plate.
    • Fajitas — shrimp or a fully veggie version both go with this beautifully.
    • Taco salad — crunchy, loaded, zero regrets.
    • Nachos — what’s more fun than a Texas margarita and a big pan of sheet pan nachos? I haven’t met it yet.

    When to make it

    Practically always. It works as a summer drink, a Cinco de Mayo drink, a happy hour drink, a dinner party drink, a late night drink, a girls’ night drink — you get the idea. It’s the kind of cocktail that shows up for every occasion and never feels out of place.

    FAQ

    What’s the 3:2:1 rule for margaritas? The classic guideline: 3 parts tequila, 2 parts orange liqueur, 1 part lime juice. This recipe is closer to 3:3:2:2, because the orange juice matches the lime.

    Is a Texas margarita stronger than a regular one? No — the tequila pour is the same. The orange juice just makes it taste smoother, which can trick your brain into thinking it’s weaker.

    Can I skip the Triple Sec? You can, but you’ll lose real depth. Bump the orange juice up slightly and add a little agave to make up for it.

    Do I still need Triple Sec if I’m using margarita mix? Most mixes already include orange flavoring and sweetener, so yes, skip it. But honestly? Skip the mix entirely. Fresh citrus is the whole point here.

    Trade-It Tip

    No Triple Sec in the cabinet? Cointreau works in a pinch — same family, a little more spice and oak. It’s not the first choice for this drink, but it’ll get you to the finish line without anyone noticing.

    If it doesn’t fit a Tuesday night, it doesn’t get published.

    Keep Reading

  • Lemony Zucchini Pasta

    Lemony Zucchini Pasta

    I used to think a proper summer pasta meant three pots, a spiralizer, and a sink full of dishes. Then I discovered spaghetti alla Nerano — a pasta made with little more than zucchini and cheese — and my whole idea of ‘healthy dinner’ changed.

    It started years ago, back when Stanley Tucci was raving about it and everyone (myself included) wanted to know how zucchini and Parmesan could possibly be that good. The hype was justified. It’s been on repeat at our table every summer since, and my version has wandered in its own direction: Parmesan, fresh basil, red pepper flakes, and a whole lot of lemon. That’s what this recipe is. The good kind of simple — the kind where one pot of pasta and a deep skillet do all the work.

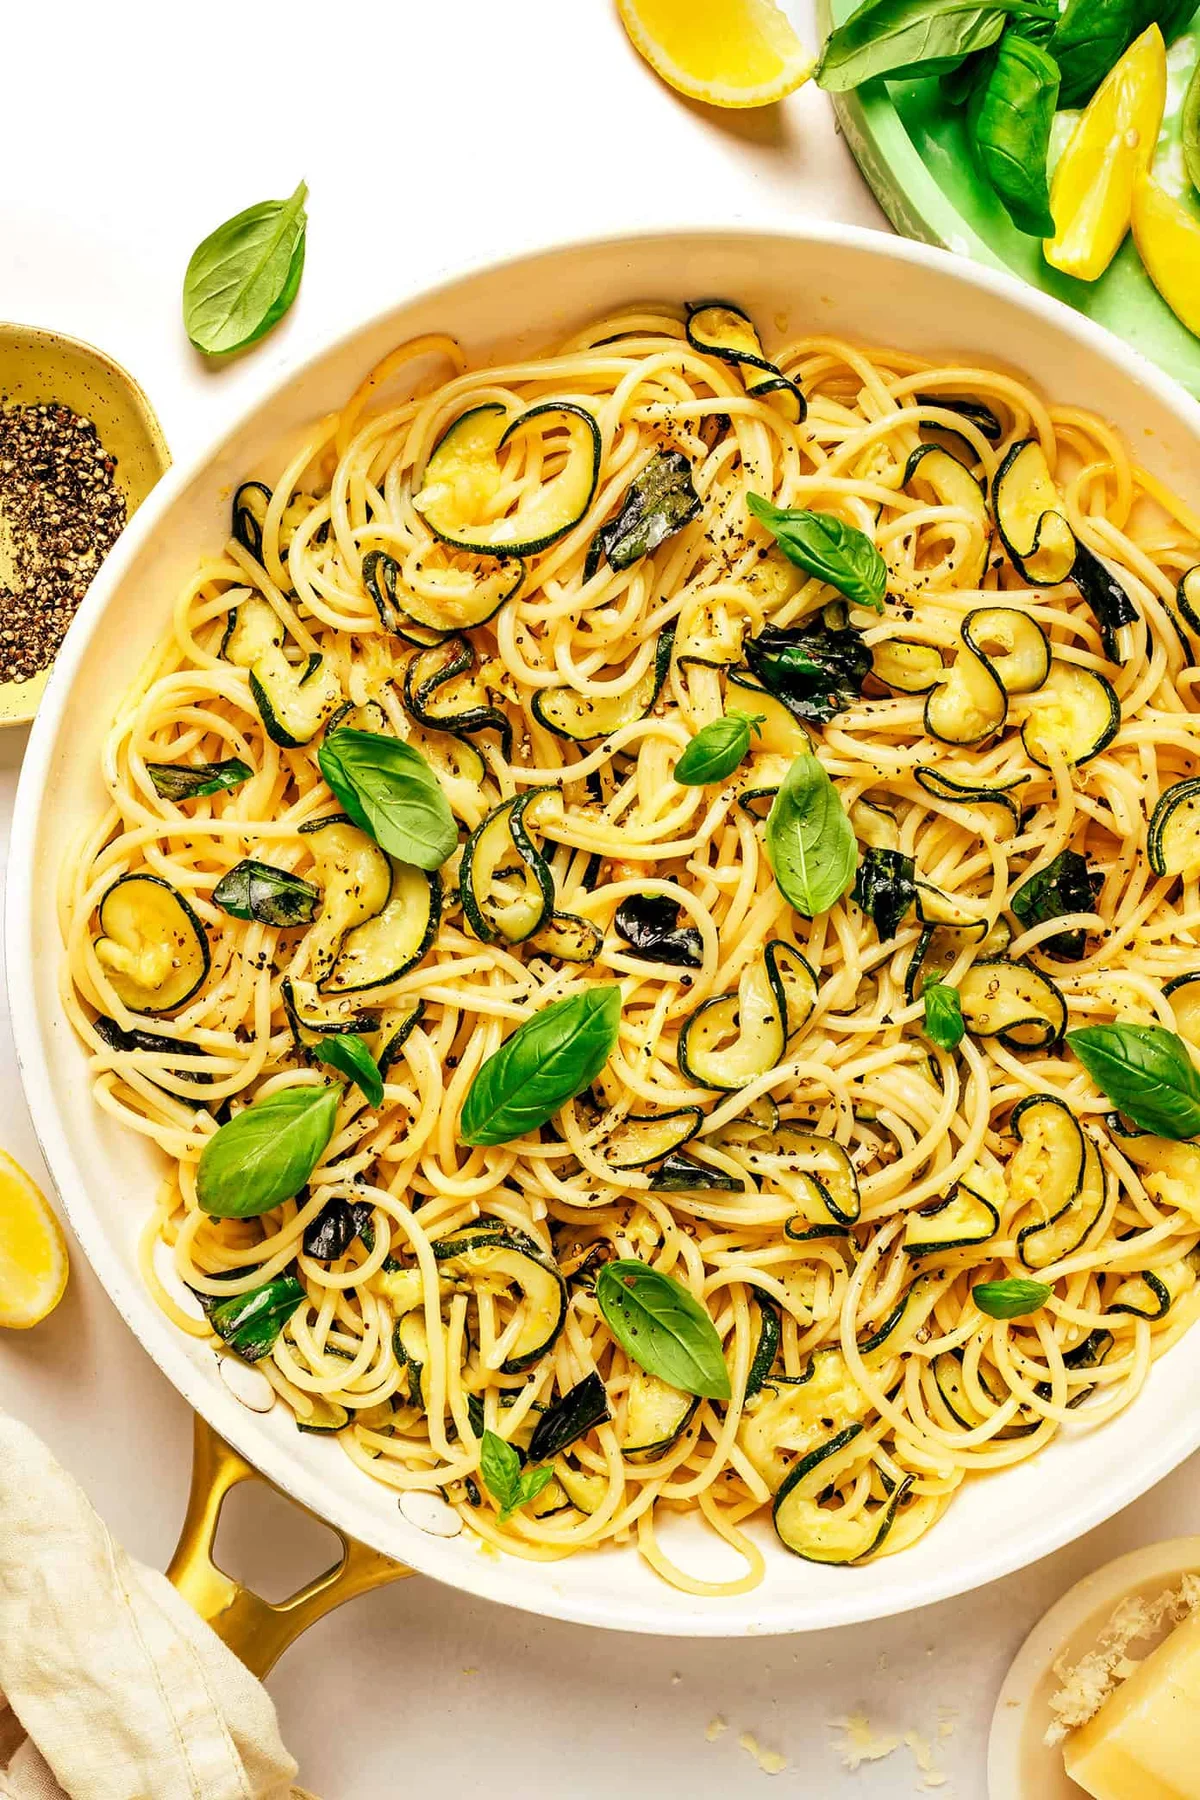
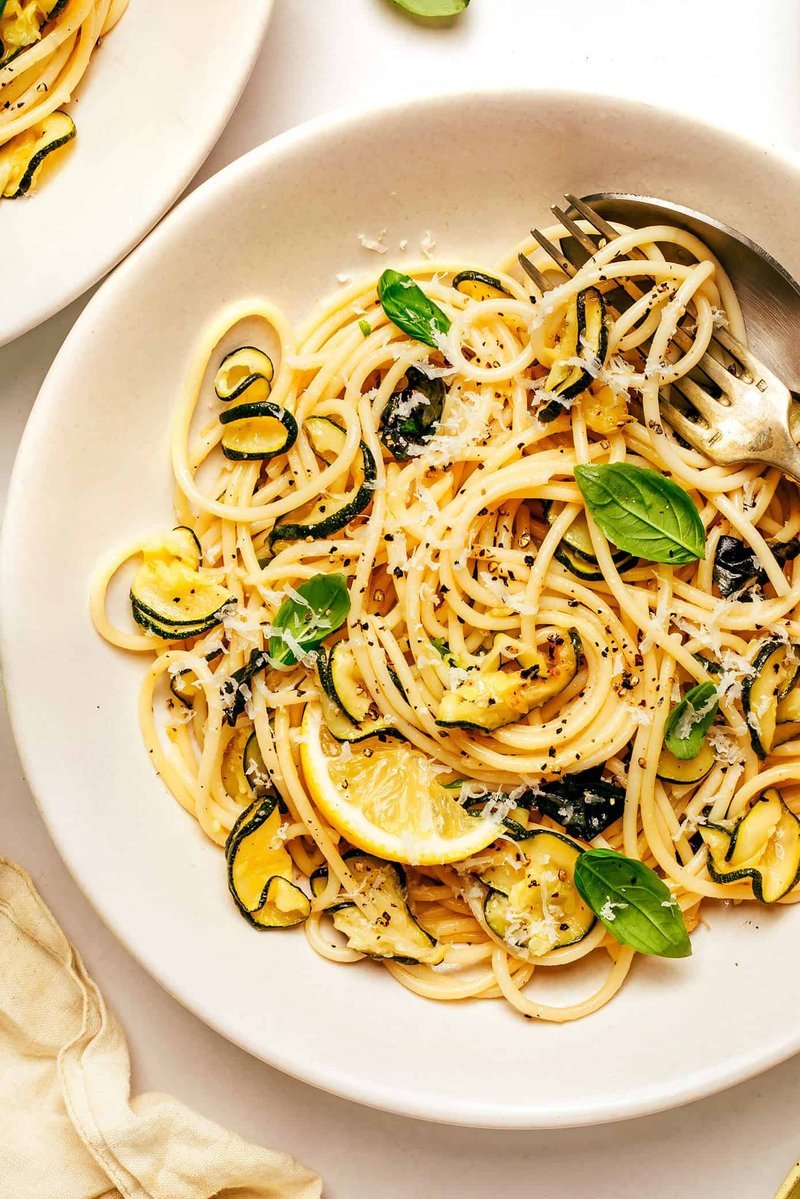
    Lemony fried zucchini pasta with silky Parmesan sauce, torn basil, and lemon zest

    Why this works

    Frying is what makes zucchini go deeply golden, sweet, and almost jammy — that’s the flavor no sauté can give you. Then the fried slices hit the starchy pasta water and Parmesan and literally melt into a silky sauce. It takes about 20 minutes at the stove with a slotted spoon, and it’s the difference between a fine zucchini pasta and one you’ll be thinking about for days.

    Golden fried zucchini slices on a plate ready to become the sauce

    Equipment

    • Mandoline

    Ingredients

    • 8 ounces spaghetti
    • 3 medium zucchini (~20 ounces), very thinly sliced
    • 1 ½ cups neutral oil or olive oil, for frying
    • 2 tablespoons extra-virgin olive oil
    • 2 large cloves garlic, peeled and lightly smashed
    • ¼ teaspoon crushed red pepper flakes, or more to taste
    • 1 teaspoon lemon zest + 2 tablespoons freshly-squeezed lemon juice
    • ⅔ cup freshly-grated Parmesan, plus extra for serving
    • ¼ cup fresh basil leaves, torn, plus extra for serving
    • fine sea salt and freshly-ground black pepper

    Instructions

    1. Slice the zucchini. Cut the zucchini into very thin rounds, about ⅛-inch thick or slightly thinner. A mandoline is very helpful here so the slices cook evenly.
    2. Heat the oil. Add the frying oil to a large sauté pan or skillet — you want enough to coat the bottom of the pan by about ½ inch. Heat over medium to medium-high until the oil reaches 350°F to 365°F. No thermometer? Drop in one slice: it should sizzle right away.
    3. Fry the zucchini. Working in batches so the pan isn’t crowded, add a single layer of slices to the hot oil. Fry for 2 to 4 minutes, flipping occasionally, until tender and lightly golden. Some slices will go deeper gold than others — that’s great — but avoid dark brown, which turns bitter.
    4. Drain and season. Lift the zucchini out with a slotted spoon and set it on a paper-towel-lined plate. Sprinkle lightly with salt. Repeat with the remaining zucchini, keeping the oil around 350°F and adding a little more oil if the pan gets too dry.
    5. Let the zucchini rest. This step is optional but very helpful: let the fried zucchini sit for at least 30 minutes, or refrigerate it for a few hours. It softens as it rests, which is what helps it melt beautifully into the sauce. You can fry the zucchini up to one day ahead.
    6. Cook the pasta. Bring a large pot of generously-salted water to a boil and cook the spaghetti until just shy of al dente. Before draining, reserve at least 1 cup of the starchy pasta water.
    7. Infuse the oil. While the pasta cooks, heat the extra-virgin olive oil in a large skillet or Dutch oven over medium heat. Add the smashed garlic and cook for 1 to 2 minutes, until fragrant. Add the red pepper flakes and cook for 30 seconds, then fish out and discard the garlic.
    8. Build the sauce. Add the fried zucchini to the skillet with a generous splash of the starchy pasta water. Once the spaghetti is just barely al dente, add it to the skillet along with the lemon zest, lemon juice, Parmesan, and basil. Toss quickly and continuously, splashing in more pasta water as needed, until the cheese melts into a silky sauce. Season with black pepper and extra salt, lemon juice, or red pepper flakes to taste.
    9. Serve. Plate it up with extra basil, Parmesan, black pepper, and a final sprinkle of lemon zest. Eat it immediately — this is a Tuesday-night recipe, not a wait-and-see.

    Finished lemy zucchini pasta bowl topped with Parmesan, basil, and red pepper flakes

    Recipe tips

    A few small details make a big difference here, especially with the zucchini and that silky Parmesan sauce.

    • Slice thin and even. A mandoline is your best friend here. Hand-slicing works too, just take your time.
    • Don’t crowd the pan. It’s tempting to dump it all in at once, but frying in batches keeps the oil hot and gives you golden slices instead of soggy, oil-logged ones.
    • Watch the oil. You’re aiming for 350°F to 365°F. If a test slice sizzles right away, you’re good to go. If it sits there quietly, wait a bit longer.
    • Save more pasta water than you think you need. At least a cup. That starchy water is what turns the Parmesan into a silky sauce instead of a clumpy mess — and you’ll want extra splashes as you toss.
    • Undercook the spaghetti slightly. It finishes cooking in the skillet with the sauce, so pull it just shy of al dente and it’ll be perfect by the time it hits your plate.

    Make it your own

    Feel free to wander. A few ideas that work:

    • Classic Nerano-style: Swap the Parmesan for grated provolone del Monaco (or a mix of provolone and Parm) and skip the lemon and red pepper flakes for the traditional version.
    • Add burrata: Tear a ball over each serving for an extra-creamy finish.
    • Add protein: Toss in grilled shrimp or chicken for something heartier.
    • Make it spicier: Double the red pepper flakes, or drizzle a little Calabrian chili oil over the top before serving.
    • Swap the herbs: Fresh mint instead of basil is so good with zucchini — or do a mix of both.
    • Add crunch: Sprinkle garlicky toasted panko over each bowl.

    FAQ

    Do I really have to fry the zucchini? For this recipe, yes — the frying is what gives the zucchini that deep, sweet, golden flavor that makes the sauce special. If you’d rather skip it, sauté the zucchini in a few tablespoons of olive oil until very soft and golden. The sauce won’t be quite as rich, but it’s still tasty.

    Can I make any of this ahead? Yes, and the fried zucchini actually benefits from it. Fry it up to a day in advance, store it covered in the fridge, and let it come toward room temp before building the sauce.

    What do I do with the leftover frying oil? Once it’s fully cooled, strain it through a fine-mesh sieve and store it in a jar. You can reuse it once or twice for frying or sautéing vegetables.

    My sauce turned clumpy instead of silky. What happened? Usually the pan was too hot when the cheese went in, or there wasn’t enough pasta water. Keep the heat at medium or lower when tossing, add the cheese gradually, and keep splashing in pasta water while tossing continuously until everything comes together.

    Trade-It Tip: No mandoline? A very sharp knife and a steady hand work — just slice as evenly as you can so everything fries at the same rate.

    If it doesn’t fit a Tuesday night, it doesn’t get published.
    — Grace

    Keep Reading

  • Harissa Chicken That’s Ready for a Weeknight

    Harissa Chicken That’s Ready for a Weeknight

    Back when I worked the line, the trick to a fast dish was never speed. It was depth of flavor in something you could throw together without thinking. Harissa chicken is that dish at home. A jar of harissa paste, a little oil, some garlic, and chicken thighs. The marinade does the heavy lifting, so the cooking part is almost boring. That’s a compliment.

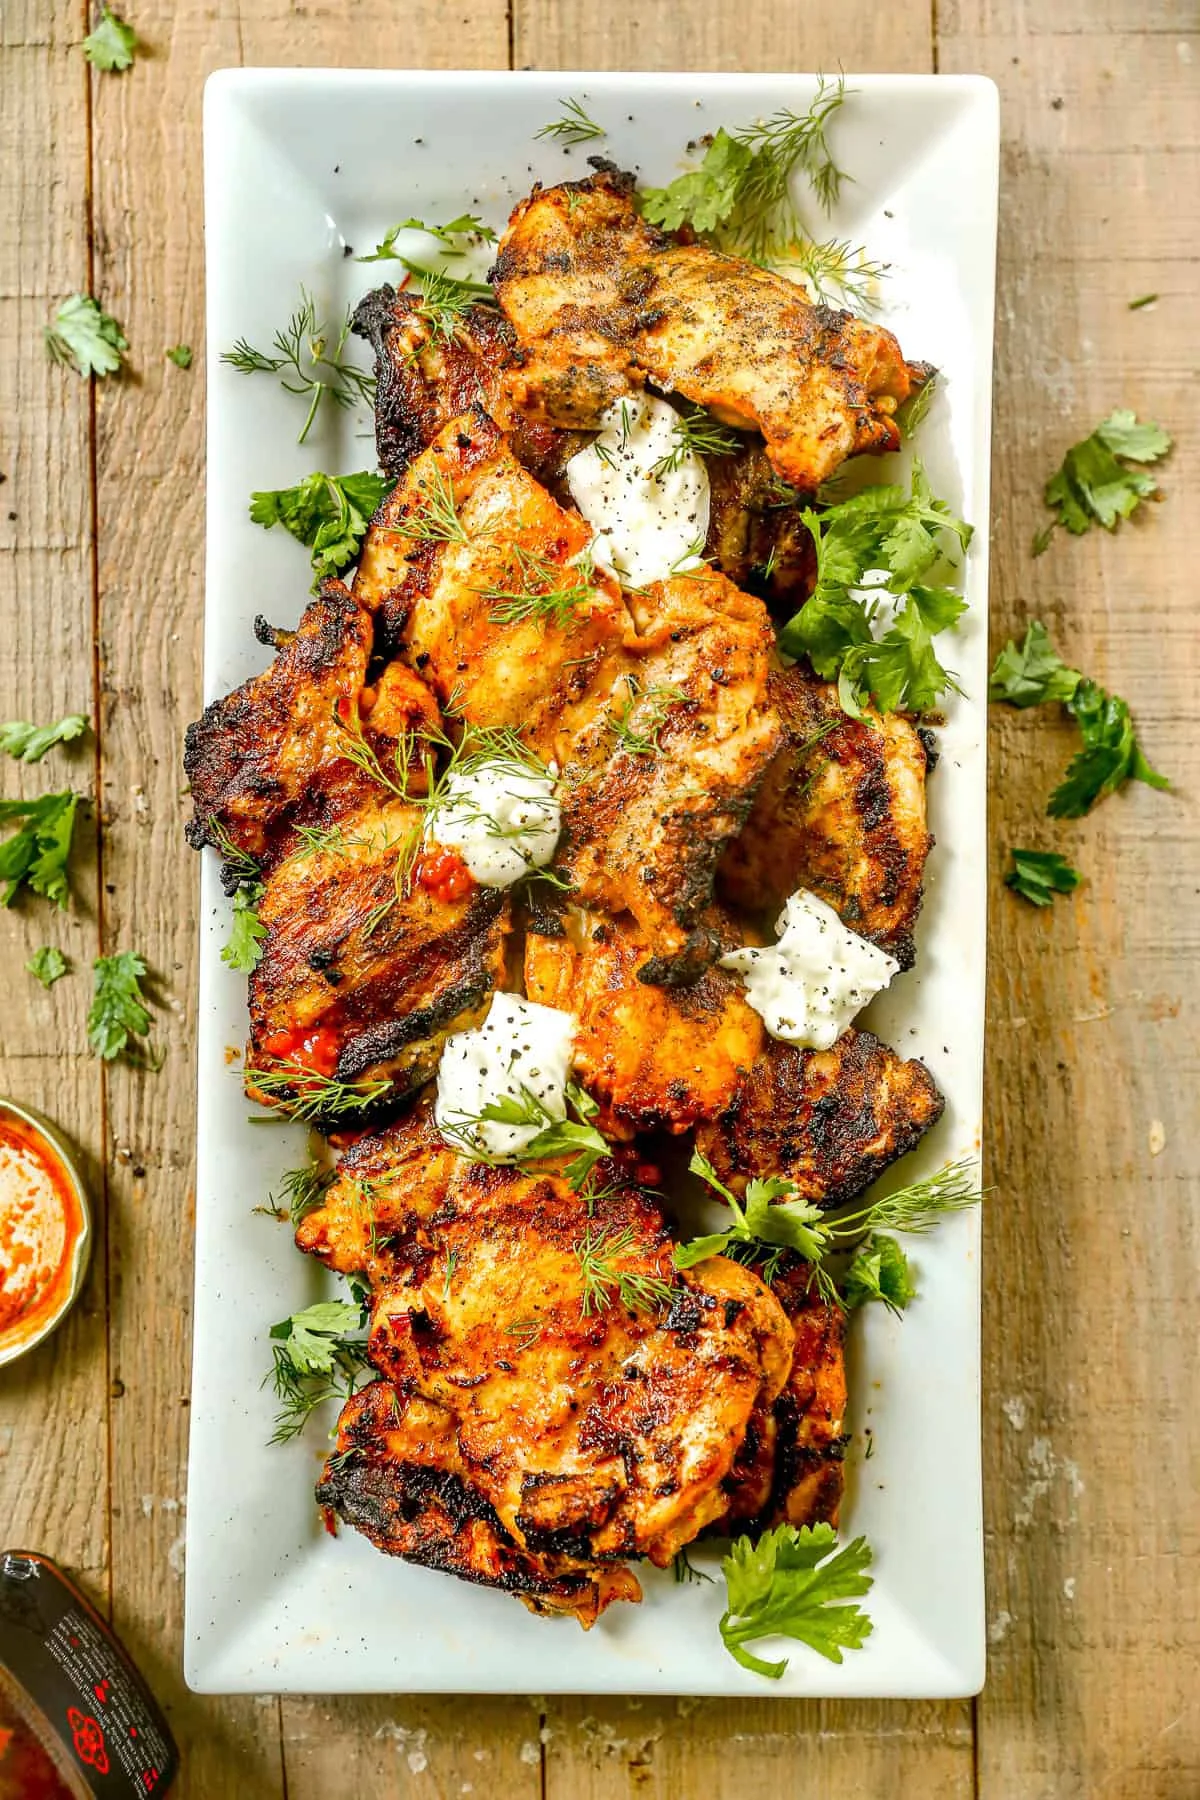
    Harissa chicken thighs with charred edges on a serving platter

    Harissa is spicy, but not necessarily hot. A mild version brings roasted peppers, garlic, warm spices, and a subtle smokiness, with just a whisper of heat. If you like it properly hot, grab the spicy jar instead. Chicken thighs are the best match for it. Their richness stands up to the bold flavor, and they stay juicier than breasts. They’re also forgiving if they cook a minute or two longer than planned, which, let’s be honest, happens.

    Why this works

    Harissa already carries a lot of flavor on its own. You don’t need to pile on more. Olive oil helps the marinade soak in, garlic and cumin add warmth, and that’s genuinely all. The good kind of simple.

    Harissa chicken plated with herbs and a side of yogurt

    Ingredients and swaps

    • Boneless, skinless chicken thighs. Trim away any large pieces of excess fat before marinating. Thighs out-breathe breasts, every time.
    • Harissa paste. Get the jarred mild version for this recipe. It lets the other flavors come through while still giving the dish personality. Spicy works if you’re after more heat.
    • Olive oil. No need for fancy extra-virgin here. A good cooking olive oil is perfect.
    • Garlic. Mince it first, then measure. You should end up with about a tablespoon. Clove sizes vary, so go by the spoon, not the count.
    • Seasonings. Kosher salt, ground cumin, and black pepper. That’s the whole list.
    • Fresh herbs. Cilantro, parsley, or dill all work for serving.
    • Greek yogurt. A dollop of plain Greek yogurt on the side cools the heat from the harissa. It’s the difference between spicy and interesting.

    How to make it

    Prep takes about 10 minutes. Cook time is 15 to 25 minutes depending on how you’re cooking it. Total: 55 minutes, which includes a 30-minute minimum marinate if you’re starting from scratch.

    1. Pat the chicken dry. Use paper towels, and trim off any large pieces of extra fat. Dry chicken browns better than wet chicken, so don’t skip this step. It’s the only step that’s actually boring.
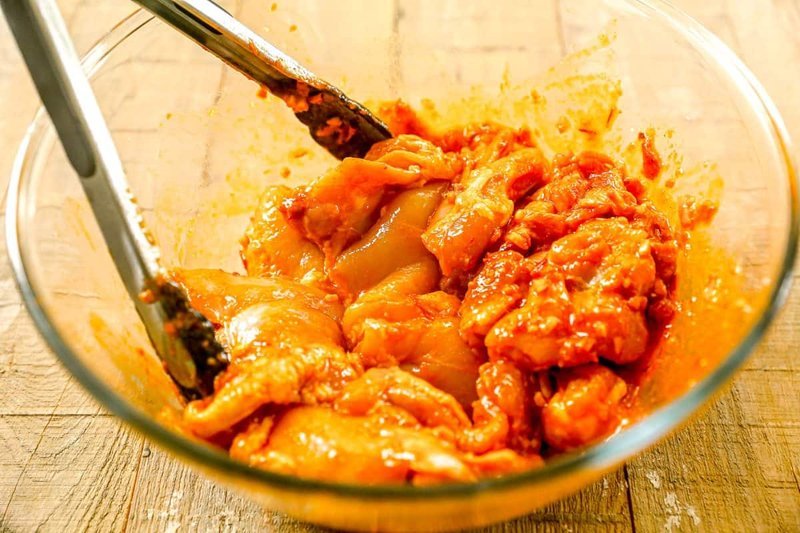
    2. Mix the marinade. In a large bowl, stir together the harissa, olive oil, garlic, salt, cumin, and pepper. Add the chicken thighs and toss until every piece is evenly coated. Let it sit for at least 30 minutes, or refrigerate for up to 24 hours. If it’s been in the fridge, let it come to room temperature before cooking.
      Raw chicken thighs coated in harissa marinade in a glass bowl
    3. Cook it your way. Pick one method below.
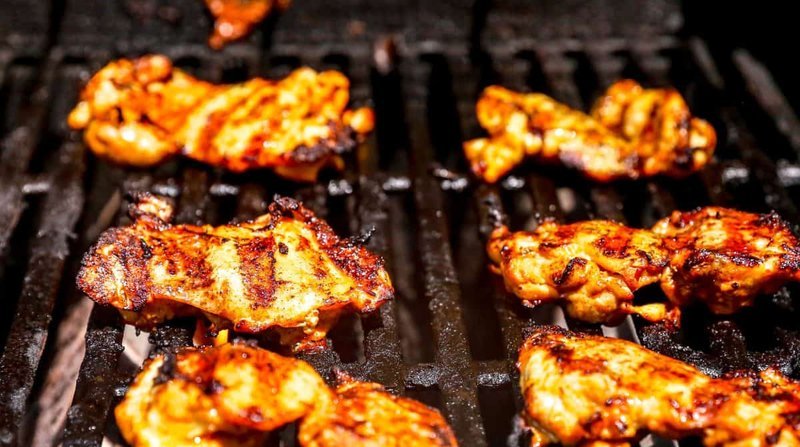
      Marinated harissa chicken grilling with visible grill marks
    4. Rest and serve. Let the chicken rest for 5 to 10 minutes before slicing, then serve with fresh herbs and a big spoonful of Greek yogurt.

    Three ways to cook it

    To grill

    Preheat the grill to medium-high heat, about 400°F. Scrub the grates clean first. Grill the chicken smooth-side down for 8 to 12 minutes, flipping once halfway through, or until an instant-read thermometer reads 165°F at the thickest part. Transfer to a plate or cutting board, cover loosely, and rest for 5 to 10 minutes.

    To bake

    Preheat the oven to 425°F. Line a baking dish with foil or parchment. Arrange the chicken in a single layer, making sure the pieces aren’t touching. Bake until the internal temperature reaches 165°F, about 15 to 25 minutes depending on your oven and the size of the thighs. Cover and rest for 5 to 10 minutes before serving.

    To air fry

    Preheat the air fryer to 380°F. Add the chicken smooth-side down. Cook for 8 to 10 minutes, flipping halfway, until it reaches 165°F on an instant-read thermometer. Rest for 5 to 10 minutes, then serve warm.

    How to serve it

    • Over grains. Couscous, turmeric rice, or quinoa all work beautifully here.
    • With North African-inspired sides. A Moroccan chickpea salad or a simple couscous rounds out the plate without a lot of fuss.
    • With vegetable sides. Sautéed green beans or roasted cauliflower keep it simple and fast.
    • In wraps and pitas. Slice the chicken and stuff it into pita with crisp vegetables and a homemade tzatziki. This is the version that disappears fastest at our house.
    • In salads. I love making extra and adding sliced chicken to salad greens for easy weekday lunches. This is where the meal prep angle really pays off.

    Storage and reheating

    • Refrigerate cooked chicken in an airtight container for up to 4 days.
    • Freeze cooked chicken for up to 3 months.
    • Reheat gently in the microwave or in a covered skillet over low heat until warmed through.

    One note before you cook

    Buy the jarred harissa sauce, not the concentrated paste. The paste is much stronger, and your chicken will end up significantly spicier than you intended. If you want more heat, that’s fine. Use the spicy version on purpose. The difference between the two is the difference between ‘flavorful’ and ‘why did I eat this again.’

    Nutrition, per serving (1 of 6): 236 calories, 30g protein, 3g carbs, 11g fat.

    Trade-It Tip: No Greek yogurt? Sour cream works in a pinch. Same tang, same texture, and it keeps the heat in check without changing the dish.

    Harissa chicken is the kind of recipe that makes you wonder why you didn’t try it sooner. It’s bold without being fussy, and it doesn’t care if you grill it, bake it, or air fry it. The chicken comes out juicy and full of smoky, warm flavor, and the whole thing comes together before you’ve finished cleaning up the kitchen.

    If it doesn’t fit a Tuesday night, it doesn’t get published.

    — Grace

    Keep Reading

  • No Churn Ice Cream at Home: 31 Flavors That Take Ten Minutes to Make

    No Churn Ice Cream at Home: 31 Flavors That Take Ten Minutes to Make

    I used to think homemade ice cream meant a machine, a recipe with a dozen steps, and a kitchen I’d have to rebuild the next day. Then a friend handed me the no churn base and I stopped believing my own excuses.

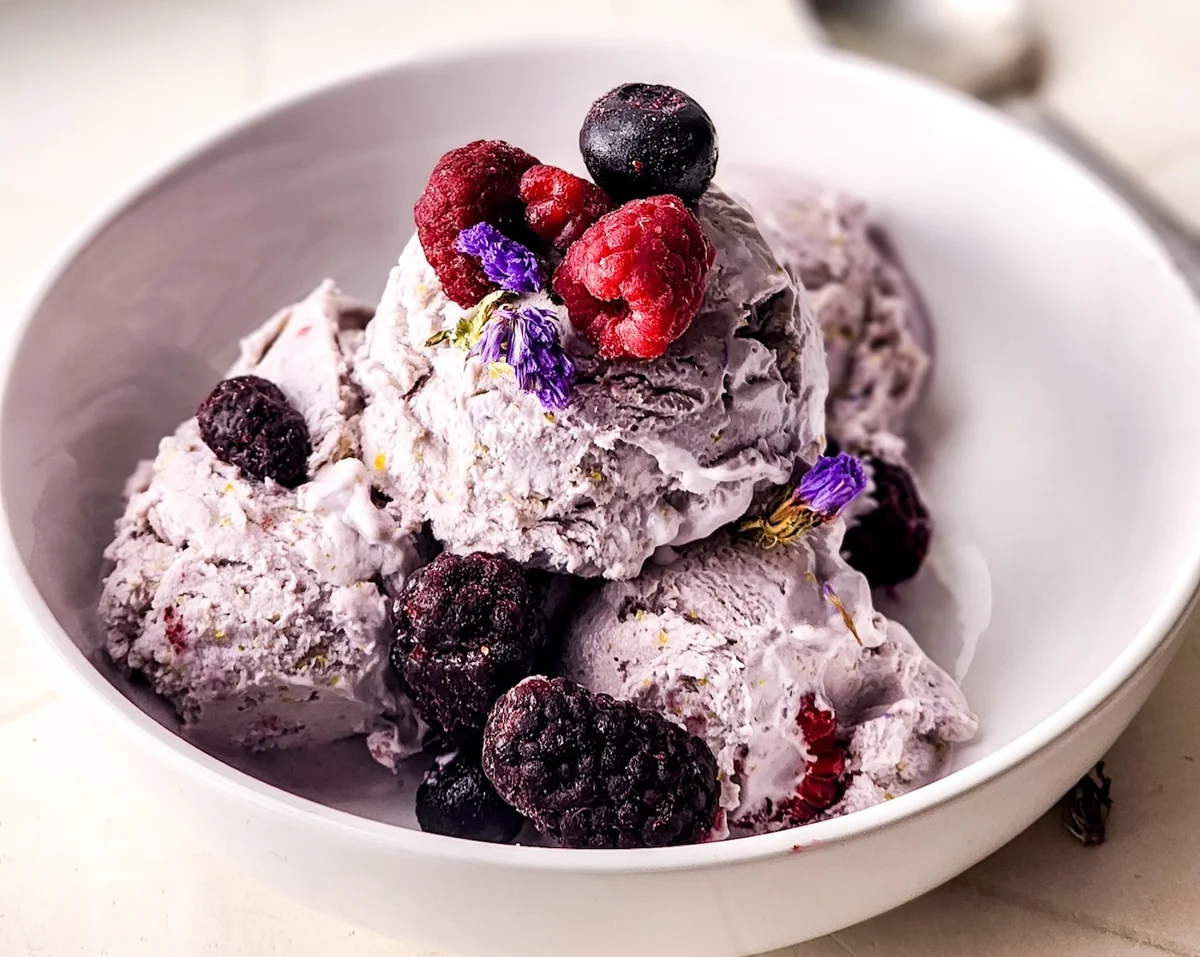
    Honey lavender no churn ice cream scooped in a bowl

    Here’s the whole thing: heavy cream, sweetened condensed milk, and vanilla extract. Whip the cream until it holds stiff peaks, fold in the other two, and you’ve got a creamy base that takes about ten minutes start to finish. A hand mixer helps. A whisk and a strong arm work too, if that’s all you’ve got.

    Why this works: the whipped cream carries the air and the condensed milk does the sugar work, so the base freezes into something smooth without a single churning cycle. It’s the good kind of simple.

    No churn vanilla ice cream ready for the freezer

    Once the base is in your head, every flavor below is just a base plus a mix-in or a swirl. I’ve rounded up 31 of them, and I’ve kept the ones worth your freezer space. Pick a few, make a batch on a hot evening, and eat it straight from the bowl before anyone makes a plan.

    The 31 Flavors

    1. Classic Chocolate — the base with melted chocolate folded through. The one to make if you’ve never made no churn before. Get the recipe

    2. Classic Vanilla — the base as-is, three ingredients and nothing else. It’s a good test of whether your cream is fresh. Get the recipe

    3. Raspberry Swirl — three ingredients and done in ten minutes before it goes to chill. Swirl it with a fork, don’t overwork it. Get the recipe

    4. Butterfinger — vanilla base with pieces of Butterfinger candy mixed in. Jodi’s family at 5 Boys Baker loves it, and I can see why. Get the recipe

    5. Birthday Cake — under 15 minutes of hands-on time, then the freezer does the rest.

    6. Honey Lavender — the one in my cover photo, if you want the look. Sweet honey and aromatic lavender in a very rich base.

    7. Elvis Inspired — mashed bananas, peanut butter, and chocolate chunks. No bacon in this version, but if you’re feeling bold, it’ll take it. Get the recipe

    8. Chocolate Cherry — make it the day before an event and just pull it out when people arrive. Get the recipe

    9. Peach Cobbler — two summer favorites in one scoop. Get the recipe

    10. Honeycomb Crunch — four ingredients, including a Cadbury Crunchie bar. If you’re in the UK you can pick them up in the store; otherwise Amazon has them. Get the recipe

    11. Key Lime Pie — tastes like the pie, with graham cracker crust crumbles on top.

    12. Chocolate Oreo — same-day treat, a few ingredients, no machine.

    13. Circus Animal — pink and white swirls, loads of sprinkles, and pieces of frosted circus animal cookies. No animals were harmed, and honestly the kids will eat it faster than you can make it. Get the recipe

    14. Vegan Pumpkin — dairy-free, six ingredients, and no churning either. Get the recipe

    15. Fresh Blueberry — real fruit, five ingredients, made for summer.

    16. Cookie Dough — the simple base with real chunks of cookie dough in it. Get the recipe

    17. Chocolate Caramel — a few ingredients, and the kind of batch I make when I want the kitchen to smell like a parlor.

    18. Old Fashioned Boozy — the flavors of an old fashioned cocktail, rye whiskey included. An adult treat, which means the kids get a slightly less boozy flavor. Get the recipe

    19. Mermaid Swirl — blue, green, and purple swirls. Perfect for an under-the-sea party, which my house has hosted more than once. Get the recipe

    20. Salted Caramel Turtle Fudge — swap the condensed milk for dulce de leche, add chunks of turtle candy and a fudge swirl. Get the recipe

    21. Butter Pecan — an eggless vanilla base filled with homemade crunchy candied pecans. Get the recipe

    22. Rich Cornbread — buttery, rich, with pieces of real cornbread mixed in. The most surprising one on this list, and the one to try first if you’ve never had cornbread ice cream. Get the recipe

    23. Creamy Coconut — three ingredients, rich and easy.

    24. Apricot Preserves — the apricot version uses apricot preserves, but any store-bought or homemade jam works as a swirl. Get the recipe

    25. Rocky Road — chocolate base loaded with marshmallows, roasted almonds, and chocolate chips, with chocolate sauce swirled through. Get the recipe

    26. Strawberry Shortcake — juicy fresh strawberries and buttery pound cake in the same scoop. Use a store-bought pound cake and it’s one of the fastest things on this list. Get the recipe

    27. Nutty Buddy — peanut butter and chocolate in one batch, with chunks of Little Debbie Nutty Buddy cookie bars if you can find them. Get the recipe

    28. Goat Cheese Rosemary Honey — inspired by a flavor Randi saw at a New York City ice cream shop. Goat cheese and fresh rosemary, sweetened with honey. The grown-up one. Get the recipe

    29. Festive Peppermint — a same-day treat you can make any time of year, which is my favorite thing about the whole method.

    30. Chocolate Peanut Butter Banana — the clean-eating version of the base, sometimes called nice cream. Satisfies the sweet tooth and doesn’t make you feel like you’ve spent an evening in the kitchen. Get the recipe

    31. Pina Colada — vegan and dairy-free, creamy and refreshing. Add a shot of rum if it’s an adult night. Get the recipe

    Trade-It Tip

    No sweetened condensed milk? A can of evaporated milk with a generous amount of sugar melted into it will hold up as the sweetener. And if you’re out of vanilla, a little maple syrup keeps the flavor honest and adds something the kids will like.

    Whichever one you start with, the base is the same and the time is the same: ten minutes of mixing, then the freezer does its job. If it doesn’t fit a Tuesday night, it doesn’t get published.
    Keep Reading

  • The Ritz-Carlton Chocolate Chunk Pecan Cookie, Baked at Home

    The Ritz-Carlton Chocolate Chunk Pecan Cookie, Baked at Home

    I used to think hotel cookie recipes were for other people — the ones with marble countertops and a standing mixer that hums while you read the paper.

    Then I found the Ritz-Carlton chocolate chunk pecan cookie recipe, made it in my own small kitchen, and my kids finished the batch before I’d even taken a proper photo.

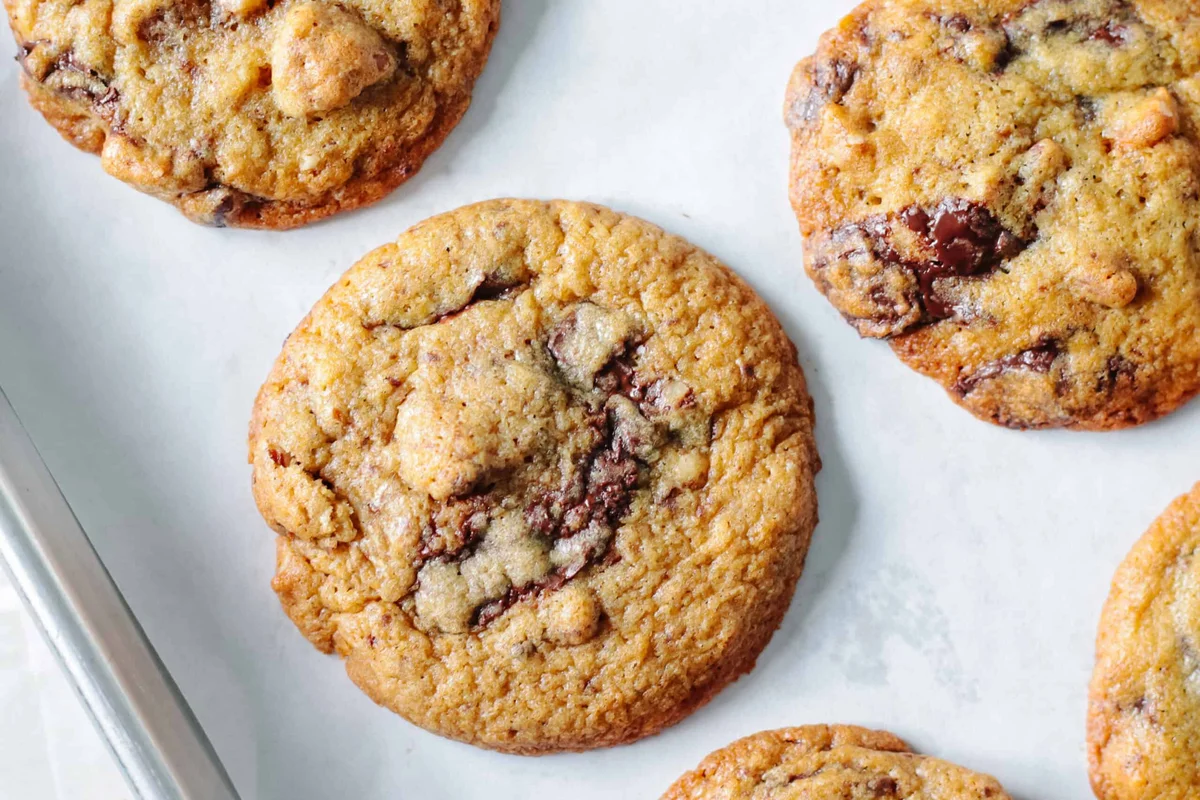
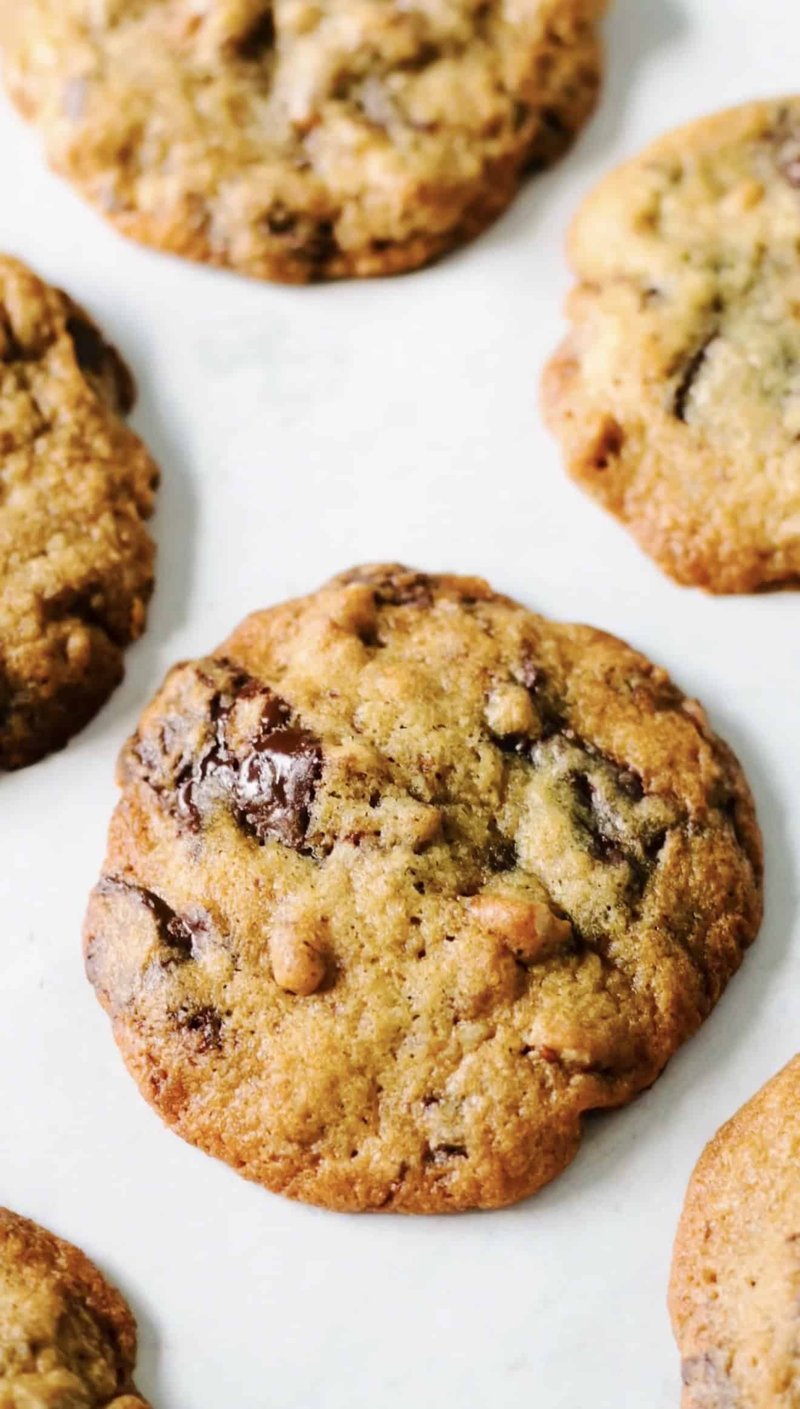
    Stack of chocolate chunk pecan cookies with cracked tops

    The Ritz-Carlton has shared a few cookie recipes with guests over the years — printed on little cards you could take home. This one is said to come from their Marina del Rey location in California, and I found my copy on Reddit. I can’t confirm the hotel’s version, but I can tell you what I know: it bakes into cookies with chocolate that melts into rich little pools instead of holding its shape, and enough toasted-pecan crunch in every bite that one is never enough.

    Why this works: it’s brown sugar and butter doing all the heavy lifting. That combo is what makes the edges set while the centers stay soft and chewy — no fancy technique, just the good kind of simple.

    What you’re getting

    • Chewy centers that finish setting on the hot tray after they come out of the oven.
    • Chocolate chunks, not chips — bigger pockets of melted chocolate in every bite.
    • A serious amount of pecans. There are a lot of them, and that’s the point.
    • Freezer-friendly: bake them now, freeze the cookies (or even the dough), and you have fresh cookies later.

    Ingredients

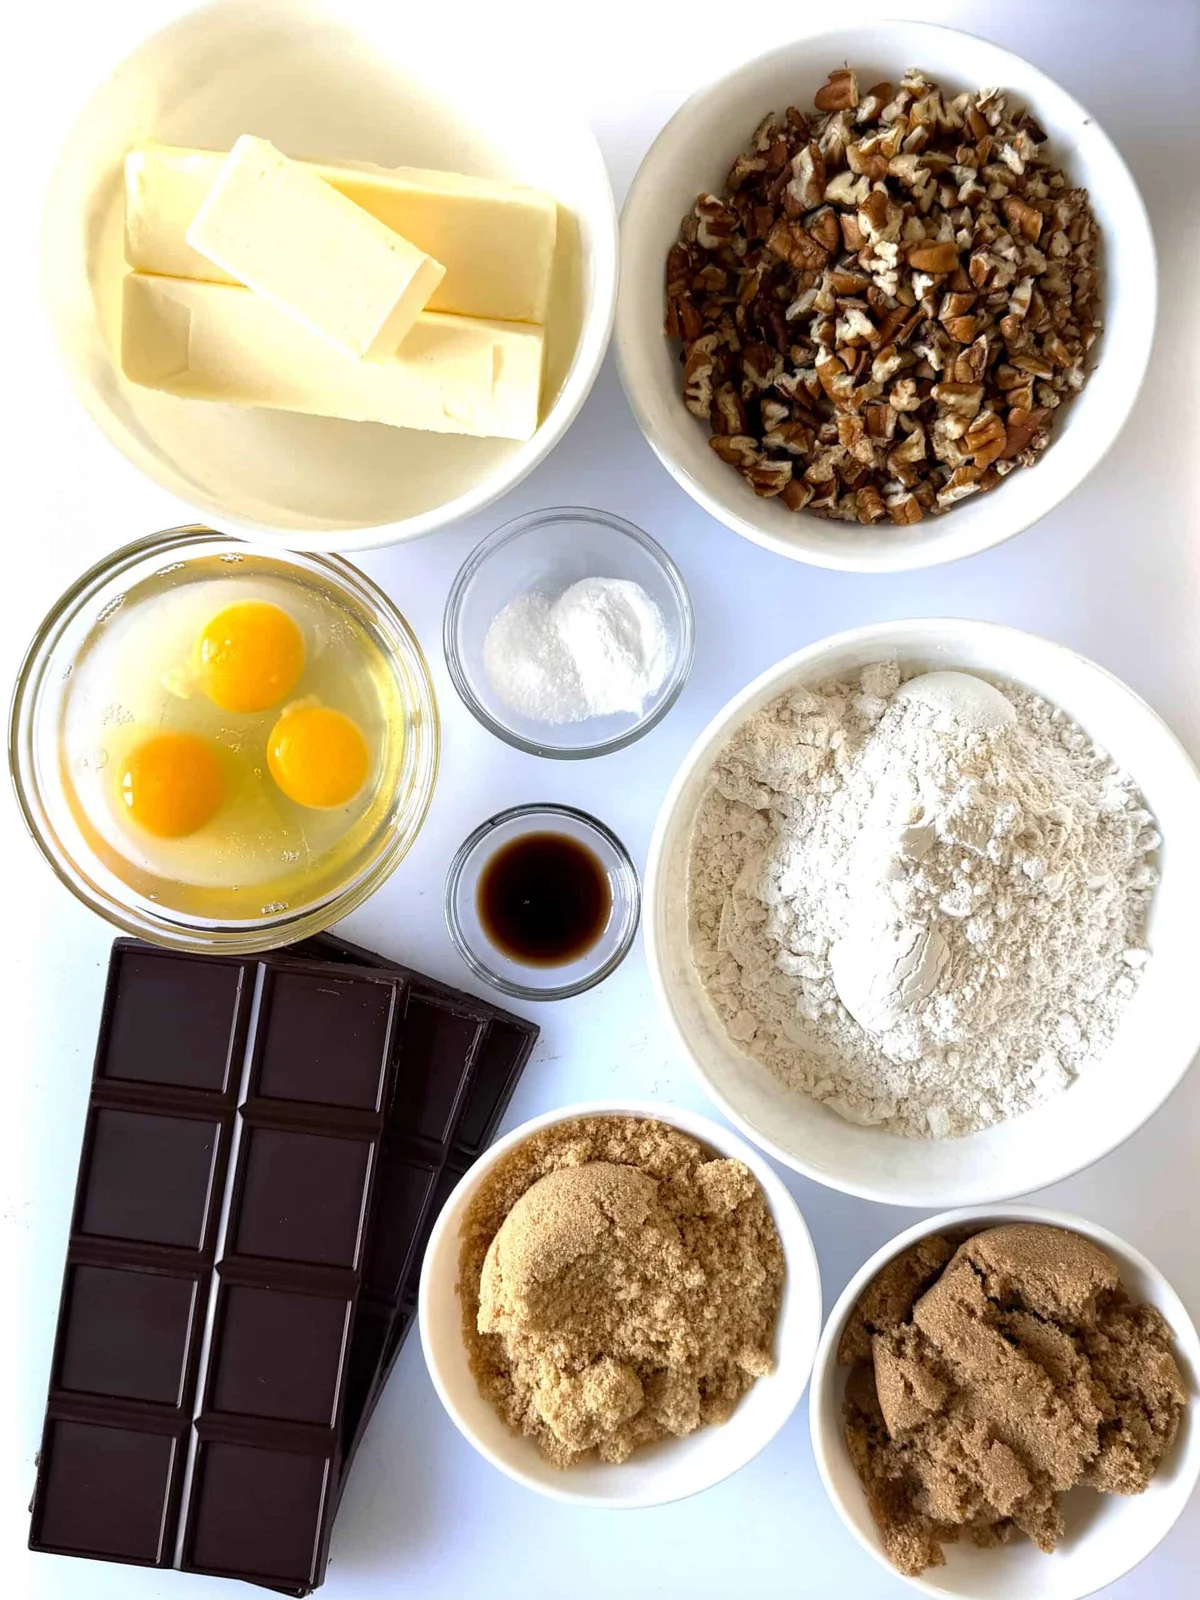
    Chocolate chunks, pecans, and butter ready for cookie dough
    • 1 ¼ cups butter (2 ½ sticks) — salted or unsalted, your call
    • ¾ cup dark brown sugar
    • ¾ cup light brown sugar — brown sugar only is what makes these chewy; the recipe calls for both shades and I’ve made it as written, though I don’t think it’s strictly necessary
    • 3 large eggs
    • 1 ½ teaspoons vanilla extract
    • 2 cups plus 6 Tbsp. all-purpose flour
    • 1 teaspoon baking soda
    • ½ teaspoon salt
    • 12 ounces semisweet chocolate chunks (or bars cut into chunks)
    • 2 cups chopped pecans

    On the pecans: I didn’t toast mine, but you can — it deepens the nutty flavor. Just let them cool before they go into the dough, or you’ll melt your chocolate.

    How to make them

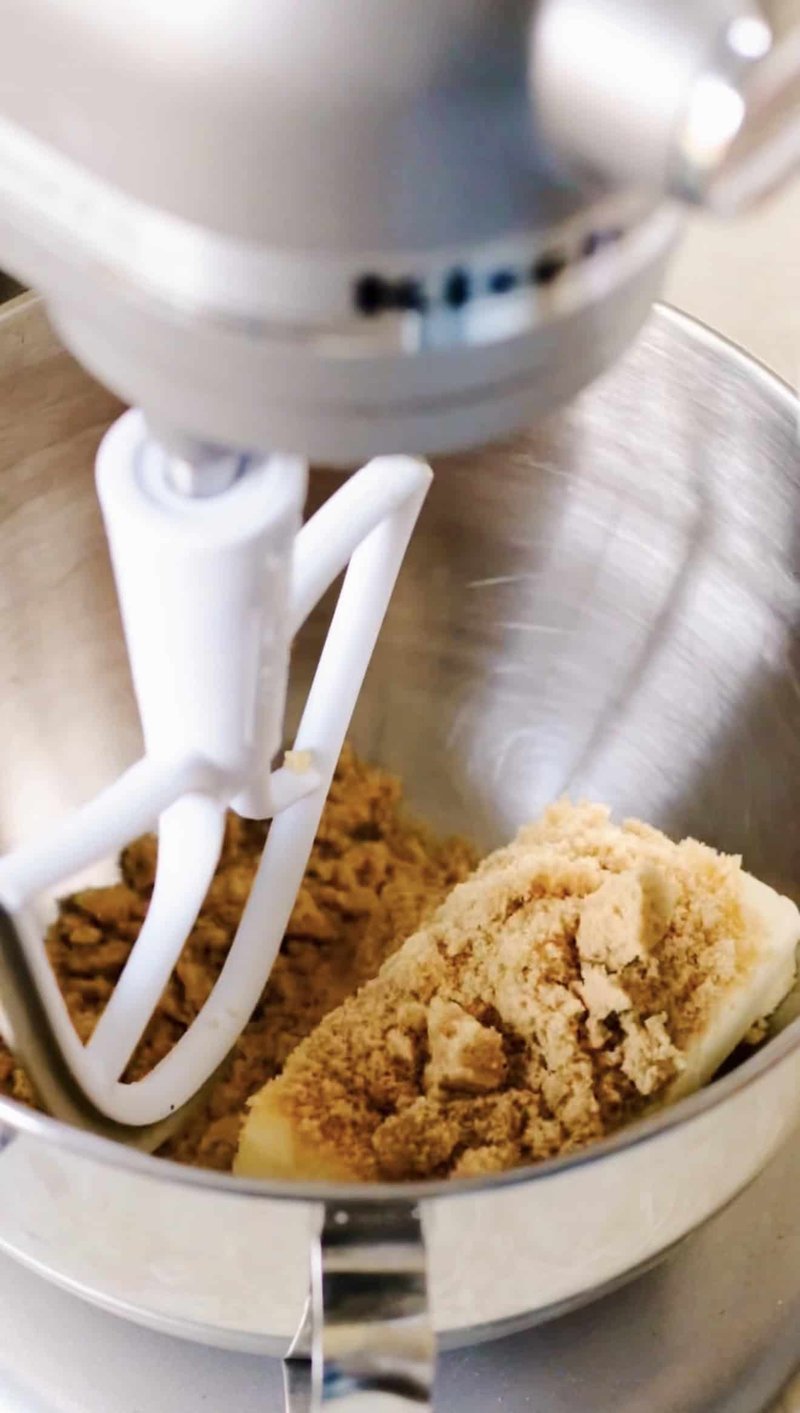
    Butter and brown sugar creamed until light and fluffy

    One more thing before you start: chill the dough. I’ve made this recipe a few times, and 1-2 hours in the fridge is what stops the cookies from spreading into sad flat discs. I imagine the hotel does it too — I just don’t have a note from their kitchen to prove it.

    1. Cream the butter and both sugars until light and fluffy. Add the eggs one at a time, beating well after each, then the vanilla.
    2. Add the baking soda, salt, and flour. Mix in the chocolate chunks and chopped pecans.
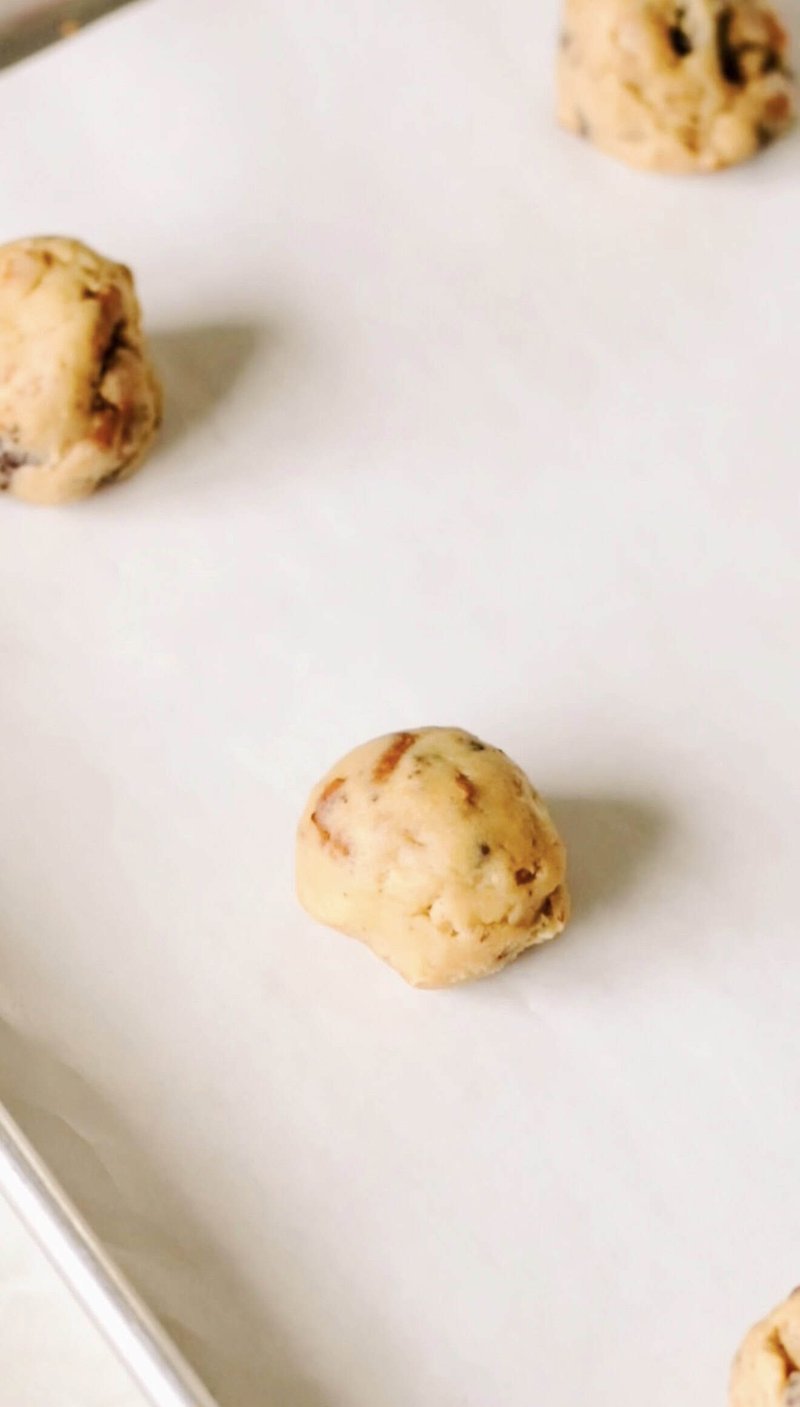
    3. Portion the dough with a 2 Tbsp. cookie scoop onto a large sheet, then chill the balls for 2 hours.
    4. Preheat the oven to 325 degrees. Bake 6 cookies at a time on each sheet.
    5. Bake 13-15 minutes — the centers should still look slightly underdone.
    6. Leave them on the baking sheet to cool. The soft centers keep setting there, and that’s a good thing.
    Cookie dough balls chilled and ready to bake
    Cookies baking golden in the oven at 325 degrees

    Notes from my kitchen

    If a cookie starts spreading unevenly, don’t panic — a round biscuit cutter or the rim of a bowl, pressed gently while the cookie is still hot, will swirl it back into shape. And if you only have chocolate chips, use them. Chunks give you the bigger melted pools and that bakery look, but chips still make a great cookie.

    FAQs

    Are these the actual Ritz-Carlton cookies? The recipe is said to come from the Marina del Rey hotel and used to be printed on cards for guests. I don’t have a post from the hotel to cite, so treat the origin as the hotel’s own claim — but the baking results speak for themselves.

    Can I freeze these? Yes. Baked cookies keep in the freezer for up to 3 months, and you can also freeze scooped dough and bake straight from frozen.

    Why are the centers chewy? Butter, brown sugar, and slightly underbaking. The cookies finish setting on the hot tray instead of drying out in the oven.

    Keep them

    They make 44 cookies. Store the cooled ones in an airtight container — in my house that’s usually a formality. And yes, I’ve since gone on to try the rest of the hotel’s famous cookie lineup: chocolate chip, oatmeal raisin, peanut butter, and this one. This is the pecan one, and it’s the one I keep coming back to.

    If you’ve got a Tuesday-night question or a swap you’ve tried that worked, tell me in the comments — that’s how I learn too.

    Freshly baked pecan chocolate chunk cookies cooling on a sheet

    Trade-It Tip: No semisweet bars to chop? Semisweet chocolate chips work — smaller pockets of chocolate, same chewy cookie.

    If it doesn’t fit a Tuesday night, it doesn’t get published.

    Keep Reading

  • Greek Chicken Meatballs with Tzatziki

    Greek Chicken Meatballs with Tzatziki

    I used to think “healthy dinner” meant three separate pans and a sink full of dishes. These Greek chicken meatballs took about 25 minutes start to finish, and the kitchen barely noticed.

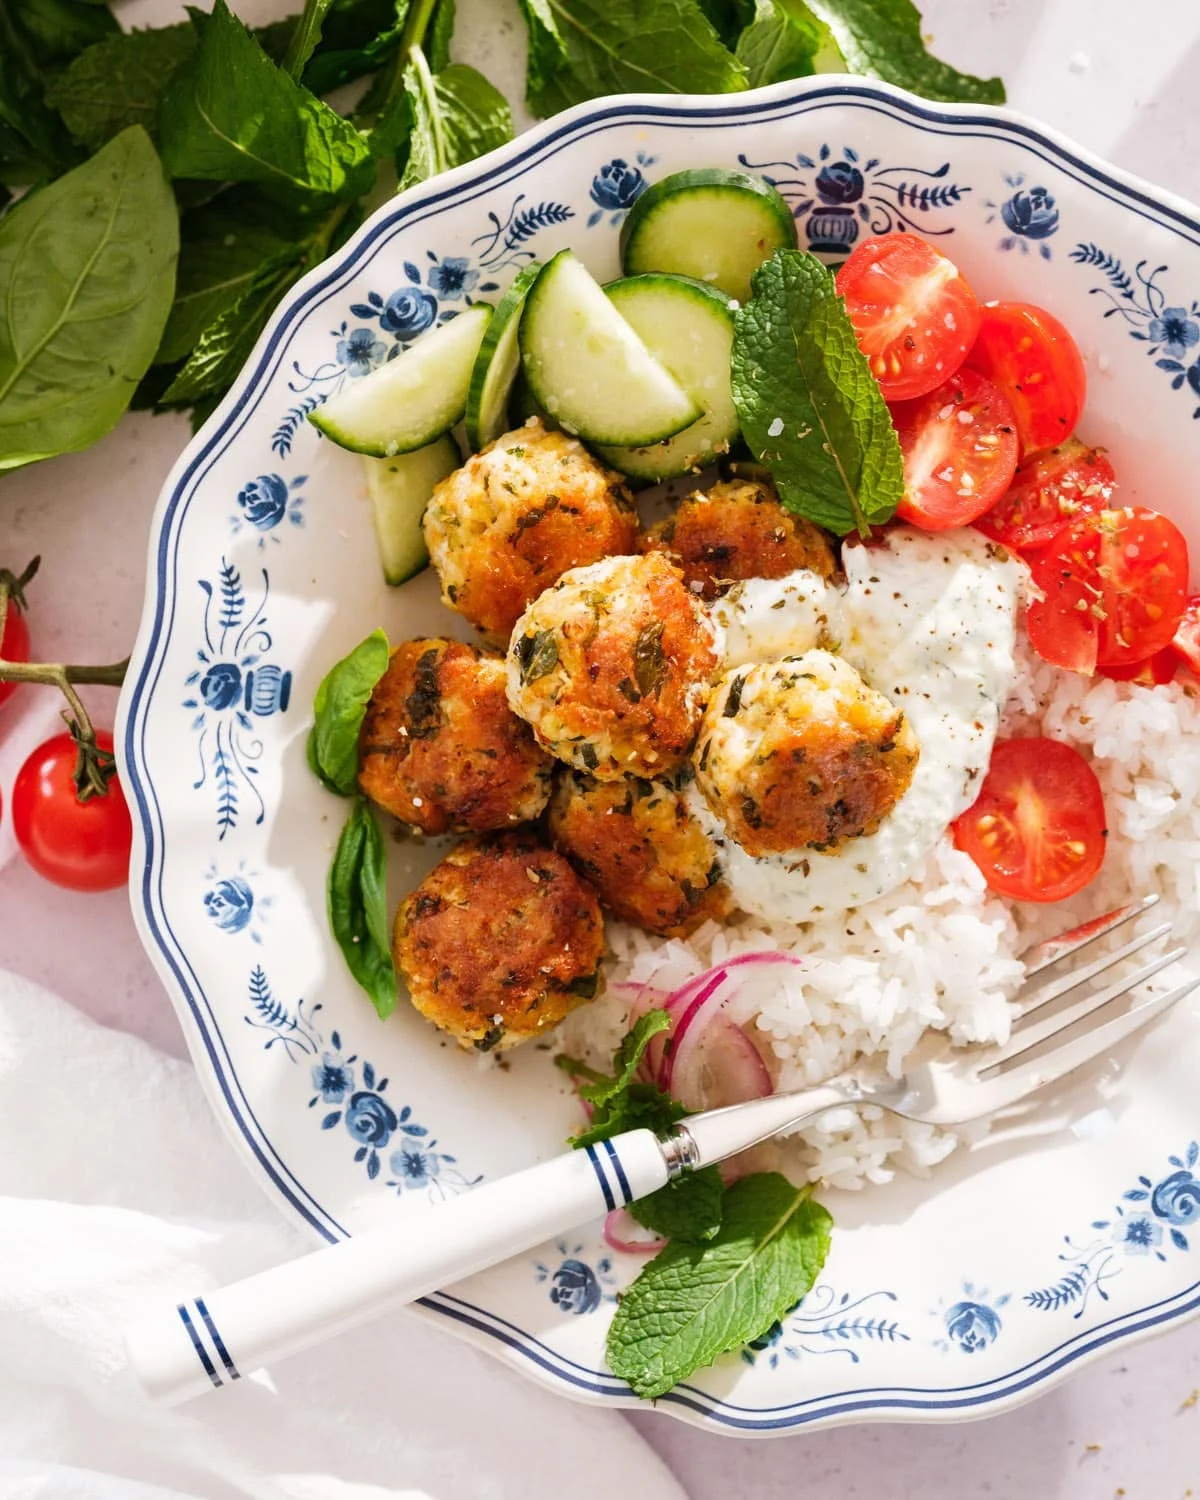
    Baked Greek chicken meatballs over rice with tzatziki and fresh vegetables

    They’re the good kind of simple. Herbed, juicy, and herby enough that the house smells like a Greek island for an hour. Serve them over rice with a big spoonful of tzatziki and you’ve got a Mediterranean plate that doesn’t ask much of you.

    Why this works: the panko keeps the meatballs tender instead of dense, and the cold-skillet sear builds a little crust before the oven finishes them. That crust is what makes them taste restaurant-made instead of “homemade but sad”.

    What you’ll need

    • Ground chicken — a budget-friendly swap for breast meat. If your store only has breasts, pulse them in a food processor until finely ground and you’re set.
    • One egg — the binder that keeps everything together.
    • Panko breadcrumbs — helps with binding and keeps things juicy. Swap in gluten-free panko to make it gluten-free.
    • Fresh mint — the cooling, Mediterranean note. If you can’t be bothered to spring for fresh, Italian parsley works too.
    • The usual pantry spices: oregano, garlic powder, onion powder, smoked paprika.

    How to make them

    1. Preheat the oven to 400°F and set out a cold ovenproof skillet. Swirl it with 2 tablespoons of olive oil.
    2. In a large bowl, whisk the egg, then stir in the ground chicken, 1 tablespoon olive oil, panko, chopped mint, oregano, garlic powder, onion powder, smoked paprika, kosher salt, and a few grinds of black pepper. Mix gently until just combined, then shape into 20 to 22 balls, about 1½ inches wide. A size-40 cookie scoop makes this painless.
    3. Drop each meatball into the cold skillet as you form it. Once they’re all in, turn the heat to medium-high and sear for about 3 minutes until browned on the bottom. That cold-start is the trick — you get a proper sear without burning the bottom while you’re still rolling.
    4. Move the skillet straight into the oven and bake 8 to 10 minutes, until the internal temperature reaches 165°F.
    5. Plate with rice, sliced cucumbers and tomatoes, and a big spoonful of tzatziki. Pickled red onions make a nice finishing touch, and a few salt-and-oil-dressed chickpeas add fiber if you want it.

    25 minutes, start to finish — including the rolling. No extra pan to wash, because the skillet goes from stove to oven to table.

    Ways to serve them

    • Over white rice, brown rice (for more fiber), or farro.
    • In a Mediterranean bowl: rice, cucumber, tomato, olives, a big spoonful of tzatziki, and some olive-oil-seasoned chickpeas.
    • Tucked into warm pita, the way you’d build a proper pita sandwich.
    • With a Greek salad or a quick tomato-cucumber salad.
    • As a starter: out the tzatziki with toothpicks and let people graze.

    Storage and make-ahead

    These are great for meal prep, though the mint hits hardest when they’re fresh out of the oven. Store leftovers in an airtight container in the fridge for up to 4 days. Reheat gently in a 350°F oven or a covered skillet with a splash of water.

    You could likely freeze them for up to 3 months, but I’ve personally not tried it — they disappear too fast here to find out.

    Make it plant-based

    If you’re cooking for a vegetarian at the table, batch these alongside some chickpea meatballs. The chickpea version is a little drier, more falafel-textured, but it holds up fine over rice with tzatziki. You could probably bake them in the same oven at 400°F and pull them a few minutes early — I haven’t tried it personally, so tell me if it works.

    Trade-It Tip: No Greek yogurt for tzatziki? Sour cream works — same tang, same texture, nobody will know.

    If it doesn’t fit a Tuesday night, it doesn’t get published.

    Keep Reading

  • Vegan Cinnamon Cookie Cheesecake Crumb Bars

    Vegan Cinnamon Cookie Cheesecake Crumb Bars

    I opened the fridge one morning with a plan: use the two containers of vegan cream cheese I’d bought for a recipe I never actually made. They were close to their use-by date. The cheesecake craving hit the same morning, and somehow the math worked out.

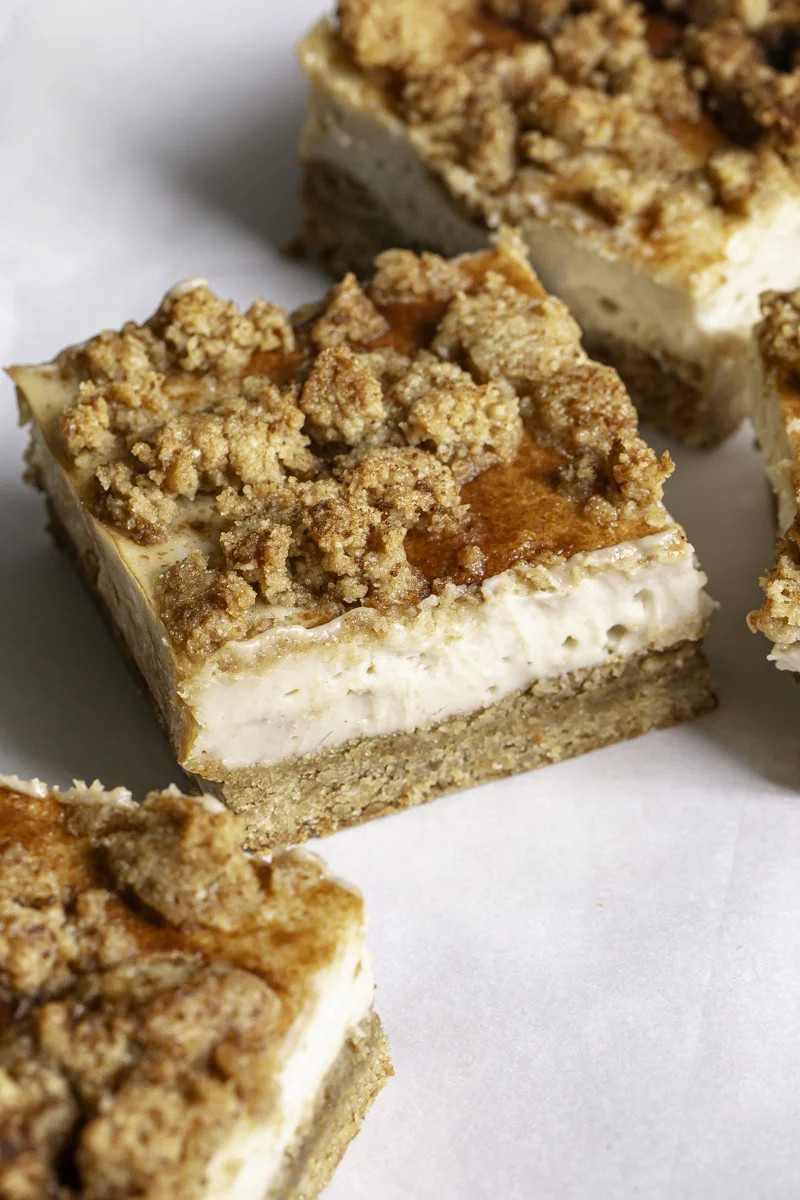
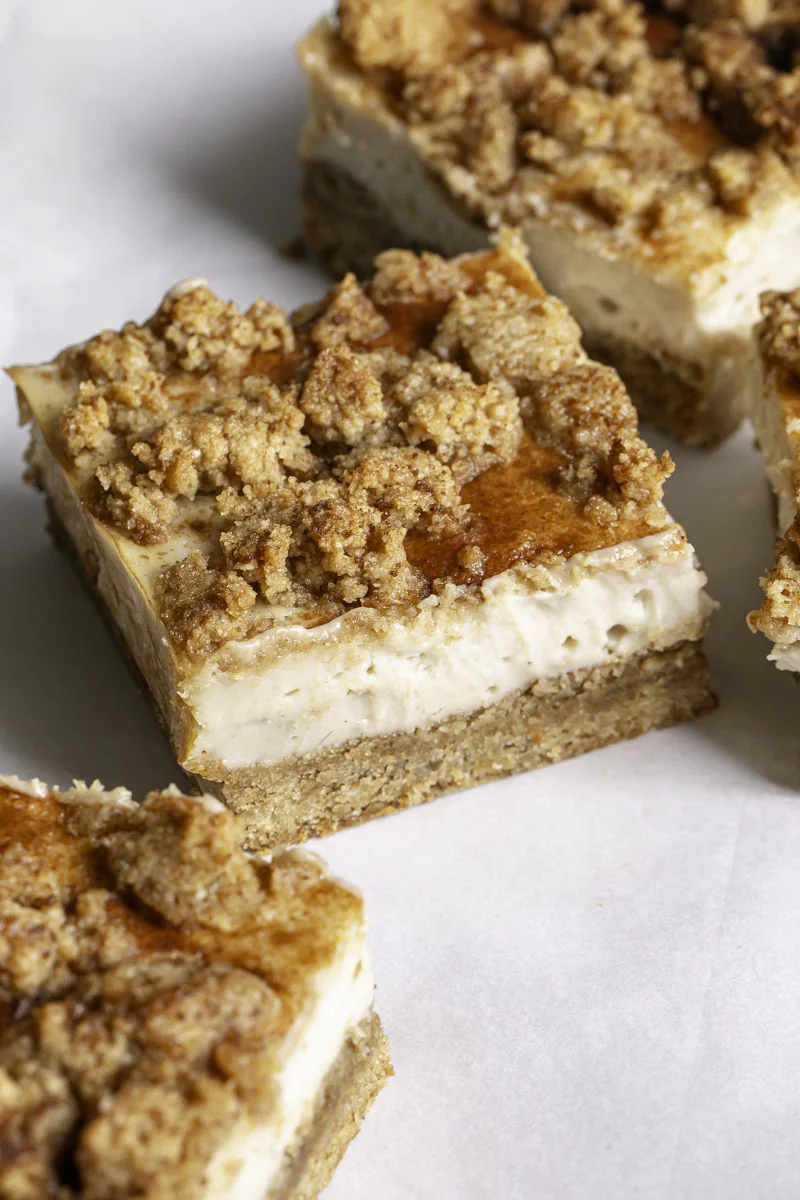
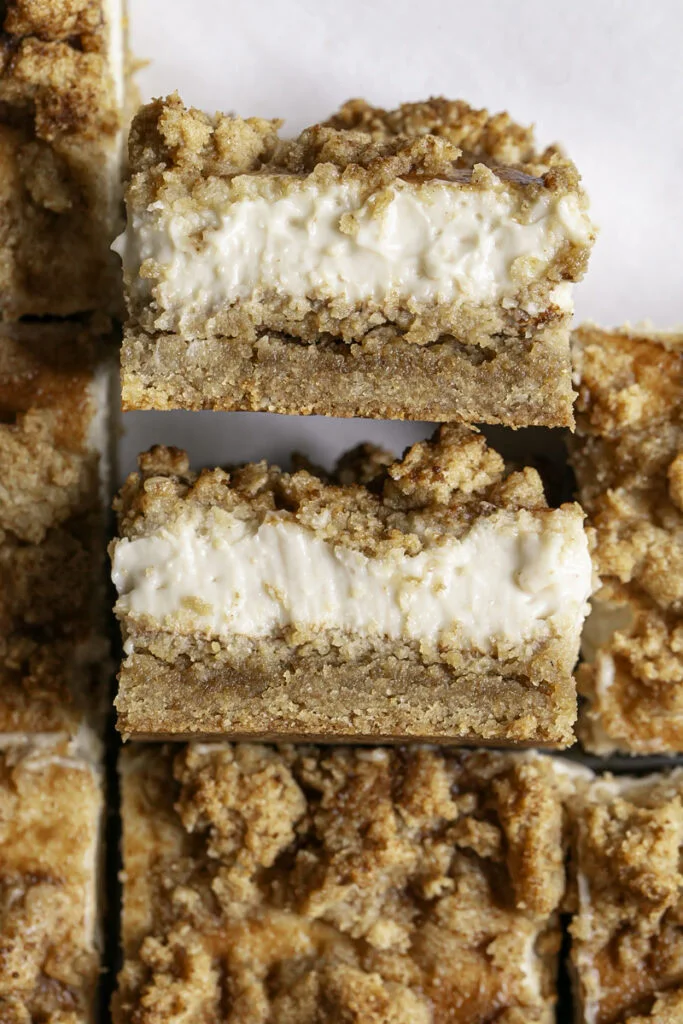
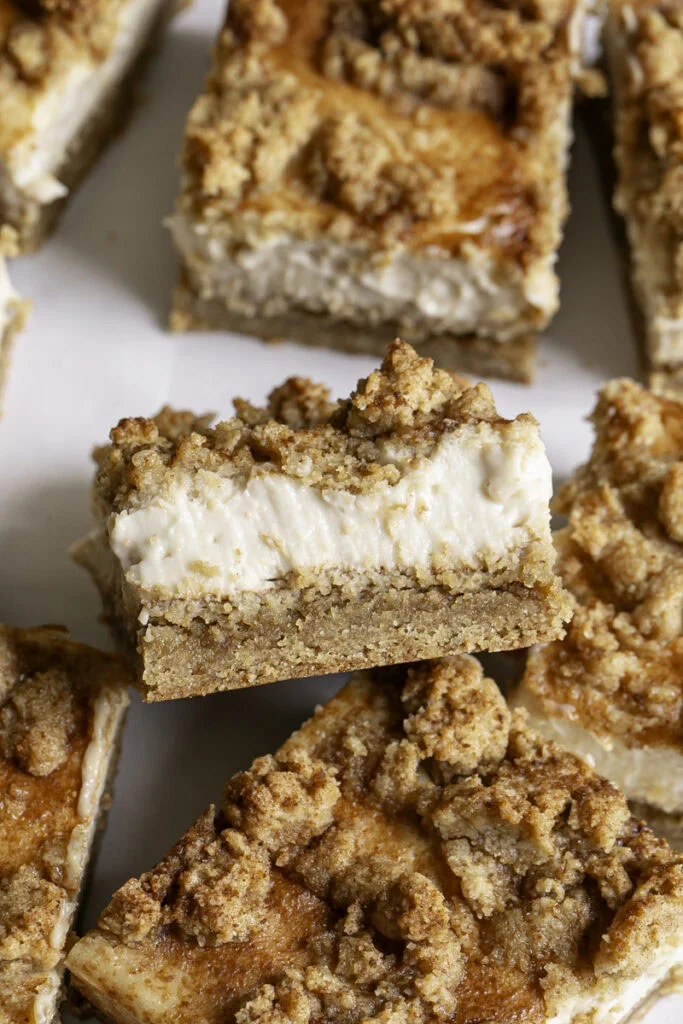
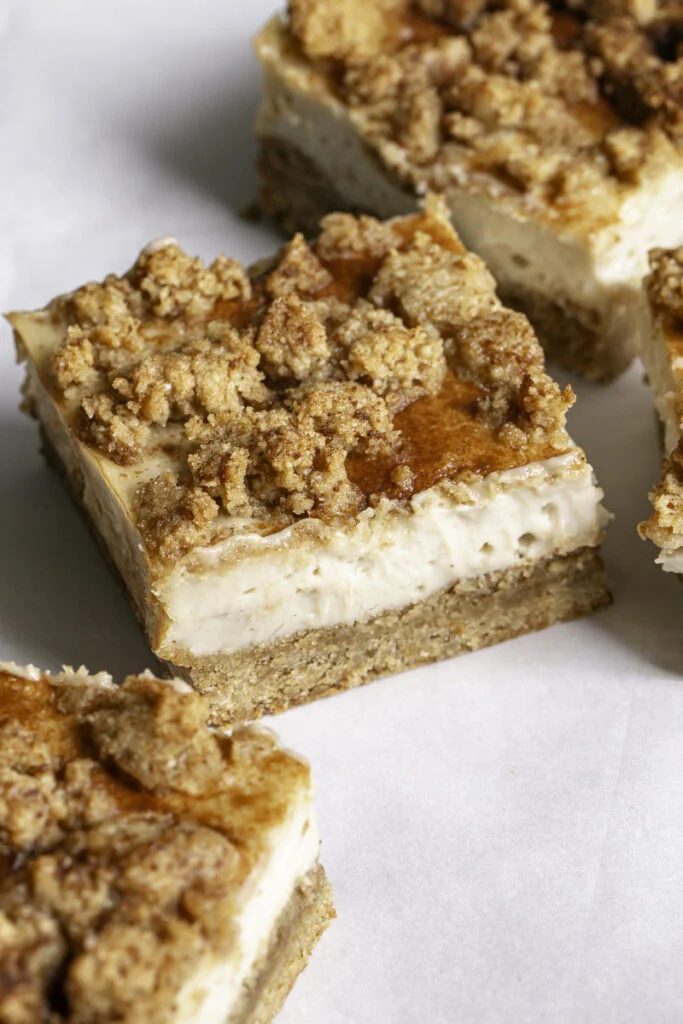
    Sliced vegan cinnamon cookie cheesecake crumb bars with golden crumble

    What came out of the oven was better than the craving deserved. Soft cinnamon cookie base, a creamy vegan cheesecake center, a golden crumble on top. It’s the good kind of simple — pantry flours, maple syrup, one 8×8 pan, and an hour of mostly waiting. 45 minutes of active time, start to finish, not counting the chill.

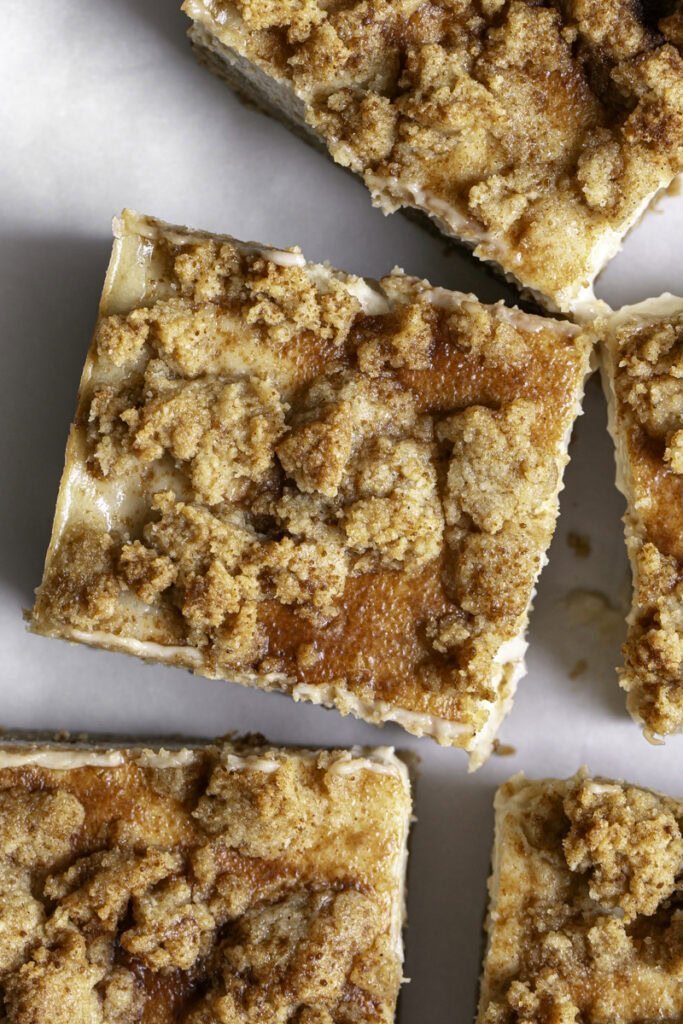
    Pan of vegan cinnamon cookie cheesecake crumb bars on parchment alt=”Freshly sliced vegan cinnamon cookie cheesecake crumb bars”>

    Why this works: the cookie base is almond flour and oat flour, so it bakes tender without any wheat. A little cream of tartar and baking soda keeps it soft and chewy instead of crumbly. And the filling sets from tapioca starch, which is what gives these their sliceable, not-jiggly middle.

    What you’ll need

    Everything here is a normal pantry item. The only things worth planning around are the two dairy-free staples — block-style vegan cream cheese and vegan butter — so grab a brand you already trust.

    Cinnamon cookie crust and crumble

    • 1 3/4 cup almond flour
    • 1/2 cup gluten-free oat flour
    • 1/4 cup coconut sugar
    • 1 teaspoon cinnamon (I use Ceylon — it’s bolder and rounder)
    • 1 teaspoon cream of tartar
    • 1/2 teaspoon baking soda
    • 1/4 teaspoon salt
    • 1/2 cup vegan butter, softened but not melted
    • 1/4 cup maple syrup
    • 1 teaspoon pure vanilla extract

    Cinnamon sugar topping

    • 1/2 teaspoon cinnamon
    • 1 tablespoon coconut sugar

    Cheesecake filling

    • 16 oz vegan cream cheese, softened to room temperature
    • 1/3 cup maple syrup
    • 1 teaspoon pure vanilla extract
    • pinch of salt
    • 1 tablespoon lemon juice
    • 2 tablespoons dairy-free sour cream or plain dairy-free yogurt
    • 2 tablespoons tapioca flour (starch)

    For reference, the products I’d point you toward: fine blanched almond flour, whole grain oat flour, organic brown coconut sugar, Ceylon cinnamon, tapioca flour, and a block-style vegan cream cheese spread (I use Kite Hill’s, and any firm dairy-free cream cheese works the same). If your vegan cream cheese comes in a block, let it soften for a bit first. If you can’t find dairy-free sour cream, plain dairy-free yogurt — cashew yogurt works fine — does the same job.

    How to make it

    Preheat your oven to 350°F. Line an 8×8-inch pan with parchment paper, leaving some overhang — that’s how you’ll lift the bars out later.

    1. Make the cinnamon sugar. Stir the 1 tablespoon coconut sugar with 1/2 teaspoon cinnamon in a small bowl. Set it aside.
    2. Mix the cookie dough. In a large bowl, combine the almond flour, oat flour, 1/4 cup coconut sugar, 1 teaspoon cinnamon, cream of tartar, baking soda, and salt. Add the softened vegan butter, maple syrup, and vanilla. Mix until a soft dough forms. It should feel like a thick cookie dough, not wet.
    3. Soft cinnamon cookie dough mixed in a bowl
    4. Bake the base. Reserve 1 cup of dough for the topping. Press the rest evenly into the pan, sprinkle with half the cinnamon sugar, and bake for 10 minutes. Let it cool slightly.
    5. Beat the filling. In a separate bowl, beat the cream cheese, 1/3 cup maple syrup, 1 teaspoon vanilla, the pinch of salt, lemon juice, sour cream or yogurt, and tapioca flour until completely smooth.
    6. Creamy vegan cheesecake filling being beaten smooth
    7. Assemble. Spread the filling over the warm cookie base. Crumble the reserved dough over the top, then scatter with the remaining cinnamon sugar.
    8. Assembled bars with crumble topping before baking
    9. Bake. Bake for 25–30 minutes, until the edges are lightly golden and the center is mostly set. A little wobble right in the middle is normal.
    10. Cool and chill. Cool completely at room temperature, then refrigerate for at least 4 hours — overnight if you can. Honestly, these are better on day two. The filling sets up more and the slices come away clean.
    11. Slice. Use the parchment overhang to lift the whole tray out of the pan. Slice into squares and serve.

    Trade-It Tip: No dairy-free sour cream? Plain dairy-free yogurt works — same tang, same texture. And if you’re not strict about vegan, a little full-fat Greek yogurt in the filling makes it even creamier.

    Tips that actually matter

    • Room-temperature cream cheese is the difference between a smooth filling and a lumpy one. Take it out of the fridge as soon as you start.
    • Want more cinnamon? Add an extra 1/2 teaspoon to the cookie dough.
    • These keep in an airtight container in the fridge for up to 5 days. Make them a day or two before a gathering — they slice better after chilling.

    Questions I get about these

    Can I make these ahead? Please do. They’re a make-ahead dessert in the truest sense — the longer they chill, the better they slice, and the flavor actually settles in.

    Which vegan cream cheese should I use? Any block-style one. I use Kite Hill’s spread and it works perfectly, but I’ve made these with other brands. The rule is: firm enough to hold structure, soft enough to beat smooth.

    Can I swap the sweetener? Maple syrup plus coconut sugar gives the best flavor and texture here. Date sugar, monk fruit, or another liquid sweetener will work reasonably. Honey works if vegan isn’t a priority for you.

    If you make these, I’d love to hear how they turned out. And if the kitchen smells like cinnamon for a day, that’s the recipe working exactly as intended.

    If it doesn’t fit a Tuesday night, it doesn’t get published.
    — Grace

    Keep Reading

  • Garlic Toast: 15-Minute Crispy Edges, 5 Ingredients, Zero Fancy Steps

    Garlic Toast: 15-Minute Crispy Edges, 5 Ingredients, Zero Fancy Steps

    I used to think garlic toast was the kind of thing you ordered at a restaurant, not the kind of thing you made at home. Back when I worked the line, we made it all day long — and honestly, the secret is that it takes almost no effort. About 15 minutes, start to finish, with 5 ingredients. If you’ve got stale bread sitting in the bag, this is your sign.

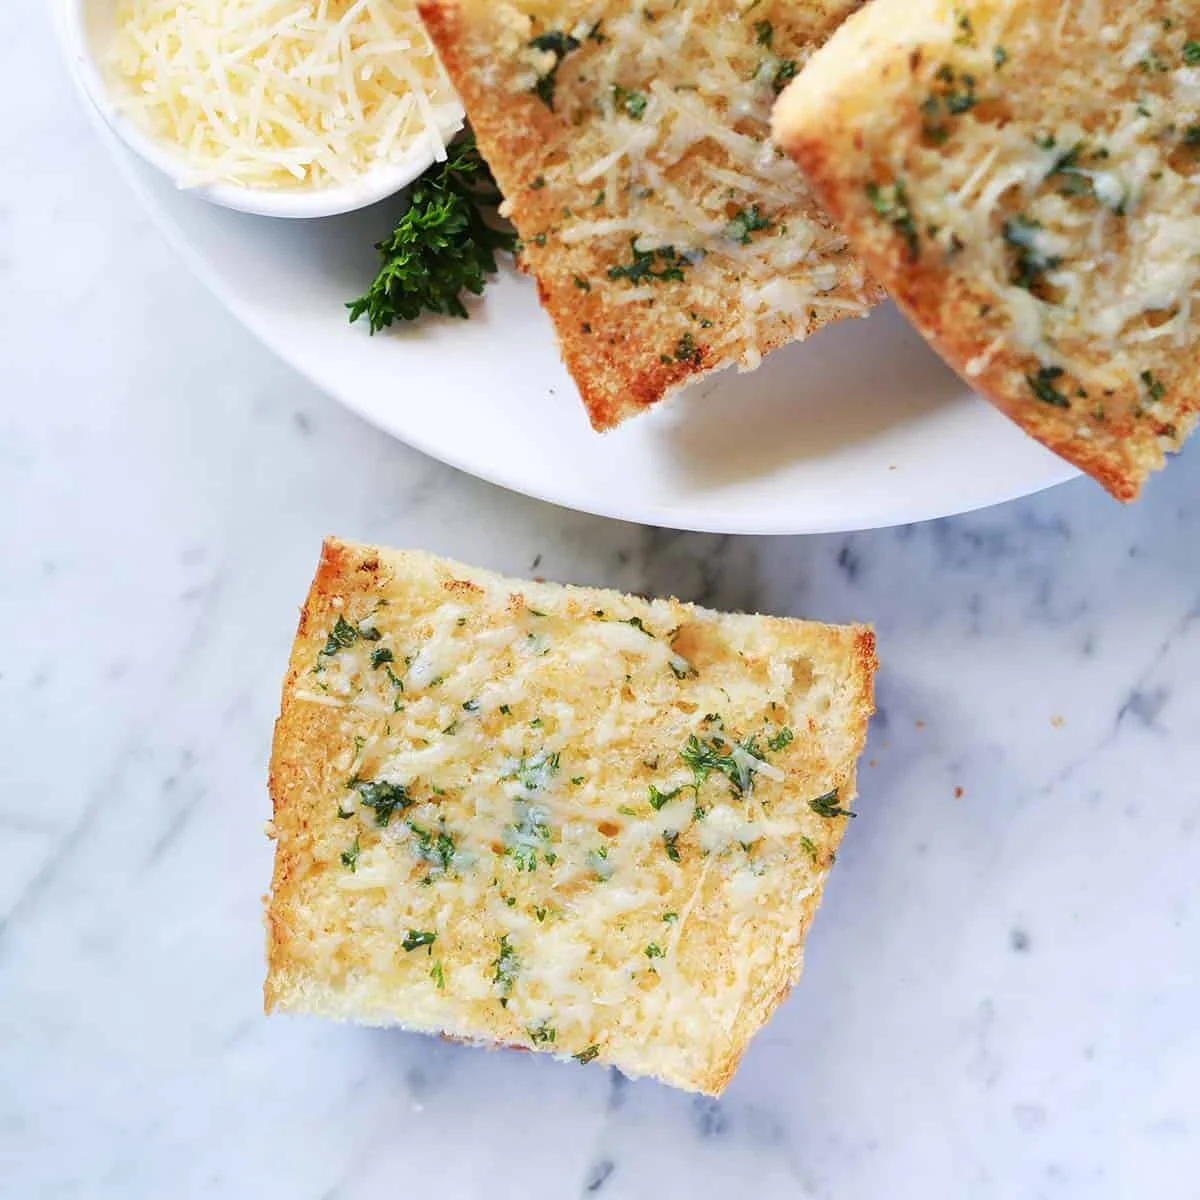
    Golden garlic toast slices topped with melted parmesan and parsley

    It’s my go-to alongside soup, chili, meatballs in marinara, or a pasta dish like lasagna or manicotti. It’s the good kind of simple — the kind where nothing can really go wrong.

    Why this works: spreading the garlic butter over cut bread (instead of brushing a whole loaf) gives you more exposed edges, and edges are where the crisp happens. More cut sides means more golden, shatter-crispy bits per bite.

    What you need

    • 1 loaf French bread (stale is perfect)
    • 1/2 cup unsalted butter, softened
    • 1/2 cup Parmesan cheese, grated
    • 1 tablespoon fresh parsley, chopped
    • 1 teaspoon garlic powder
    • Salt and pepper to taste
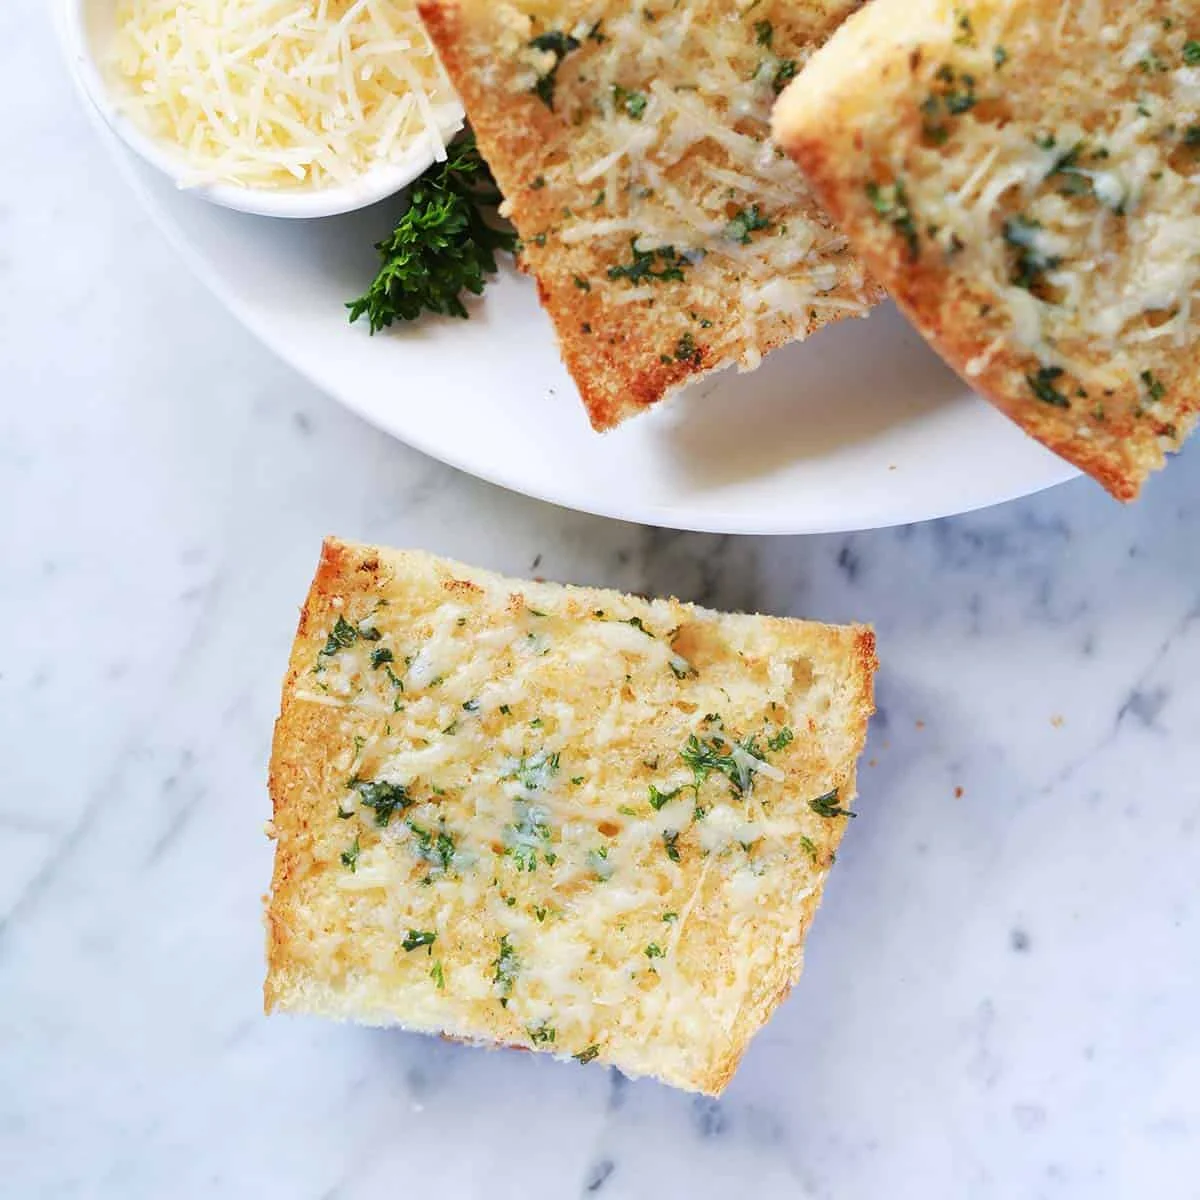
    Garlic toast cooling on a plate after baking

    How to make it

    1. In a small bowl, mix together the softened butter, Parmesan, chopped parsley, and garlic powder. If your butter isn’t soft yet, nuke it for 30 seconds or less in the microwave. You want it very soft, not melted into a liquid.
    2. Cut the French loaf in half lengthwise, as if you were going to make a giant sandwich. Then cut off the ends and slice into individual pieces — more cut sides, more crispy edges. (Not necessary, but I like it.) You could also just leave it in two big halves.
    3. Spread the garlic butter mixture evenly over the bread.
    4. Sprinkle with salt and pepper.
    5. Bake at 425°F for 8–10 minutes, until the edges are golden and the cheese is bubbling.
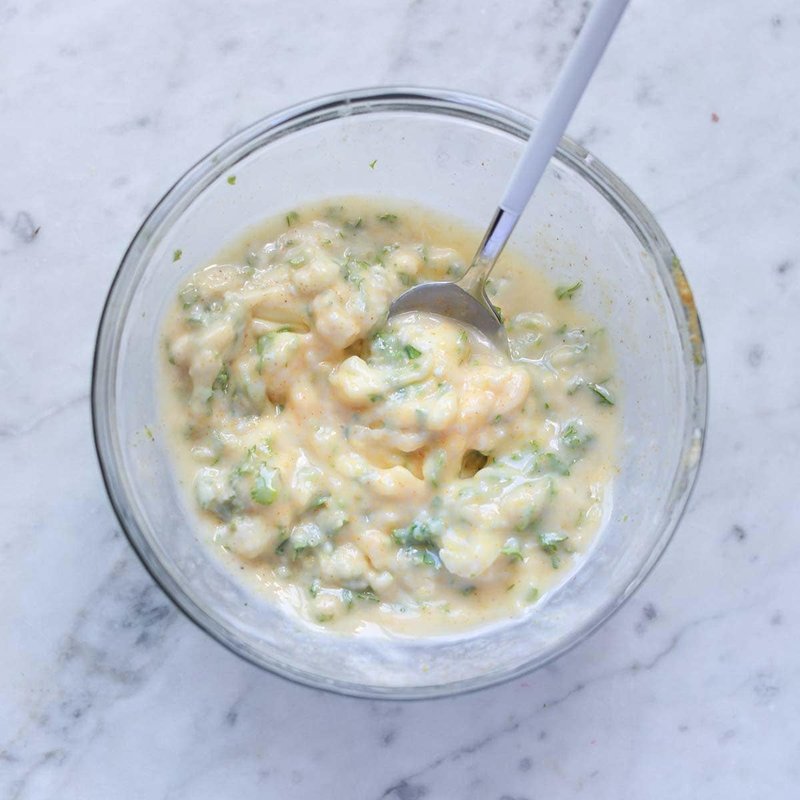
    Bowl of garlic butter mixture ready to spread on bread

    Swaps and shortcuts

    Any bread works. I like French bread for this, but sourdough, focaccia, or even sandwich bread will do. If your bread is thinner, you may need to shorten the baking time — watch it rather than trust the timer.

    Salted butter? Fine — just hold off on the added salt until after baking. Taste a corner first, then add more only if it needs it.

    No fresh parsley? Italian seasoning works in its place. Same garlicky-herby job, less chopping.

    Trade-It Tip: No Parmesan? Mozzarella gets you the same melty, stretchy top — different flavor, same function. It’s a swap I do all the time when the cheese drawer runs dry.

    That’s it. One loaf, one bowl, one pan. Pull it out when the edges are properly crisp and the middle is still soft — that contrast is the whole point. Pair it with something soupy, tear off a piece with your hands, and call dinner a success.

    If it doesn’t fit a Tuesday night, it doesn’t get published.
    — Grace

    Keep Reading

  • Pistachio Cake (Grain-Free, Refined-Sugar-Free, 8 Ingredients)

    Pistachio Cake (Grain-Free, Refined-Sugar-Free, 8 Ingredients)

    I used to think a cake that was actually good for you needed a degree in food science and a weekend to make it. This one needs a food processor, a loaf pan, and about an hour and a half. That’s the good kind of simple.

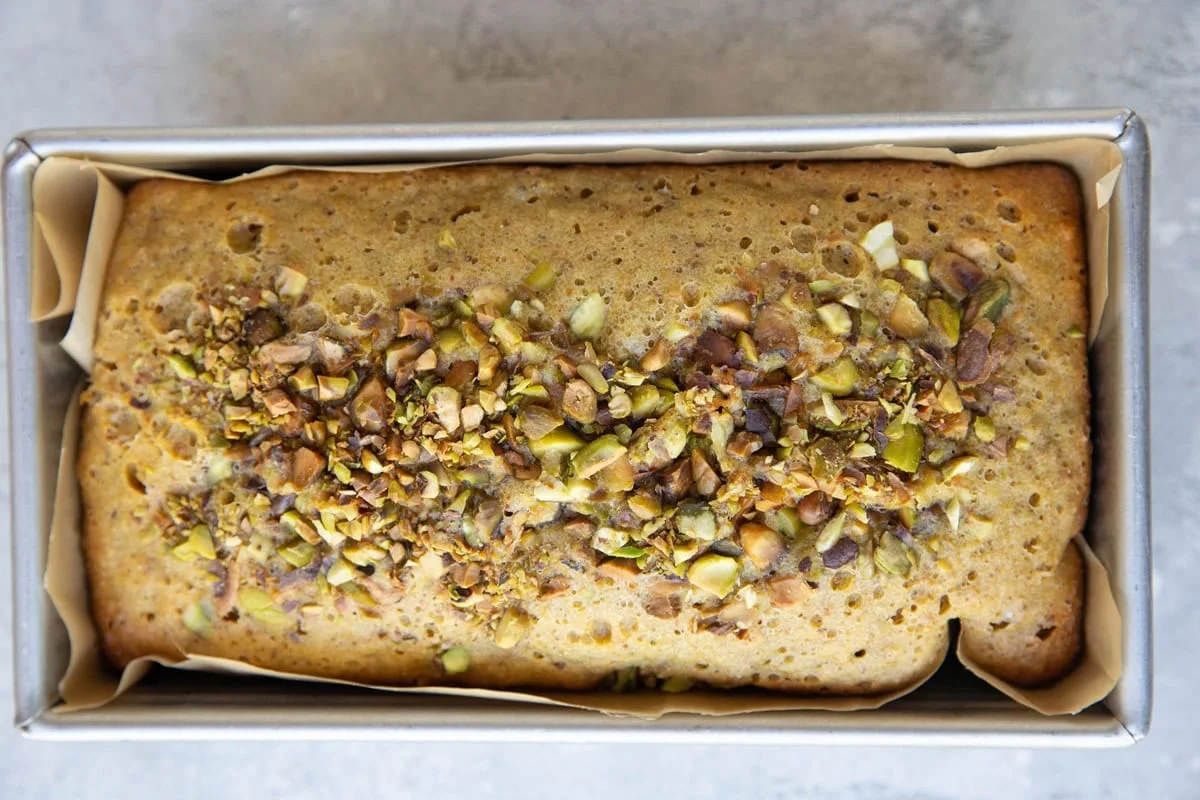
    Sliced pistachio cake loaf topped with chopped pistachios

    Here’s the thing about pistachios: I’m a little obsessed. Once I started baking with them, I couldn’t stop — first cookies, and now a loaf cake. It’s grain-free, made with almond flour, dairy-free, and I sweeten it with a sugar-free sweetener, so it works as a weekday snack as easily as a dessert. And the nuts bring real protein and fiber to the table, which is exactly what I want from my treats.

    Why this works

    Two things make this cake actually fluffy instead of dense. The almond flour lightens the ground pistachios, and the four eggs plus the tapioca flour do the real lifting so the batter rises. No fancy technique — just the right balance of flour, fat, and eggs.

    You don’t need a stand mixer, and you don’t need much skill. Mixing bowls, a food processor, and a loaf pan are the whole toolkit.

    What you’ll need

    • 1 cup unsalted shelled pistachios (raw)
    • 1 cup almond flour
    • ½ cup tapioca flour
    • 1 cup granulated sugar (or a 1:1 sugar-free sweetener)
    • 1 ½ tsp baking powder
    • ½ tsp sea salt
    • 4 large eggs
    • ½ cup avocado oil
    • 2 tsp vanilla extract
    • 1 tsp almond extract

    That’s it. No food coloring, no cream cheese frosting required, no long ingredient hunt.

    A note on a few of these: The pistachios are the star — you’ll grind them into a flour that forms part of the base, so they give both the flavor and the light, fluffy texture. Almond flour does the same job but smoother, which is why the two flours work better together than either alone. I use avocado oil because fat is what keeps the crumb moist, and it brings some omega-3s along for the ride; olive oil or melted butter works just as well. And I make it with allulose, a sugar-free sweetener, to keep the carbs down — but plain white sugar or brown sugar works fine if you’d rather have the classic taste. The salt isn’t optional; it’s what makes the nuttiness sing.

    How to make it

    This is about an hour and 20 minutes start to finish, and most of that is the bake, so there’s very little time you’re actually standing at the counter.

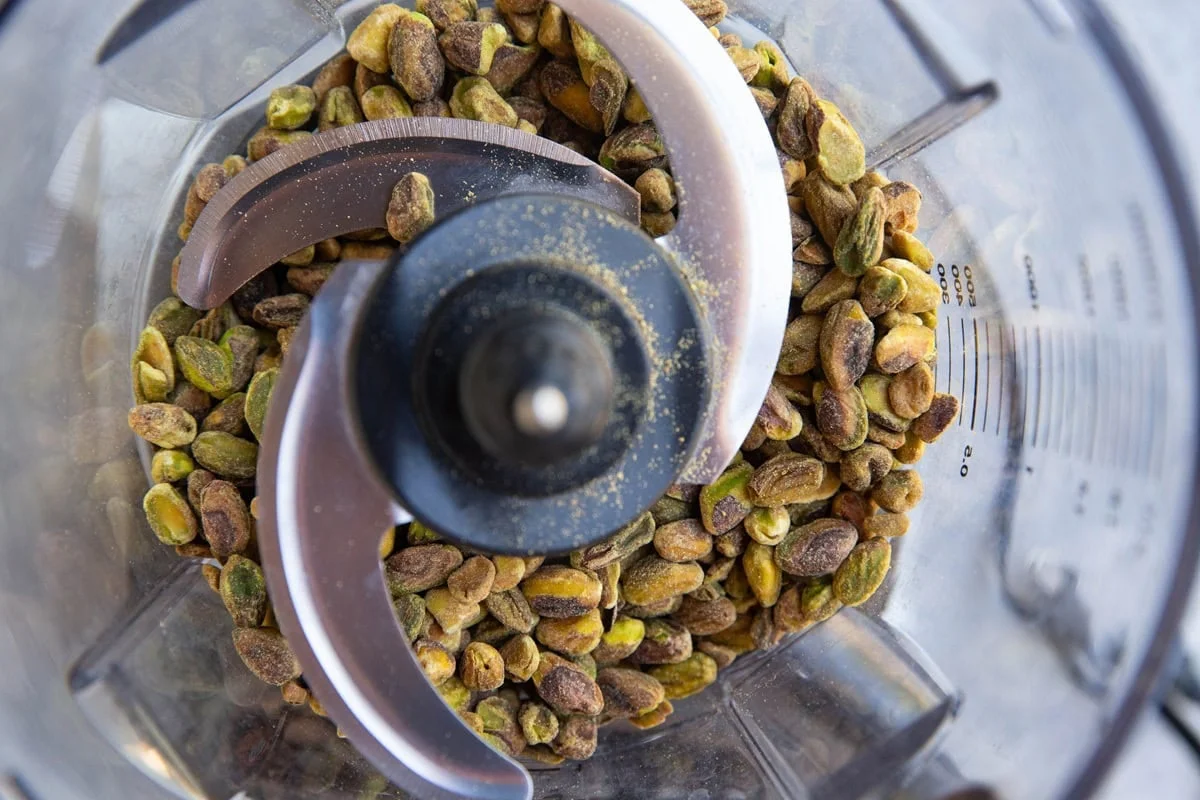
    Shelled pistachios in a food processor ready to grind

    1. Preheat the oven to 330 degrees Fahrenheit and line a 9” x 5” loaf pan with parchment paper. Put the pistachios in the food processor.
    2. Coarse ground pistachio flour in a food processor
      Pulse the pistachios until they’re chopped into fine pieces and reach a similar texture to almond flour — you’re making a coarse pistachio flour, not butter, so stop before it starts to clump.
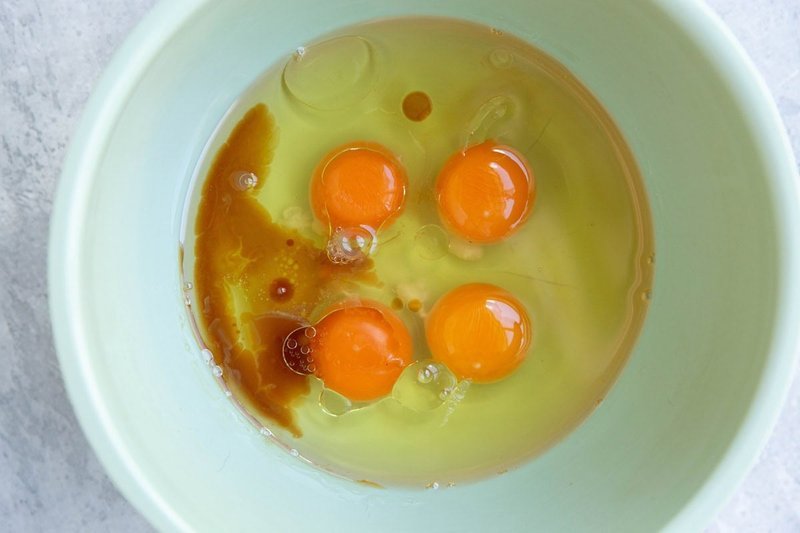
    3. Cracked eggs in a bowl for the cake batter
      In a large bowl, combine the almond flour, ground pistachios, tapioca flour, sugar (or sweetener), baking powder, and sea salt. Stir until the lumps are out and everything’s evenly mixed. In a second bowl, whisk together the eggs, avocado oil, vanilla, and almond extract.
    4. Smooth pistachio cake batter mixed in a bowl
      Pour the wet mix into the dry and stir until you have a smooth, pourable batter. It should flow, not fight you.
    5. Pistachio cake batter poured into a lined loaf pan
      Pour the batter into the lined pan. If you’re feeling generous, scatter some chopped pistachios over the top. Cover the pan with aluminum foil and bake on the center rack for 60 minutes.
    6. Take off the foil and check the center with a digital thermometer. At 190 degrees Fahrenheit or above, it’s done. If it’s a touch under, put it back for 5 to 10 more minutes.
    7. Let it cool to room temperature on a wire rack before slicing. Serve thick slices with a little butter, a drizzle of honey, or a smear of pistachio butter or cream. If you want something fancier, a cream cheese frosting, whipped cream, or a simple powdered-sugar glaze all work.

    Ways to make it yours

    • Stir in ½ cup to ⅔ cup chocolate chips for little pockets of melted chocolate.
    • Add ⅔ cup chopped pecans or walnuts for extra crunch.
    • If you have pistachio extract, add 1 teaspoon for a deeper nutty note.
    • Want it greener? This uses real pistachios and no dye, so the color is natural and mellow. A couple of drops of green food coloring will deepen it if you want that.
    • Prefer round cake? Bake it in an 8-inch pan for 35 to 45 minutes instead, or double the recipe for a two-layer 8-inch cake.

    Storage

    • Room temperature: Wrap the pan in plastic and keep it on the counter for up to 2 days.
    • Fridge: Move it to an airtight container or zip-top bag for up to 1 week.
    • Freezer: Slice it, wrap the pieces in parchment or butcher paper, and freeze them in a bag for up to 3 months.

    To reheat a frozen slice, set it on a plate and microwave for 25 to 30 seconds, just until it’s warm. I like serving it at breakfast with a protein alongside — yogurt or cottage cheese turns a slice into a proper start to the day.

    Trade-It Tip: No allulose in the cupboard? Any 1:1 sugar-free sweetener works in its place, or swap in plain white or brown sugar for the classic, less-low-carb version.

    If it doesn’t fit a Tuesday night, it doesn’t get published.
    Keep Reading

  • Ritz-Carlton Chocolate Chip Cookies, Baked at Home

    Ritz-Carlton Chocolate Chip Cookies, Baked at Home

    Back when I worked the line, dessert was someone else’s problem. You plated the main course, wiped the pass, and the pastry chef handled everything sweet. So when I found the Ritz-Carlton Amelia Island chocolate chip cookie recipe printed on those little drawstring pouches the hotel gives guests, I treated it like a ticket: I was trying it, and I was bringing it home.

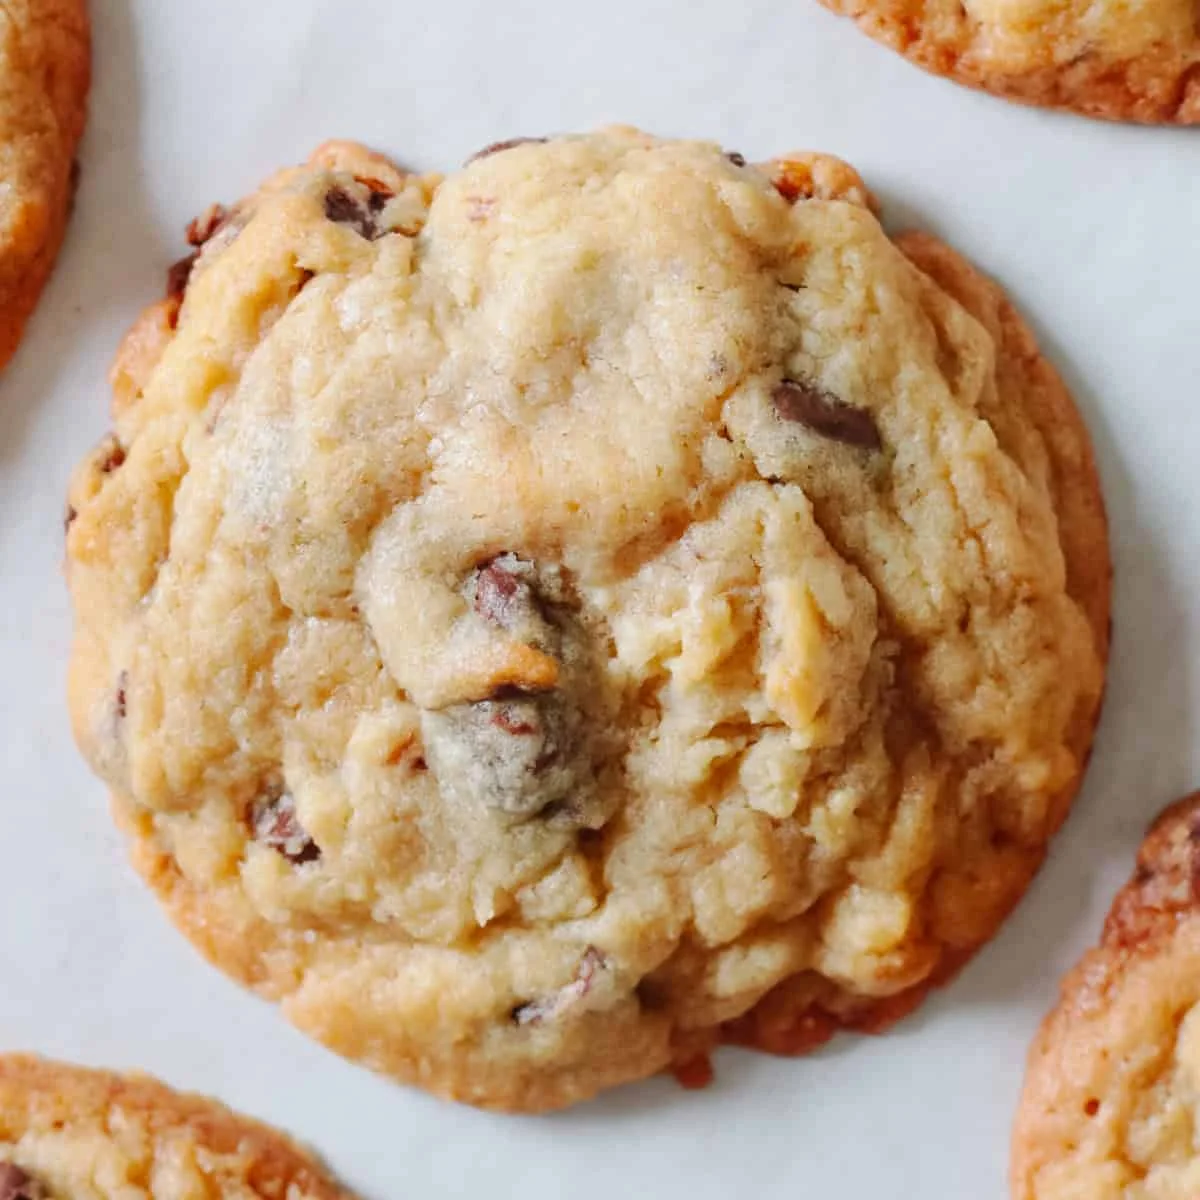
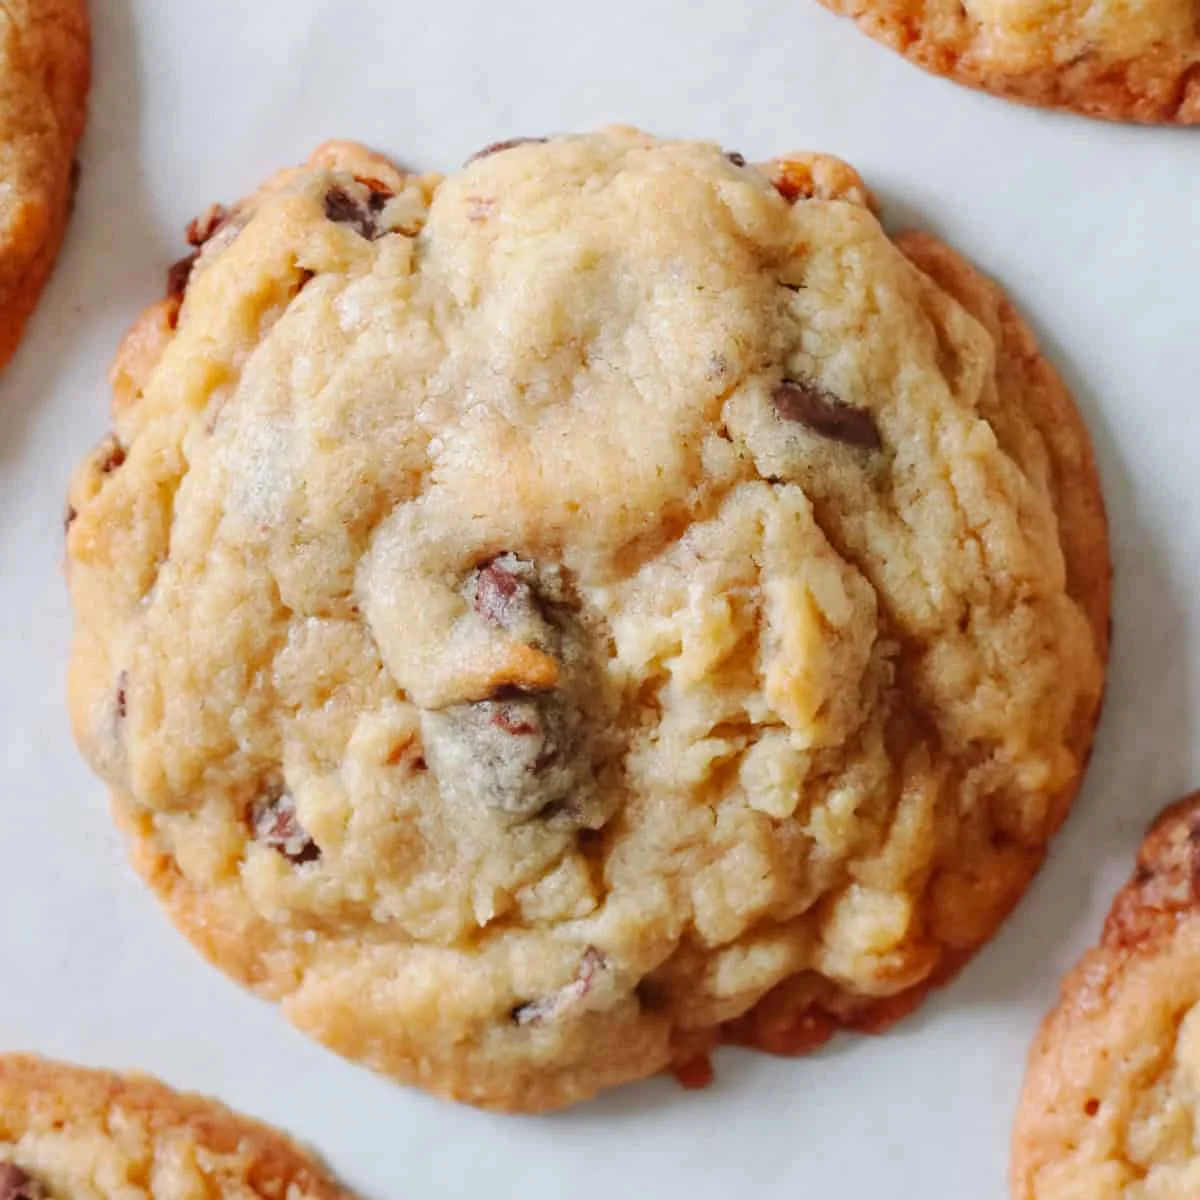
    Freshly baked Ritz-Carlton-style chocolate chip cookies on parchment paper

    The good news: it’s real. The Ritz-Carlton actually shares cookie recipes from a few of its locations — Amelia Island, Half-Moon Bay, Marina del Rey, Washington D.C. — and this one comes from the original version printed on the guest pouches, not the updated one. I went straight to the original, and I’m not sorry.

    Why these cookies work

    They’re sweetened with nothing but brown sugar, and that’s the whole trick. All-brown-sugar dough stays soft and chewy in the middle while the edges turn crisp and toasty. Add a full pound of butter and plenty of chips, and you get that hotel-lobby cookie that tastes expensive without any fuss.

    One honest heads-up before you mix: the recipe calls for 2 cups (1 pound) of butter against just 4 cups of flour. That’s a lot of butter. When I baked it exactly as written, the cookies spread a little more than I wanted. Two ways to fix it — pick your poison:

    • No chill: add an extra ⅔ cup of flour. That’s the sweet spot I landed on. The cookies keep their shape and the centers stay soft and chewy.
    • Chill instead: use the original flour amount, scoop the dough, and chill it for 1–2 hours before baking.

    Ingredients

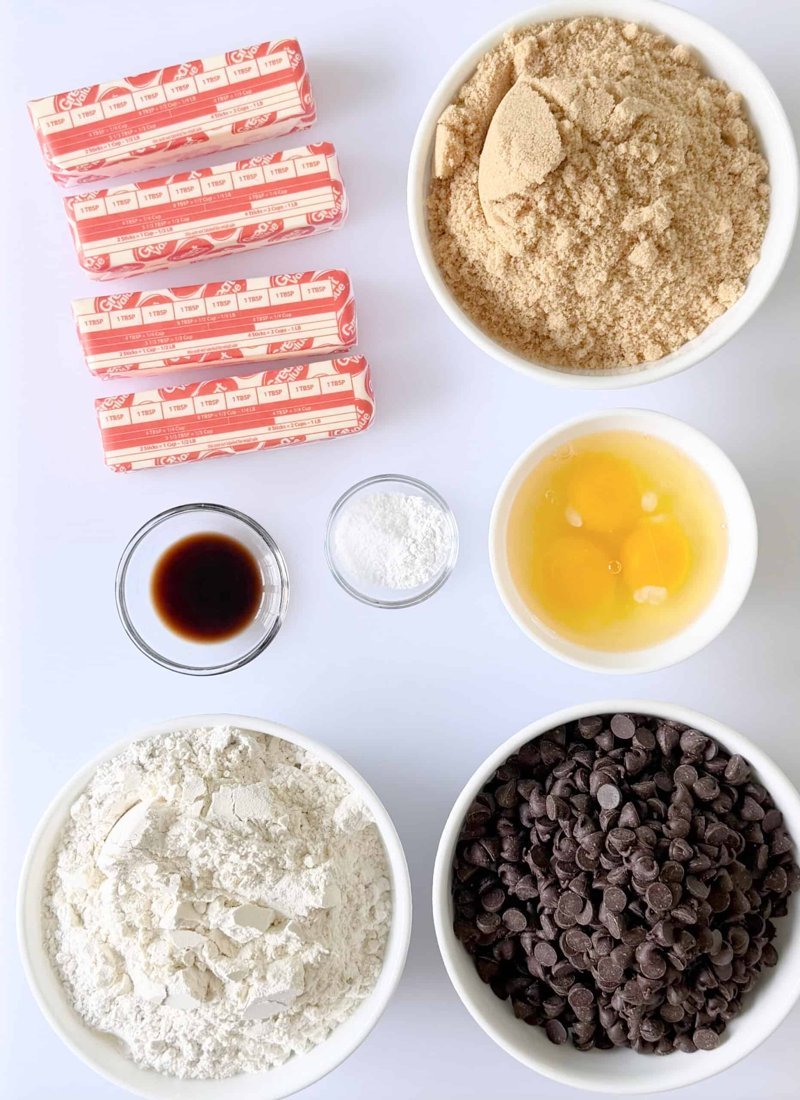
    Cookie ingredients laid out: butter, brown sugar, eggs, flour, chips
    • 1 pound butter (4 sticks), salted or unsalted — both work, no adjustments needed
    • 3 cups brown sugar — all brown sugar is what makes these soft and chewy
    • 3 large eggs
    • 1 ½ teaspoons vanilla extract
    • 1 ½ teaspoons baking powder — yes, baking powder, not baking soda. That surprised me the first time too
    • 1 teaspoon salt
    • 4 cups all-purpose flour, plus an extra ⅔ cup if you’re skipping the chill
    • 3 ¼ cups chocolate chips — I used semi-sweet; use whatever you like

    Why this works: the brown sugar keeps the centers fudgy and caramel-deep, and the baking powder (not soda) gives the lift without any bitter aftertaste.

    How to make them

    25 minutes start to finish — 10 to mix, 12–15 in the oven, and I’m not even counting the cooling.

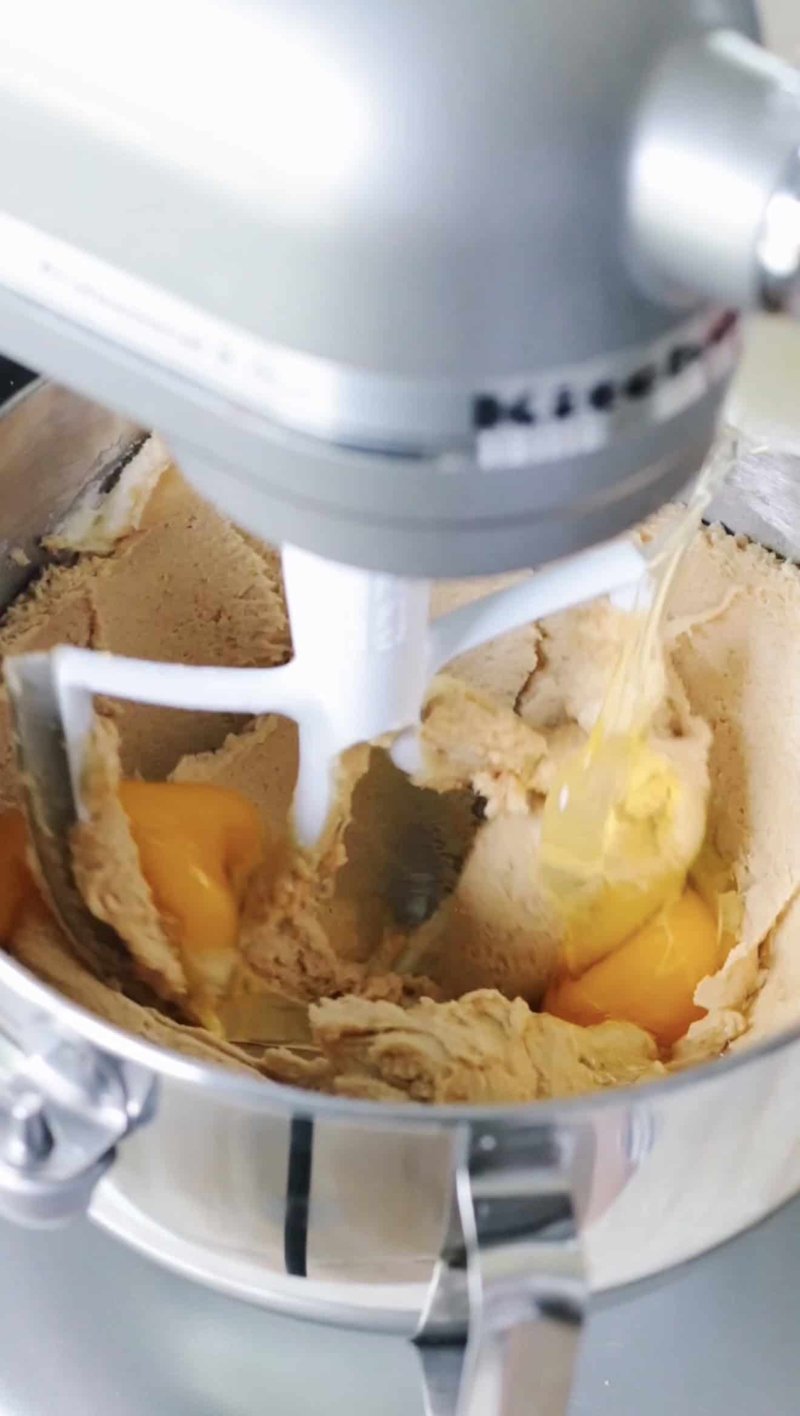
    1. Whip the butter until soft. Add the eggs, brown sugar, and vanilla, and beat until smooth.
    2. Creamed butter, egg, and brown sugar mixed in a stand mixer
    3. Mix in the salt, baking powder, flour, and chocolate chips until just combined.
    4. Scoop the dough onto parchment-paper-lined baking sheets. Six cookies per sheet. I use a 2 Tbsp scoop for regular-sized cookies and a 3 Tbsp scoop for the larger bakery-style ones.
    5. Finished cookie dough folded with chocolate chips in a bowl
    6. Bake at 350°F. Regular-sized (2 Tbsp) cookies take 12–13 minutes. Larger (3 Tbsp) cookies take 14–15 minutes.
    7. Let them cool completely on the baking sheets — the centers keep setting as they cool.

    If a cookie comes out a little wonky, don’t panic. Press a small bowl or biscuit cutter around it while it’s still hot and it’ll snap back into shape. I learned this the hard way, and now I do it by reflex.

    Cookie dough scooped into even balls on a parchment-lined sheet

    A few questions people keep asking

    Are these the actual Ritz-Carlton cookies? They’re based on the original Amelia Island recipe the hotel printed for guests, with my no-chill flour adjustment added. The hotel has shared versions from several locations; this is the classic one.

    Why add the extra flour? The original leans heavy on butter, so the dough spreads more than you’d expect. The extra ⅔ cup keeps the shape intact while the soft, chewy center stays exactly as it should. If you’d rather not change the recipe, chill the scooped dough for 1–2 hours instead.

    What makes them different from regular chocolate chip cookies? The all-brown-sugar base. That’s what gives the deep caramel flavor and the fudgy middle with the crisp, buttery edges.

    How big should the cookies be? 2 Tbsp of dough, 12–13 minutes at 350°F for regular. 3 Tbsp of dough, 14–15 minutes for the larger ones. This batch makes 54 regular-sized cookies or 36 larger ones, so feel free to halve it if you don’t need a tray.

    Storing them

    Cookies keep well individually wrapped in plastic or in an airtight container. I wrap each one as it cools and they’re gone by Thursday — between Tom and the kids, a batch never survives the weekend.

    Trade-It Tip: No semi-sweet chips? Dark chocolate works beautifully here — the all-brown-sugar base tames the bitterness and the contrast actually shines. White chips are lovely too, if you’re feeling indulgent.

    If it doesn’t fit a Tuesday night, it doesn’t get published.

    — Grace

    Keep Reading